No Bake Apple Cheesecake
Published
Published
Subtly sweet, this No Bake Apple Cheesecake features a buttery graham cracker crust and a creamy body laced with apple pie filling. This easy apple pie cheesecake is a great way to welcome in the fall season!
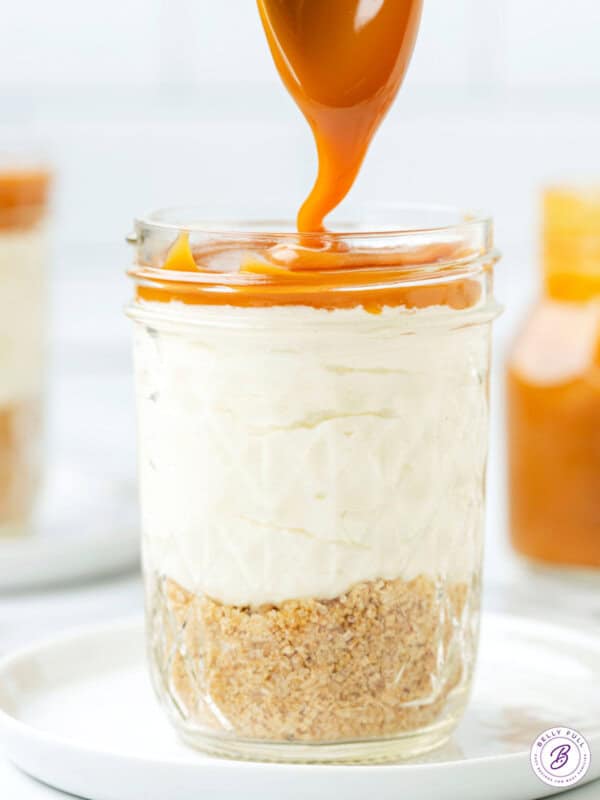
For an extra decadent slice, drizzle it with a little caramel sauce!

Pin this now to find it later
Pin ItThis post may contain affiliate links. If you click on one and make a purchase, we may earn a small commission at no extra cost to you. We only recommend products we genuinely love.
An Easy Apple Pie Cheesecake
Fall is here and that means it’s time to swap the light and bright lemon-y summer flavors for the warm, inviting tastes of autumn like cinnamon and apple. Since apple pie is usually reserved for Thanksgiving, I thought I would kick off the season with something less time-consuming. And if you happen to live in the part of the country where the calendar says it’s fall, but the temperatures say otherwise, you’re in luck – this dessert is no bake!
My favorite apple pie flavors + no bake cheesecake = this No Bake Apple Cheesecake that requires just 20 minutes of prep time. It features a thick, buttery graham cracker crust and the filling is made with a base of cream cheese and heavy whipping cream (for stability) that makes it super creamy. Apple pie filling is not only folded into the filling but added on the top as well. Every bite is luscious.

What You’ll Need
Just a handful of ingredients in both the homemade graham cracker crust and the apple filling.
(Scroll below to the printable recipe card for details and measurements.)
For the Crust
- Graham cracker crumbs: You can buy the crumbs or just crush the graham crackers yourself.
- Light brown sugar: Firmly pack the brown sugar.
- Unsalted butter: Butter should be melted. Unsalted works best here.
- Apple pie spice: I make my own with just 4 simple ingredients!
For the Apple Cheesecake Filling
- Cream cheese: Be sure the cream cheese is softened to room temperature for the best, lump-free filling texture.
- Sugar: A combination of granulated sugar and powdered sugar are both used for the subtly sweet filling.
- Vanilla extract: A splash for flavor.
- Heavy whipping cream: This helps the cheesecake to hold its form without baking.
- Apple pie filling: While you can buy this at the store, I’m pretty gaga over my homemade apple pie filling. It’s easy to make too!
How to Make No Bake Apple Cheesecake
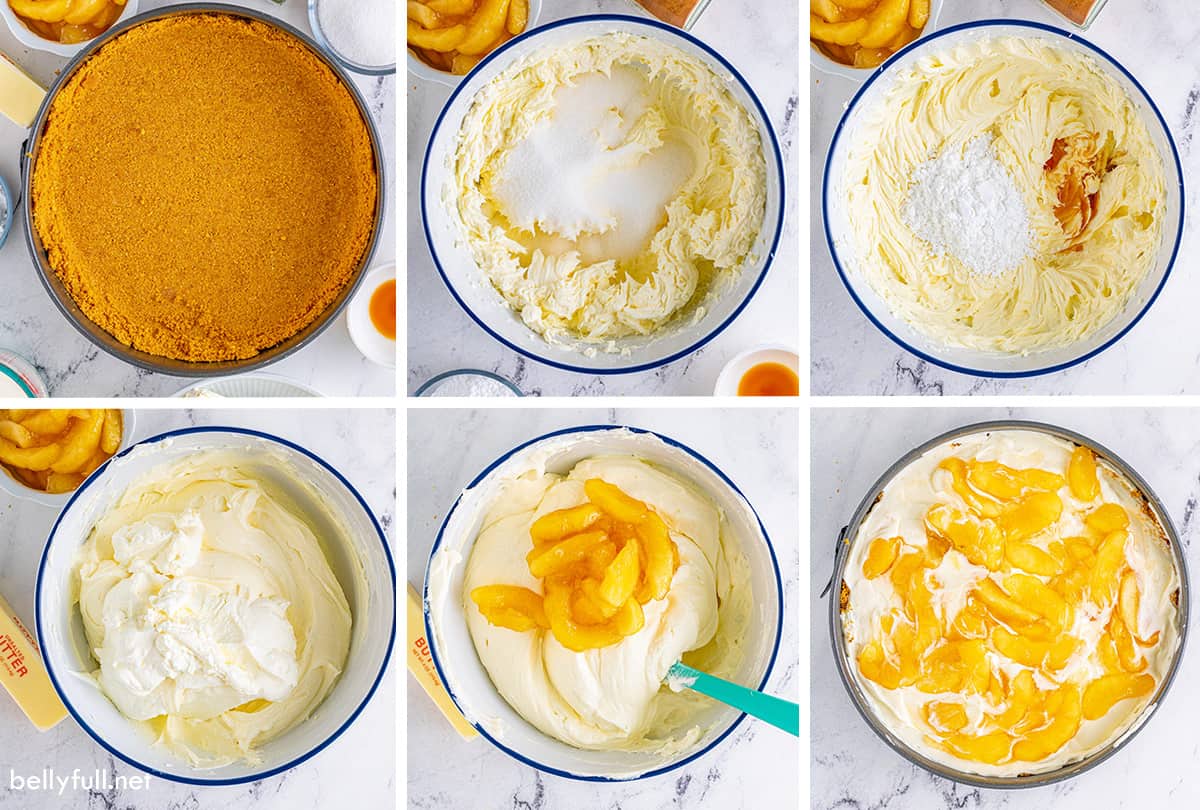
This is one of the easiest cheesecakes to make. The crust and filling both come together in minutes, then it’s just a matter of waiting for it to chill. Here’s a summary:
(Scroll below to the complete printable recipe card for all the details.)
- Make the crust. Combine all crust ingredients in a large bowl. Press the crumbs into a springform pan, either just on the bottom or the sides as well. Place in the freezer while you complete the other steps.
- Make the filling. Whip the cream cheese until smooth, then add the granulated sugar, followed by the powdered sugar and vanilla. In a separate bowl, beat the heavy whipping cream until stiff peaks form. Fold into the cream cheese mixture. Fold in half of the apple pie filling. Transfer the mixture over the crust. Add the remaining apple filling and gently press them into the top.
- Chill. Cover the apple cheesecake and place in the fridge for at least 8 hours, ideally overnight.
Tips for Success
If this is your first time making no bake cheesecake or apple pie cheesecake, here are a few suggestions:
- Pack the crust tightly into the pan. I like to use a flat bottomed glass or measuring cup to help press down the crumbs.
- Whip the heavy cream sufficiently. It’s essential that stiff peaks form when beating the heavy cream, as this is what holds the shape of the cheesecake together.
- Chill overnight. Since this is a no-bake cheesecake, it’s important that it chills properly before serving. It needs to chill at least 8 hours but overnight is highly recommend.
How to Store
- How to store in the fridge. This cheesecake is best when enjoyed within 2 days. Over time it will loosen and get watery. It should be kept tightly wrapped in the fridge at all times.
- Can I freeze no bake cheesecake? Yes. Allow it to chill completely in the fridge – do not freeze before properly chilling! – and then wrap tightly in both plastic wrap and aluminum foil. Freeze for up to 3 months. Thaw overnight in the fridge.
Serving Suggestions
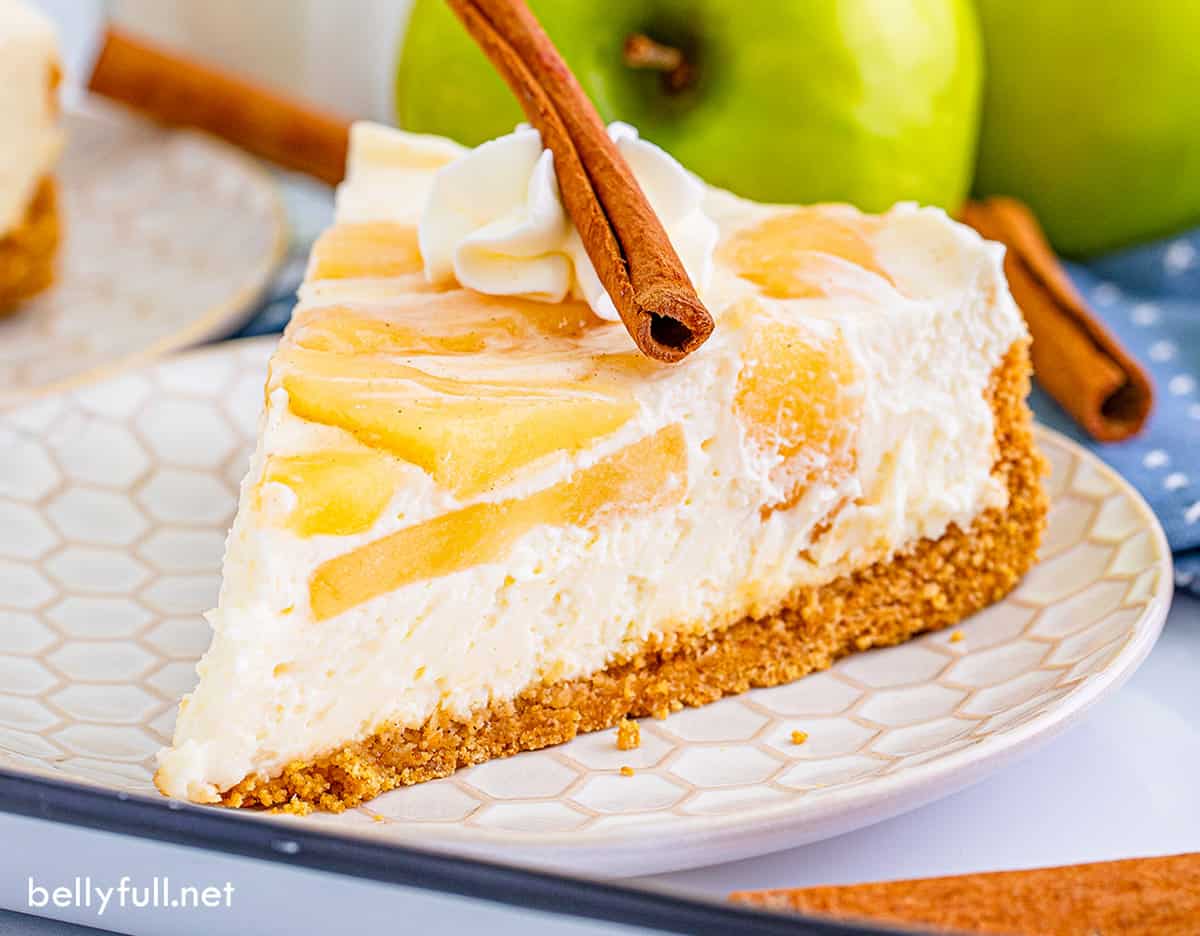
This creamy cheesecake is best served straight out of the fridge, after it’s been properly chilled. It’s not a dessert you want to leave on the counter, as it can lose shape as it softens.
I like to top my apple pie cheesecake with a dollop of homemade whipped cream and a drizzle of homemade caramel sauce. It’s optional, but adds an incredible decadent touch.
More Apple Dessert Recipes:
- Baked Apple Cider Donuts
- Caramel Apple Sheet Cake
- Baked Apples
- Air Fryer Apple Hand Pies
- Easy Apple Dumplings
I hope you love this delicious and simple recipe – be sure to give it a review below! Also don’t forget to follow Belly Full on Facebook, Instagram, Pinterest, and YouTube!
No Bake Apple Cheesecake
Ingredients
For the Crust
- 2 1/2 cups graham cracker crumbs
- 1/4 cup packed light brown sugar
- 9 tablespoons unsalted butter, , melted
- 1/2 teaspoon apple pie spice
For the Apple Cheesecake Filling
- 24 ounces cream cheese, (3, 8 ounce packages, softened to room temperature)
- 1/2 cup granulated sugar
- 1/4 cup powdered sugar
- 1 teaspoon vanilla extract
- 1 1/4 cups heavy whipping cream
- 21 ounces apple pie filling
Instructions
- In a large bowl stir together the graham cracker crumbs, brown sugar, melted butter, and apple pie spice until fully combined. Firmly press the crumbs into an 8 to 10-inch springform pan. (I like to form the crust along the sides as well, use a flat bottomed glass or measuring cup to help press down the crumbs.) Place this in the freezer while you assemble the filling.
- In a large bowl with an electric hand mixer whip the cream cheese until smooth and lump-free. Add the granulated sugar and mix it in until combined. Add the powdered sugar and vanilla, mix until combined, set aside.
- In a large bowl with an electric hand mixer, beat heavy whipping cream until stiff peaks form. (Stiff peaks are critical in helping the cheesecake set and hold its shape.) Gently fold the whipped cream into the cream cheese mixture until there are no streaks left. (Fold, don't stir.)
- Fold in half of the apple pie filling.
- Pour this mixture into the crust and smooth out the top.
- Add the remaining apple filling on top and gently press them in.
- Cover and place in the fridge for at least 8 hours – overnight is highly recommended.
- Carefully remove the outer rim of the pan, slice and serve!
Nutrition
Nutritional information given is an automatic calculation and can vary based on the exact products you use and any changes you make to the recipe. If these numbers are very important to you, I would recommend calculating them yourself.


I love this delicious recipe. So easy to make. Thank you for sharing.
This recipe turned out great, the whole family liked it and I didn’t have to spend an hour peeling apples. I will make this again!