No Bake Cherry Cheesecake
Published
Published
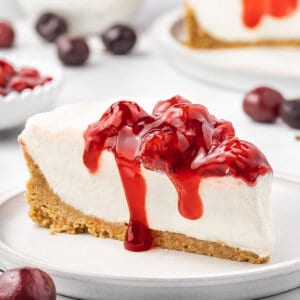
With a luscious cheesecake filling, graham cracker crust, and cherry pie topping, this No Bake Cherry Cheesecake is the perfect balance of tart and sweet. Easy to make, with no water bath or oven required, this is a great summer dessert!

Pin this now to find it later
Pin ItThis post may contain affiliate links. If you click on one and make a purchase, we may earn a small commission at no extra cost to you. We only recommend products we genuinely love.
No Bake Cherry Cheesecake Recipe
If you love cheesecake but don’t feel like going through the full process of baking one, you’ll love this no bake cherry cheesecake recipe.
It’s easy with little prep time and tastes incredible. This recipe starts with a sweet graham cracker crust, which is covered with a tangy cheesecake filling, then it’s all topped off with tart-sweet cherry pie filling. Simple but so good.
This is a dessert you’ll want to plan in advance, though – the hands-on time is quick but it does require at least 8 hours to chill in the fridge.

Why You’ll Love This Easy Cherry Cheesecake
Here are a few reasons you’ll fall in love with this no bake cherry cheesecake recipe.
- Short ingredient list. You’ll need just a handful of ingredients to make this cheesecake – and you probably have some of them on hand.
- No baking (or water bath). You won’t have to heat up your kitchen OR deal with a water bath when making this no bake cheesecake.
- Perfect for making ahead. I highly recommend making this cheesecake a day in advance, which is ideal when you need a dessert but know you won’t have time to make it that day.
Ingredients Needed
This easy cherry cheesecake is made with just a handful of ingredients, most of which are pantry staples.
(Don’t miss the detailed printable recipe card below.)
- Graham cracker crumbs – You can buy them at the store or simply crush a few packages of graham crackers yourself.
- Light brown sugar – Sweetens the crust.
- Butter – Unsalted butter helps hold the crust together.
- Cinnamon – For a bit of extra flavor in the crust.
- Cream cheese – Soften to room temperature (but not TOO soft) for easy mixing.
- Granulated sugar & powdered sugar – Sweetens the cheesecake filling.
- Vanilla extract – For added flavor.
- Heavy whipping cream – Gives shape and form to the filling.
- Cherry pie filling – The topping of this easy no bake cheesecake.

How to Make No Bake Cherry Cheesecake
This no bake cherry cheesecake recipe comes together in just a few easy steps.
(Don’t miss the detailed printable recipe card and video below.)
- Prepare the crust. Combine the graham cracker crumbs, brown sugar, butter, and cinnamon. Firmly press into a springform pan. I like to press it up the sides a bit as well as the bottom. Freeze while you prepare the filling.
- Prepare the filling. Beat the cream cheese until smooth and lump-free, then mix in the granulated sugar. Add in the powdered sugar and vanilla. Mix to combine.
- Add the heavy whipping cream. Beat the heavy whipping cream until stiff peaks form, then gently fold into the cream cheese mixture.
- Chill. Pour the filling over the crust and smooth out the top. Cover and refrigerate for at least 8 hours.
- Add the cherry filling. Carefully remove the outer rim of the pan. Spoon the pie filling evenly over the top, then return to the fridge to chill for another hour or so. Enjoy!

Tips for The Best No Bake Cheesecake
Here are a few tips for making this easy cherry cheesecake.
- Press the crust tightly into the pan. I like to use a flat-bottomed glass or measuring cup to ensure that the crumbs are pressed tightly into the pan. If you don’t press them down fully, the crust will crumble when you serve it.
- Make sure the whipping cream forms stiff peaks. The heavy whipping cream is what holds the cheesecake filling together and prevents it from spilling everywhere when you slice it, so it’s key that it’s whipped into stiff peaks.
- Fold, don’t stir. When adding the whipped cream to the cream cheese, the key is to fold it in – NOT stir. Stirring will break down the stiff peaks and cause the cheesecake to lose shape.
- Chill overnight. For the best results with this cheesecake, prepare it a day in advance and chill overnight. 8 hours is the minimum but overnight is best.
Video: No-Bake Cherry Cheesecake
Serving Suggestions
Keep your no bake cherry cheesecake chilled in the fridge until serving. After serving, promptly return it to the fridge. This cheesecake should not sit out for longer than an hour. While normally I am a fan of adding toppings to my cheesecakes, the cherry pie filling is really all this one needs!
Proper Storage
- Fridge. Store your no bake cherry cheesecake in the fridge for up to 4 days, in an airtight container or covered with plastic wrap.
- Freezer. You can freeze this no bake cheesecake. However, you should let it set completely in the fridge overnight. Cover the entire cheesecake with plastic wrap or wrap individual slices. Thaw in the fridge and enjoy.
More Easy Cheesecake Recipes:
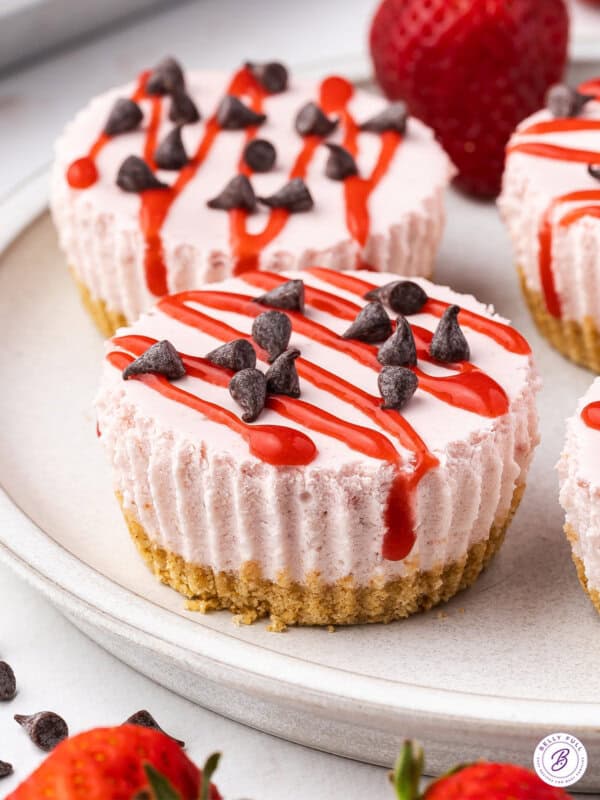
- Mini Cheesecakes
- Mini Turtle Cheesecakes
- Instant Pot Cheesecake
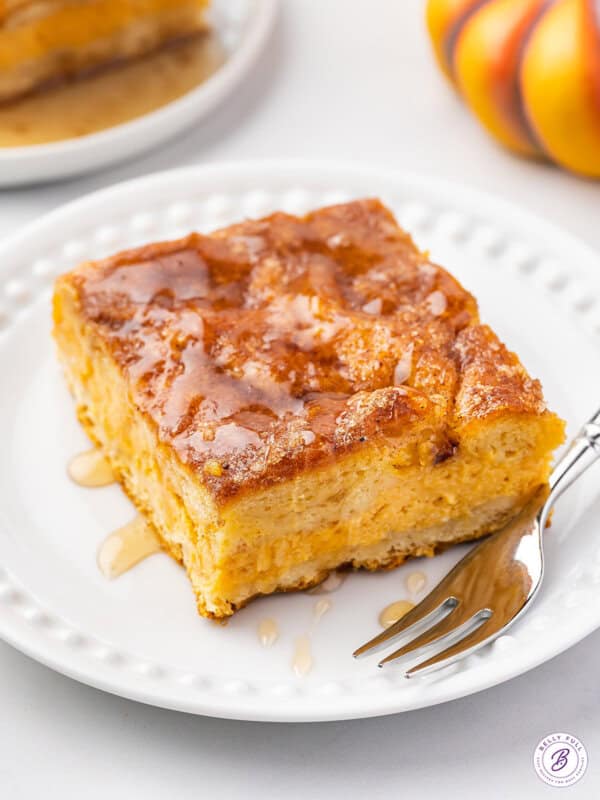
- Sopapilla Cheesecake
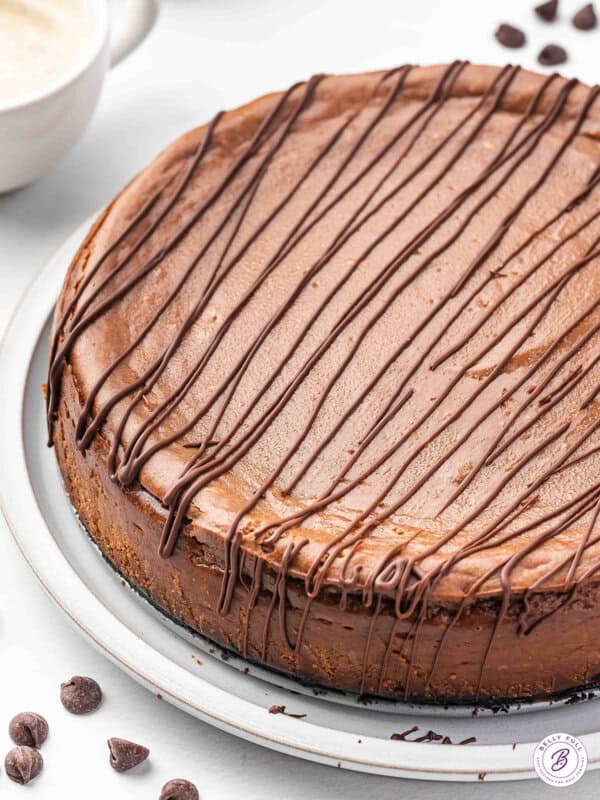
- Oreo Cheesecake
I hope you love this delicious and easy recipe – be sure to give it a review below! Also don’t forget to follow Belly Full on TikTok, Facebook, Instagram, Pinterest, and YouTube!
No Bake Cherry Cheesecake
Ingredients
FOR THE CRUST
- 2 & 1/2 cups graham cracker crumbs
- 1/4 cup packed light brown sugar
- 9 tablespoons unsalted butter, , melted
- 1/4 teaspoon cinnamon
FOR THE CHEESECAKE FILLING
- 24 ounces cream cheese, (3, 8 ounce packages, softened to room temperature)
- 1/2 cup granulated sugar
- 1/4 cup powdered sugar
- 1 teaspoon vanilla extract
- 1 & 1/4 cups heavy whipping cream
FOR THE TOPPING
- 21 ounce can cherry pie filling
Instructions
- In a large bowl stir together the graham cracker crumbs, brown sugar, melted butter, and cinnamon until fully combined. Firmly press the crumbs into an 8 to 10-inch springform pan. (I like to form the crust along the sides as well, use a flat bottomed glass or measuring cup to help press down the crumbs.) Place this in the freezer while you assemble the filling.
- In a large bowl with an electric hand mixer whip the cream cheese until smooth and lump-free. Add the granulated sugar and mix it in until combined. Add the powdered sugar and vanilla, mix until combined, set aside.
- In a large bowl with an electric hand mixer, beat heavy whipping cream until stiff peaks form. (Stiff peaks are critical in helping the cheesecake set and hold its shape.) Gently fold the whipped cream into the cream cheese mixture until there are no streaks left. (Fold, don’t stir.)
- Pour this mixture into the crust and smooth out the top.
- Cover and place in the fridge for at least 8 hours – overnight is highly recommended.
- Remove from the refrigerator and carefully remove the outer rim of the pan. Spoon the canned pie filling evenly over the cheesecake, then return to the refrigerator until it has all completely chilled (about another hour.)
- Slice and enjoy cold.
Video
Nutrition
Nutritional information given is an automatic calculation and can vary based on the exact products you use and any changes you make to the recipe. If these numbers are very important to you, I would recommend calculating them yourself.


This is one of the better no-bake cheese cakes I’ve made. It is not overwhelmingly sweet and very velvety.