Ghost Meringue Cookies
Updated
Updated
Cute little Ghost Meringue Cookies for Halloween! They’re light, crisp, not overly sweet, and easier to make than you might think. Great for parties!

Pin this now to find it later
Pin ItThis post may contain affiliate links. If you click on one and make a purchase, we may earn a small commission at no extra cost to you. We only recommend products we genuinely love.
Are these not the cutest ghost cookies?! I just love them for a Halloween party. They’re light and airy, crisp, and with the perfect amount of sweetness. They’re super easy to make, contrary to what some might think. The word meringue just sounds fancy, but all you need to make these ghost meringue cookies are a few pantry items and patience for the slow bake time. And at only 15 calories per cookie, you can enjoy several without any guilt. How often do you hear that about Halloween treats?!
For meringue cookie variations, don’t miss our vanilla and chocolate meringue cookies, lemon meringue cookies, and peppermint meringue cookies dressed up for Christmas!

What’s in This Ghost Meringue Cookies Recipe?
These meringue cookies call for only 5 simple ingredients, plus candy eyes. (Scroll below to the printable recipe card for details and exact measurements.)
- Egg whites. The egg whites need to be fresh, room temperature, and completely free of any fat or yolk.
- Cream of tartar. This ingredient adds stability to egg whites when they’re being whipped and helps ensure they’ll reach stiff peaks and not deflate, which is critical with meringues.
- Granulated sugar. Super fine sugar is ideal, which dissolves faster and better than regular granulated sugar, leaving your cookies smooth instead of grainy. If you can’t find it, you can simply make it by putting regular granulated sugar in a food processor and giving it a few whizzes until finely processed. Yes, you can also use regular granulated sugar, adding it in slowly and in very small amounts at a time, to help avoid grittiness.
- Salt. Just a pinch adds flavor and also balances out the sweetness.
- Almond extract. Just a little almond extract makes a huge difference in flavor. You can also use other almond extract, if preferred.
- Candy eyes. These put the finishing touch on the meringues so they look like ghosts!

Tips for Success
- Use fresh room temperature eggs. The fresher the eggs, the better the results. Egg whites also whip up the best when they’re at room temperature.
- Separate whole eggs while they’re still cold. It can be tricky to separate your whole eggs once they’re already room temp without having some of the yolk bleed into the white. We recommend separating cold eggs from the fridge, then allow the whites to reach room temperature.
- Crack eggs into a different bowl than the mixing bowl. Separate each egg white into a small bowl before adding them to the mixer. This way, if a yolk breaks, you won’t have to toss the entire batch. Even the tiniest bit of yolk will prevent the egg whites from properly whipping to stiff peaks.
- Equipment should be completely dry and grease-free. The bowl and beaters used to make the meringue should be completely free of any grease or moisture. Either of these can prevent stiff peaks from being formed.
- Add sugar gradually, a small amount at a time. Drizzle the sugar in very slowly, adding in no more than a tablespoon at a time. This allows it a chance to dissolve properly before adding more, resulting in a smooth cookie.
- Make sure you reach stiff peaks. The batter will take several minutes of beating to reach stiff peaks. You’ll notice it increase in volume and get very thick and glossy.
- Don’t over-beat. Over-whipping the egg whites can make the meringue too firm and without proper moisture, they will lose their crispness and collapse.
- Pipe the meringue right when it’s done. If meringue sits around for a while, it will lose consistency.
- Avoid making these on a humid day. Humidity is the archenemy of meringue cookies, so avoid making these on a wet or humid day.
- Bake low and slow. It’s essential that meringue cookies are baked at a very low temperature of 225F for an hour, and then rest in the oven with the heat off and door closed for another couple of hours. This is what dries them out and prevents browning.

Serving Suggestions
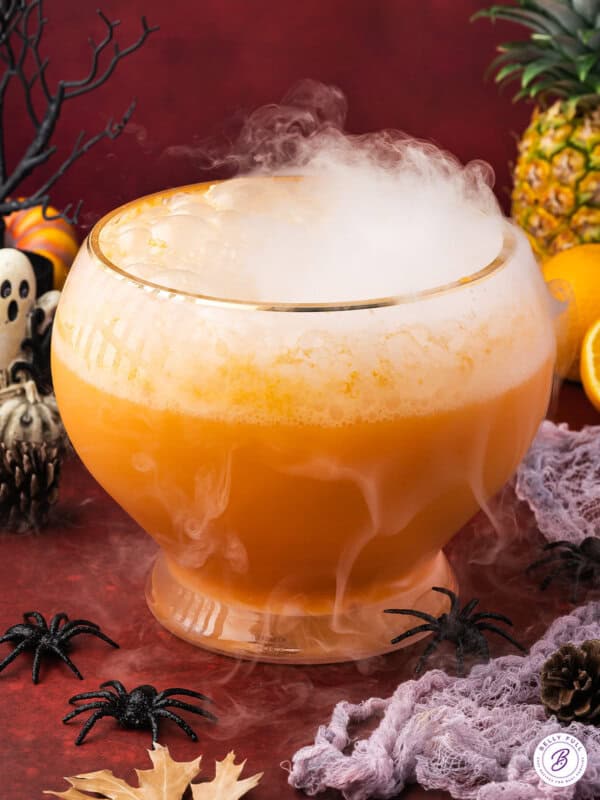
These can sit out on a party table for several hours, just make sure they’re not near any heat or moisture. To make your Halloween party complete, serve it with more Halloween treats like our Halloween Bloodshot Eyeballs Candy, Monster Munch, Witches Brooms, and fizzy Witches Brew Punch!
Proper Storage
Ghost Meringue cookies should be stored in a cool dry place in an airtight container to maintain crispness. They should not be refrigerated. Keep away from heat, moisture, or other foods that contain moisture as it can soften them. They are best enjoyed within a few days after baking them. If you live someplace humid, their shelf life is even shorter. Alternatively, if you live someplace really dry (or in the winter time), they can keep up to 2 weeks if stored properly.
I hope you love this delicious and easy recipe – be sure to give it a review below! Also don’t forget to follow Belly Full on TikTok, Facebook, Instagram, Pinterest, and YouTube!
Ghost Meringue Cookies

Ingredients
- 4 large egg whites
- 1/2 teaspoon cream of tartar
- 1/8 teaspoon salt
- 1 teaspoon almond extract, (or vanilla extract)
- 1 cup granulated sugar
- 60 candy eyes
Instructions
- Preheat oven to 225F. Line 2 cookie sheets with parchment paper.
- In a medium bowl, add egg whites, cream of tartar, salt, and almond extract. Beat with an electric mixer until frothy and soft peaks form. Continue to beat, gradually adding in the sugar, 1 tablespoon at a time. Beat until stiff glossy peaks form and sugar is dissolved, about 2-3 minutes.
- Transfer the meringue to piping bag fitted with a large open round tip or a Ziploc bag with one end snipped off; pipe out meringue onto the parchment into dollops a little bigger than the width of a quarter, 1 inch apart.
- Carefully place candy eyes on each "ghost" before baking.
- Bake in the oven for 1 hour until dry, but not at all brown. Turn off the heat and allow the meringues to rest in the oven with the door closed for another couple of hours until completely cool.
- Remove the meringues from parchment (they should pop right off, but if not, use a spatula) and enjoy!
Nutrition
Nutritional information given is an automatic calculation and can vary based on the exact products you use and any changes you make to the recipe. If these numbers are very important to you, I would recommend calculating them yourself.



Fun idea!
I made these for my daughter’s classroom last year – using vanilla instead of almond extract for anyone who has nut allergies – and the kids LOVED THEM!
I use this recipe for regular meringues and they come out great every time. The ghosts are such a fun twist.
What a fun recipe!!!
These are just the cutest little Halloween treats ever! Definitely need to recreate the recipe for the upcoming Halloween. Great recipe!
Seriously, these look really cute!
Made these last year and everyone loved them!
just adorable Amy!
These are SO cute! I make the meringues quite a bit (or Forgotten Cookies, as I’ve always called them) and everyone loves them.
CUUUTE. I want to make these, so I can eat them all, and smile while doing it. Love meringue.
Did a test run of these for a Halloween party I’m throwing and they came out PERFECT!
These are adorable!! And they totally look like ghosts!