Perfect Hard Boiled Eggs
Updated
Updated
Follow these simple tips on how to make perfectly cooked hard boiled eggs, which result in tender, creamy eggs every time. And no green ring!
Pin this now to find it later
Pin ItThis post may contain affiliate links. If you click on one and make a purchase, we may earn a small commission at no extra cost to you. We only recommend products we genuinely love.
5 STAR REVIEW
I was talking to a mom the other day who told me that neither of her kids like eggs. Any kind. Scrambled eggs, poached eggs, omelette, fried eggs, hard boiled eggs. Nope. My jaw agape, I almost wept for her. I cannot even imagine this!
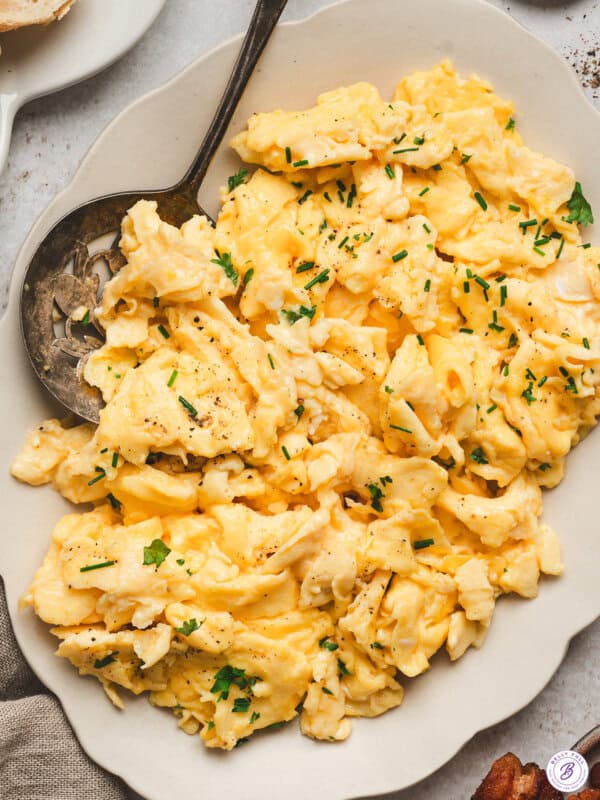
My kids absolutely love eggs. I could serve them for breakfast, lunch, and dinner, and we’d all be happy. Not a week goes by without me making hard boiled eggs – they’re perfect for deviled eggs, beet pickled eggs, scotch egg, egg salad, and just on their own as a snack with a little dash of salt.
How To Hard Boil Eggs
There are many different ways to make hard boiled eggs, but my favorite way is with a stove, pot of water, and an ice bath. There’s a reason this method has been around forever – because it’s tried and true! (However, scroll down if you want to use your air fryer or instant pot instead.)
How Long to Hard Boil Eggs
The perfect cooking time for hard boiled eggs is the magic question! Well, this is sort of subjective, right? It depends how you like your yolk. Using my cooking method where you bring the water to boil, then remove from the heat and put the lid on, I think 14 minutes is ideal. It cooks the yolk through, but still leaves them pretty, tender, and creamy.
Hard Boiled Egg Time
It’s really a matter of personal preference. Here are different cooking times for hard boiled eggs using large eggs.
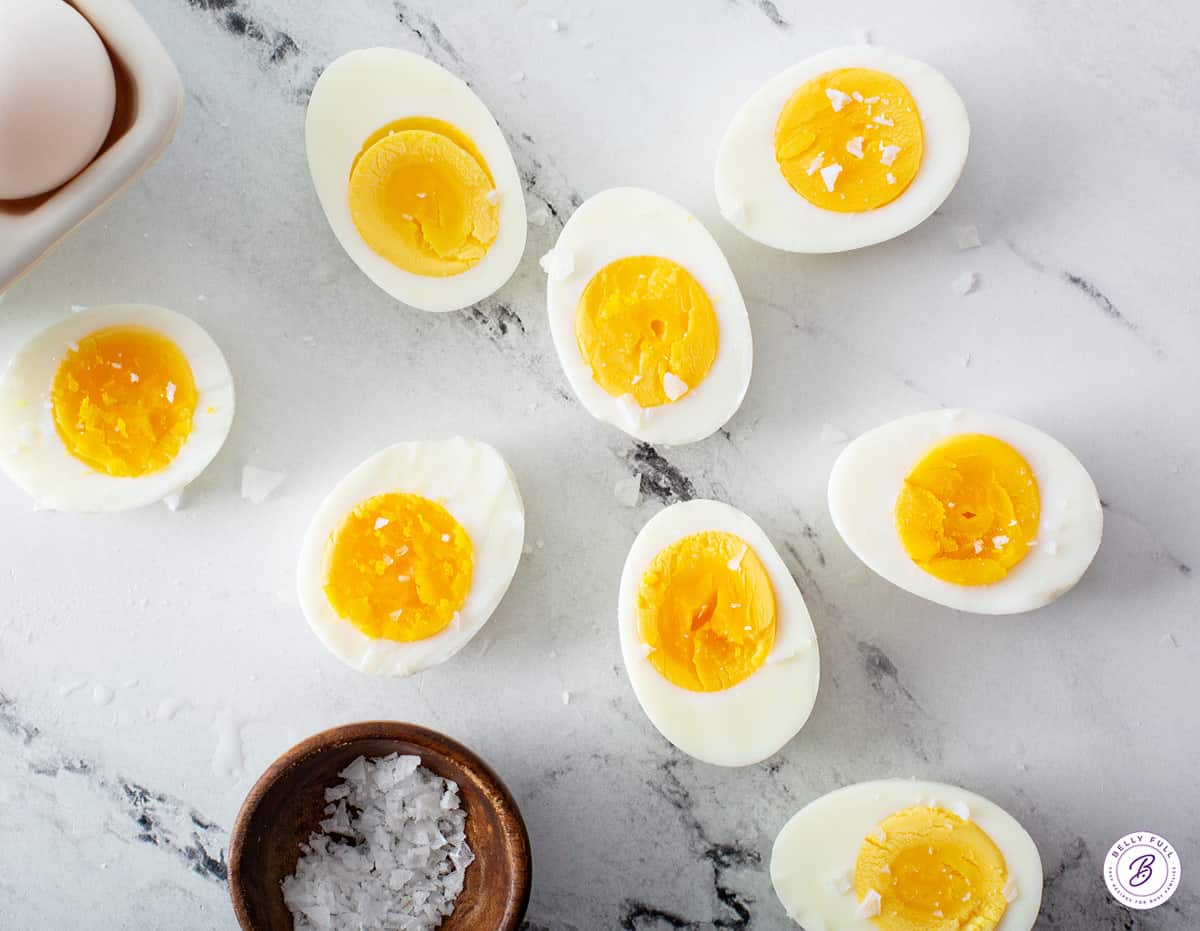
6 minutes: the yolk is pretty liquid-y still and the white is very soft.
8 minutes: a soft yolk but firm enough that it doesn’t run.
10 minutes: just a smidge of softness in the middle.
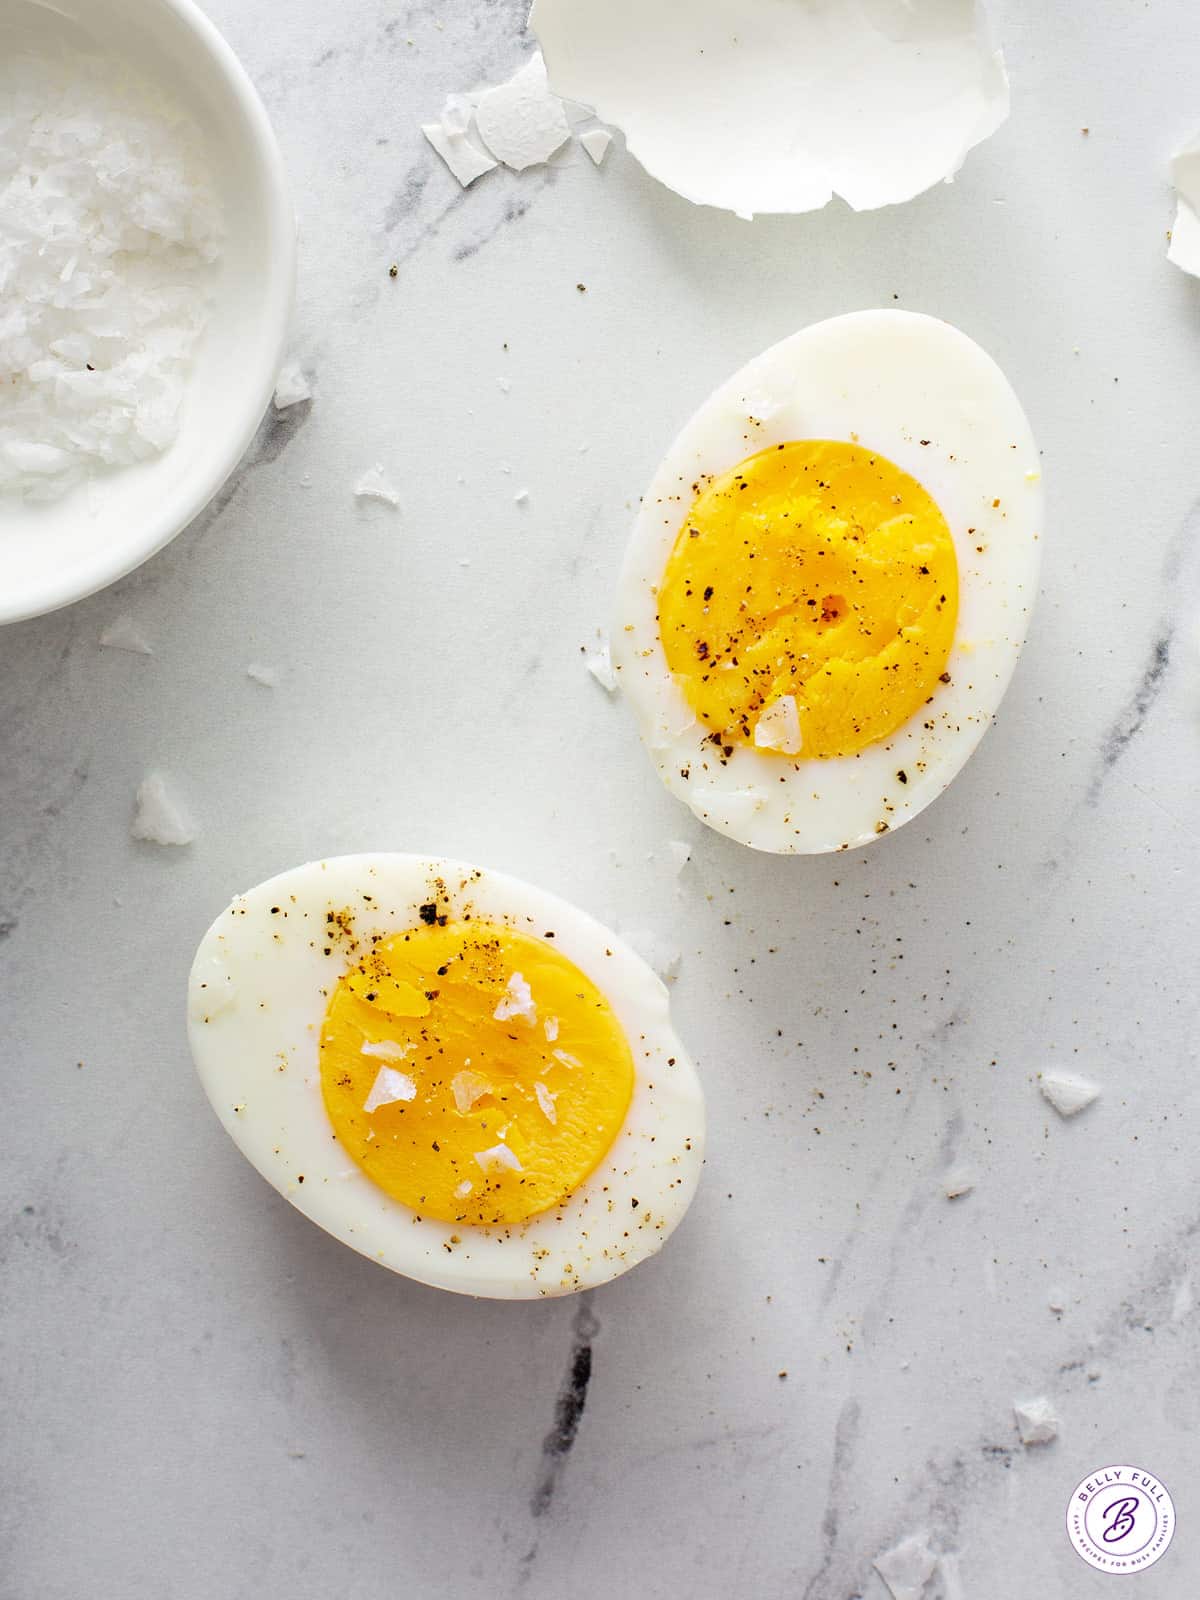
12 minutes: a perfect hard boiled egg (IMHO) that is cooked through, but still tender and creamy.
14 minutes: a more traditional hard boiled egg with the lightest yolk and a firm white, but not overcooked yet.
Cooking Tips!
- Detach the membrane. This step is optional, but I do think it helps when it comes time to peel them. Simply take a spoon and gently tap on the wider end of the egg until you hear the snap. Check out my video tutorial on Instagram.
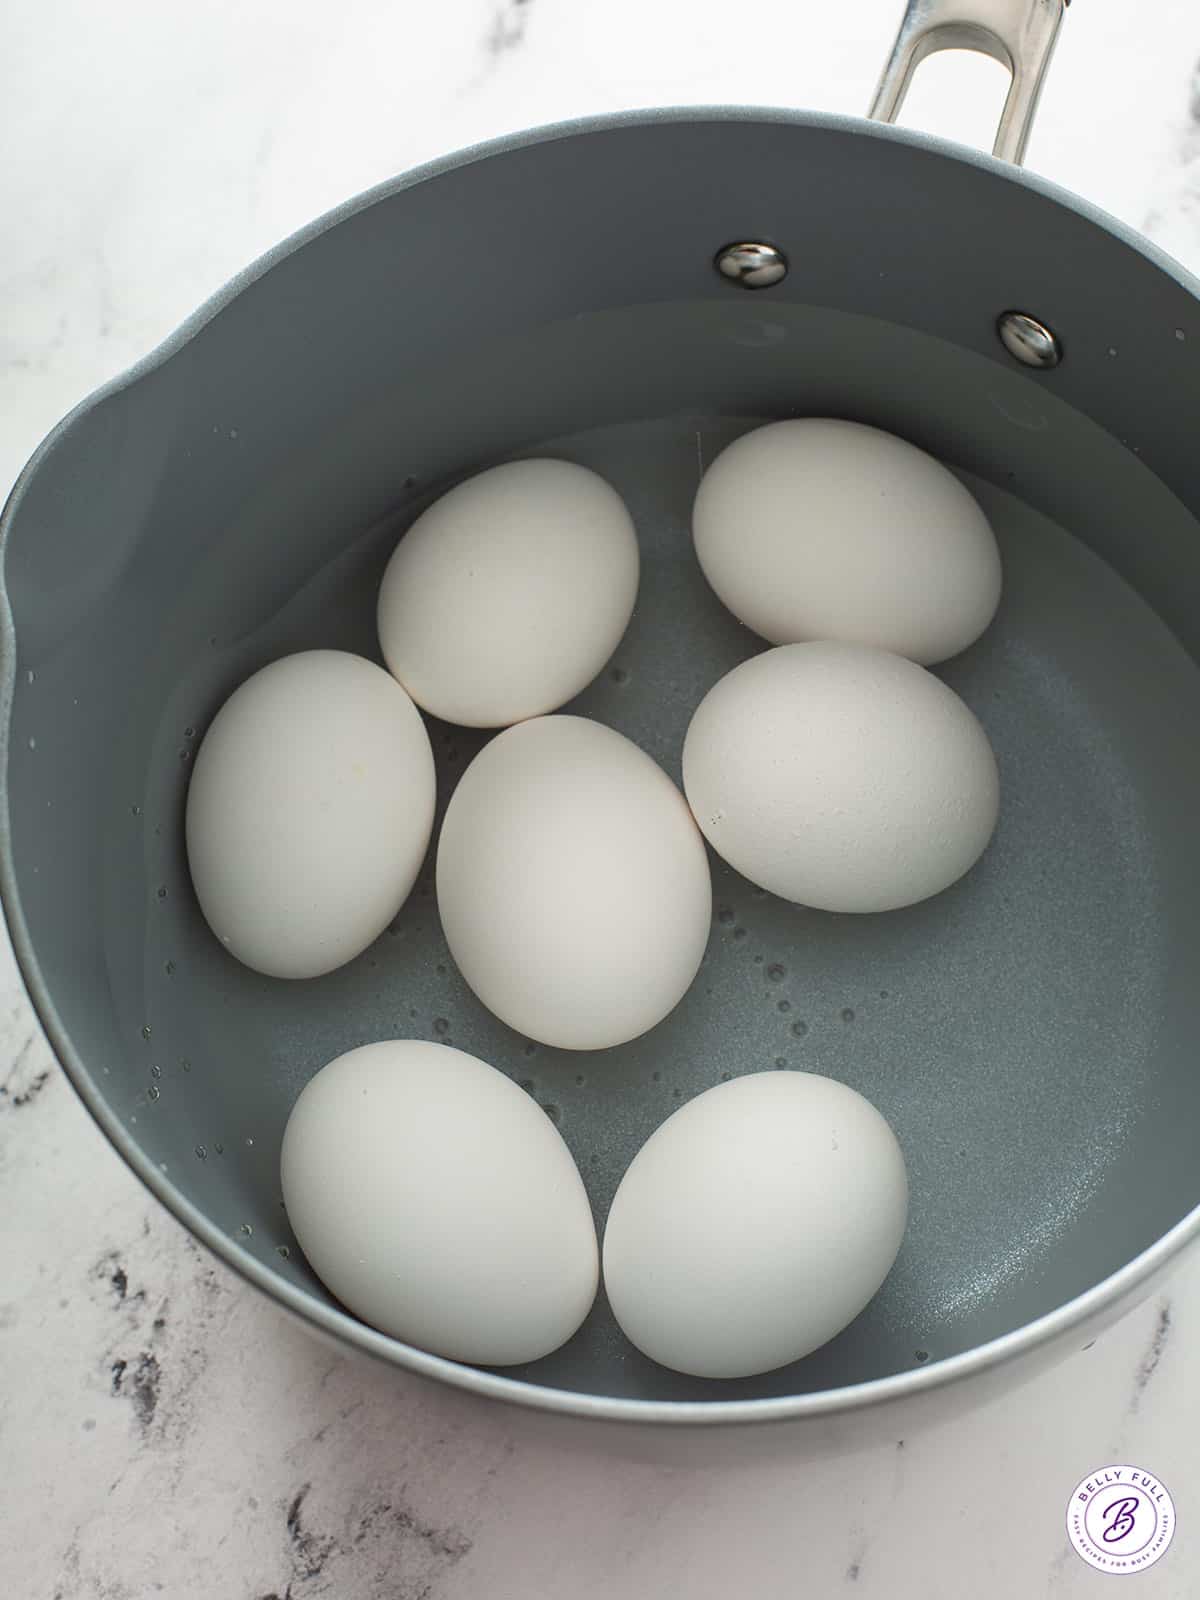
- Make sure not to overcrowd the pot. You want the eggs in a single layer and not touching.
- 7 day old eggs are easier to peel than fresh eggs. Egg whites contain something called albumen. The albumen in older egg whites have a higher pH, which allows it to separate from the inner membrane.
- Have an ice bath ready! This will cool the cooked eggs quickly and prevent further cooking, plus make them easier to peel.
- There are variables. Altitude, your stove, the size of your pot, size of the eggs, and the amount of water all play a role in getting those eggs perfect.
How To Make Perfect Hard Boiled Eggs

Ingredients
- 8 large cold eggs
- cold water
- ice
Instructions
- This first step is optional, but I do find it helps when it comes time to peel them. Detach the membrane by very gently tapping the wider/rounded end with a spoon until you hear the snap.
- Gently place the eggs in a single layer at the bottom of a medium pot. Fill with cold water to cover eggs by 1-2 inches. Heat the pot on high and bring the water to a rolling boil. Once it starts boiling, turn off the heat, remove the pan from the burner, cover, and let sit for 12 minutes (*see note)
- Using a slotted spoon, transfer the eggs to a large bowl of ice water and let cool until just slightly warm, 3-4 minutes. (This will cool them quickly and prevent further cooking, plus make them easier to peel.)
- When the eggs are cool to the touch, tap the larger end on the countertop and then roll gently so they’re crackled all over to loosen the shell. Holding the egg under cold running water, start peeling at the large end where the air pocket is.
- Slice, dice, or enjoy whole.
Notes
Nutrition
Nutritional information given is an automatic calculation and can vary based on the exact products you use and any changes you make to the recipe. If these numbers are very important to you, I would recommend calculating them yourself.
Why some hard boiled eggs have a green ring and how to avoid it!
Pet peeve of mine? Seeing hard boiled eggs with a green ring around the yolk. Just…no. That greenish-gray outline appears around the egg yolk from over-cooking the eggs (and sometimes from having too much iron in the cooking water.) It’s caused from a chemical reaction – the sulfur (from the egg white) and iron (from the egg yolk), creating a slight sulphuric flavor. Eggs with a green ring aren’t bad for you, but they certainly aren’t pretty!
Does it matter if I have a gas or electric stove?
Nope! Because either way, once you achieve that rolling boil, you’re removing the pot from the heat source. I’ve used my method on gas, electric, and induction all with the same great results.
How long do hard boiled eggs last?
If you want to make the hard boiled eggs ahead of time, cook and peel as directed, then store them in a tightly sealed container and place in the refrigerator up to 5 days.
Hard Boiled Egg Calories
One hard boiled egg is 81 calories and contains 7 grams protein and 5 grams of fat. They are rich in potassium and calcium. Hard cooked eggs really make a great addition to salads or a nice on-the-go snack!
Alternative Methods for Hard Boiled Eggs
So you’ve got yourself an air fryer and an instant pot and want to make hard cooked eggs that way instead? No problem.
Air Fryer Hard Boiled Eggs:
- You can cook 1-6 large eggs (cold from the fridge) this way.
- Preheat a 3.5-quart air fryer to 270 degrees F. Add the eggs to the fryer basket and cook 15 minutes. Remove the eggs and plunge them into an ice bath. Peel when cool enough to handle and enjoy!
- NOTE: Every air fryer is different and might take longer or less time to cook. It’s also personal preference how well cooked you like your eggs. If this is your first time trying this, cook 1 or 2 eggs at first and adjust from there.
Instant Pot Hard Boiled Eggs:
- You can cook 1-12 eggs (cold from the fridge) this way, as long as they are in a single layer and aren’t wedged together or overlapping.
- We like the 5-5-5 method. 5 minutes at pressure, 5 minutes before releasing pressure (if it doesn’t naturally release first), and then 5 minutes in an ice bath before peeling.
- Check the manual that came with your pressure cooker for the minimum requirement of liquid to use, and add at least that amount. If no instructions are given, add 1 inch of water. You can use a standard metal or silicone steamer basket instead if your pressure cooker didn’t come with its own. (If you don’t have a steamer basket, you can skip it, but you might end up with cracked eggs.)
I hope you love this delicious and easy recipe – be sure to give it a review below! Also don’t forget to follow Belly Full on TikTok, Facebook, Instagram, Pinterest, and YouTube!


Perfect! So smart to turn the heat off instead of running power, or in my case gas to keep the burner on when it’s not necessary. The eggs turned out perfectly.
I have tried tons of recipes for hard boiled eggs but this one is definitely the best! I especially appreciated the instructions on how to peel the eggs. I had never read about this technique before and it works! Thanks!
Perfect every time! I usually make them in the instant pot but I think this method on the stove is much faster…Thanks! ❤️
Perfect Avery time! I do both on the stove and in the instant pot….i think on the stove is faster but perfect every time!
I made a dozen and followed the directions to the letter with the exception of the optional tap to dislodge the membrane step. All 12 eggs came out perfectly with a creamy yolk and no green ring between the white and yellow l. Also, the eggs were super easy to peel.
Tried it exactly as the recipe indicated–and i’ve tried 100 times to make the ‘right’ hard-boiled eggs- This one worked perfectly!! Every 14 eggs came out to perfection!!
I don’t cook, but I love hard-boiled eggs- This was easy and turned out perfectly!!! I’ve saved it in my inbox to ‘do again’!!!
So, I just boiled it in boiling water for about 11-12 minutes, and it turned out PERFECTLY.
Do you boil the water before you put the eggs in? I put my eggs in hot water before I put them on stove and cook for 20 minutes. Right or wrong????
When you say tap the the large end, are you referring to the bottom of the egg or where the egg is largest on its side?
The bottom
These are the BEST hard boiled eggs I have ever made. When I read your recipe, I was skeptical.
Tender whites, perfect yokes.
Amy – you have changed my life with this recipe! I love hard boiled eggs, especially pickled with beets and onions. Your tip to tap the round end with a spoon before boiling to release the membrane is genius! Now my pickled eggs don’t look like something gnawed on them!
Love your recipes. Thank you!
Thank you. Your method worked perfectly!
Perfect!!!
These were amazing
As per instructions results were perfect
Your recipe made perfect hard boiled eggs. You had a couple of tips that made all the difference! A keeper for sure. Thanks for sharing.
Thank you for the info! Just tried it and sound is loud when you tap it, way louder than a soft membrane detaching. The sound is actually the creation of a hairline fracture on the shell, that you can only see when you are transferring them to the cold water. I have really colorful eggs so maybe it shows more. The eggs did not break or leak while boiling, but there was a little water in there which I think is what makes it easier to peel. I will continue to do it since I struggle with peeling. My only concern is that I don’t eat them right away I like to have them in the fridge ready to go as a snack for the week. I’m wondering if the tiny amount of water in the shell will make them spoil faster? I guess I will see! Thanks again!
If your egg isn’t leaking out then as long as you pull them out of the water right after boiling, then no water should go in.
An eggshell is porous by nature, and a hairline fracture makes those pores larger. When you place the egg in water and heat it:
• Air inside the egg expands as it heats.
• As the egg cools after boiling, the inside contracts, creating a slight vacuum.
• That pressure difference can pull water in through tiny cracks or pores, even if no egg white ever leaks out.
perfect every time
My eggs turned out perfect!
I end up with uneven yolks when I use my instant pot (meaning the yolk is off-center and results in one very flimsy white side). Does the pot method fix this naturally with the eggs rolling around from boiling?
I can’t answer this with certainty, since so many factors come into play (size of eggs, the size of your pot, your stove, altitude, etc.), but I will say that whenever I make them using my method, the yolks are center.
1st time in 5 years that I don’t have to eat egg salad. Every last egg came out perfect! Now my deviled eggs look amazing. Thank you
So easy to follow!