Blini {Russian Crepes} Recipe

Updated
Updated
If you’re craving thin, delicate crepes with a little Russian flair, this blini recipe is exactly what you’re looking for. Made with just eggs, milk, flour, and a touch of sugar, the batter comes together in one bowl in under 10 minutes, then rests while you get everything else ready. The payoff is worth it: lacy, golden edges and a tender center that rolls or folds without tearing. I love making a big batch for weekend brunch and setting up a toppings bar (jam, honey, smoked salmon, whatever sounds good) so everyone builds their own plate. Whether you call them blini, blinis, or blinchiki, they disappear fast at my house.

Pin this now to find it later
Pin ItThis post may contain affiliate links. If you click on one and make a purchase, we may earn a small commission at no extra cost to you. We only recommend products we genuinely love.
I’ve made this recipe more times than I can count (weekend brunches, Maslenitsa, lazy Sunday mornings) and it hasn’t let me down yet. My Russian friend Elena calls them blini, and I’ve heard others use blinchiki, blin, or blinis just as often. It’s regional, so don’t worry too much about which name is “right.” Blini are close cousins of French crepes, but this batter is a touch richer and slightly sweeter, and I cook mine a little thicker than a classic crepe so they hold up better under hearty fillings. The trick isn’t a special ingredient. It’s resting the batter for a full 15 minutes before you cook. Skip that step and the blini turn out tough instead of tender, because the flour hasn’t had time to fully hydrate and relax. You’ll know the batter is ready when it pours like heavy cream and coats the back of a spoon in a thin, even layer. If it clings in globs, whisk in another splash of milk.
Do You Need Kefir or Buttermilk for Real Blini?
You’ll see plenty of blini recipes calling for kefir or buttermilk, and if you have some in the fridge, go ahead and swap it in for the milk here, since it adds a pleasant tang and helps create extra-lacy edges. But it’s not required. My friend Elena, who’s 100% Russian, doesn’t use it, and after testing this recipe with both whole milk and buttermilk side by side, the difference came down to flavor, not success. Milk keeps the batter neutral enough to go sweet or savory; buttermilk leans the crepes slightly tangier, which is especially good under smoked salmon and sour cream.
Helpful Tips
- The batter should be completely lump-free. Combine your ingredients in a blender, with a handheld mixer, or by hand in a bowl, but make sure the batter is smooth and very loose. It should have the consistency of heavy cream.
- Let the batter rest for about 15 minutes before cooking. I tested this recipe both with and without the 15-minute rest, and the difference was obvious: skipping it gave me crepes that tore when I tried to flip them. It’s the one step I won’t let you skip. Just like when you let bread rise, this helps gluten develop, which results in more tender crepes.
- Use a 10-inch non-stick pan to ensure the correct size, even heating, and no sticking.
- Cook over medium heat. If the heat is too low, the crepes will take too long to cook. If the heat is too high, they could burn.
- Use butter for the pan instead of nonstick spray or oil. Butter adds richness to the crepes and gives them the best flavor.
- Use a 1/4 cup measuring cup so each crepe is the same size and thickness, and they cook at the same rate.
- Tilt and swirl. Unlike pancake batter that gets ladled into the pan and you wait for bubbles to form, crepes require you to immediately start swirling the batter, making sure they’re thin and cook evenly, not just in the center. Don’t let this part intimidate you! Watch the video for help.

Blini (Russian Crepes)

Ingredients
- 4 medium eggs
- 1 cup whole milk, room temperature
- 1/2 tsp salt
- 1/2 tbsp granulated sugar
- 1 cup all-purpose flour
- 4 tbsp unsalted butter, divided, for pan
Instructions
- In a medium bowl, whisk together the eggs and milk. Whisk in the salt, sugar, and flour until well combined and no lumps remain; set batter aside to rest for 15 minutes. Whisk once more before cooking.
- Warm up a nonstick 10-inch pan over medium heat. Melt about 1 teaspoon of butter; when it starts to foam, ladle in 1/4 cup of batter in the center of the pan.
- Immediately lift the pan from the burner and swirl it so the batter coats the bottom of the pan. Replace the pan on the burner and cook the crepe until the batter is just set and the underside is lightly golden, about 1 minute.
- Using a spatula or your fingers, loosen the sides of the crepe and gently flip in the pan; cook for another 45 seconds.
- Transfer crepes to a plate. Repeat until all batter is gone.
- Roll up or fold into quarters.
- Serve immediately with a few teaspoons of jam or honey, and fresh berries!
Video
Notes
- Don’t skip the 15-minute rest. It’s what keeps the crepes tender instead of tough, since it gives the flour time to fully hydrate.
- Use room-temperature milk and eggs. Cold batter is what causes it to spread unevenly in the pan and cook in patches instead of one smooth, thin layer.
- Kefir or buttermilk can replace the milk for tangier, lacier edges. Store-bought works fine here; there’s no need to make your own.
- For savory fillings, you can drop the sugar to 1/4 tablespoon or omit it entirely. The batter still cooks up thin and tender without it.
- No blender required, but if your batter keeps coming out lumpy by hand, blend everything for 10–15 seconds instead of whisking.
- This recipe is naturally low in sodium and sugar (153mg sodium, 2g sugar per crepe), so there’s no need to adjust unless your toppings add extra.
- To make ahead and store, cool completely, stack with parchment between layers, and refrigerate up to 3 days or freeze up to 2 months. When reheating frozen crepes, thaw on a rack before peeling apart so they don’t tear, then microwave 10–15 seconds.
Nutrition
Nutritional information given is an automatic calculation and can vary based on the exact products you use and any changes you make to the recipe. If these numbers are very important to you, I would recommend calculating them yourself.
 Did you make this? Leave a rating below!
How to Make Blinis Step by Step
Gather the ingredients together.
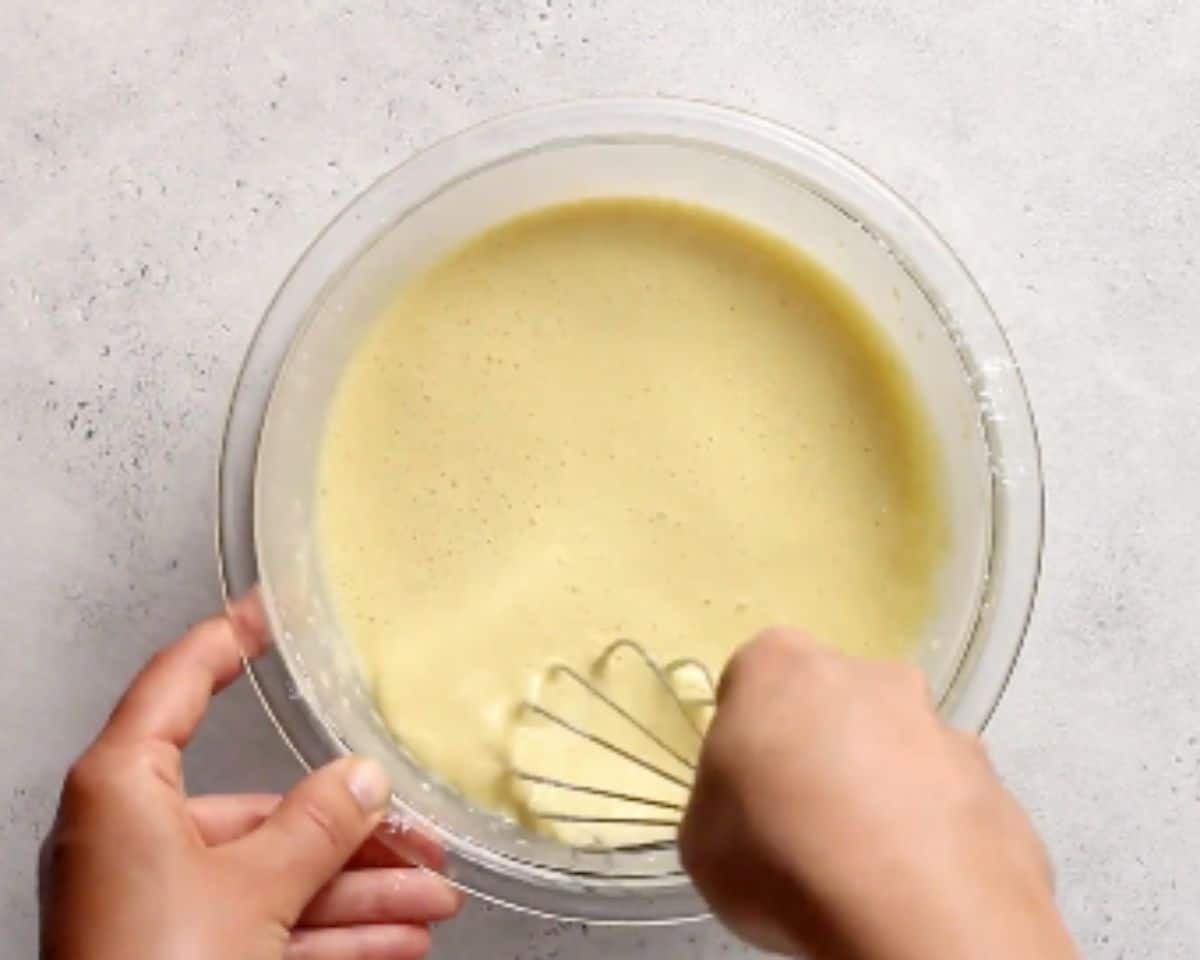
Make the batter: In a medium bowl, whisk together 4 eggs and 1 cup whole milk. Whisk in 1/2 tsp salt, 1/2 tbsp sugar, and 1 cup flour until no lumps remain. The batter should pour like heavy cream and coat the back of a spoon in a thin, even layer. Set aside to rest for 15 minutes, then whisk once more before cooking.
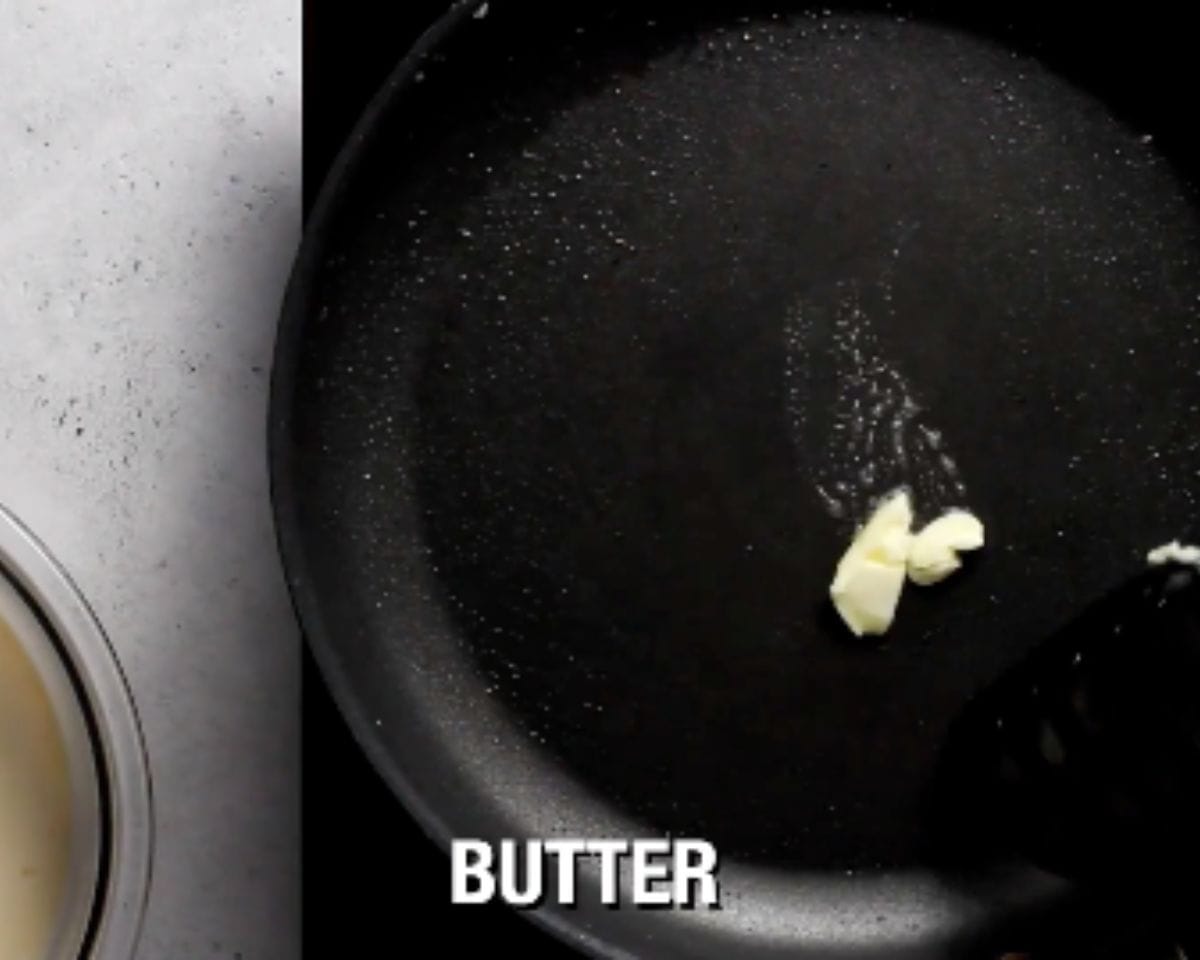
Heat the pan: Warm a nonstick 10-inch pan over medium heat and melt about 1 tsp of the 4 tablespoons of butter.
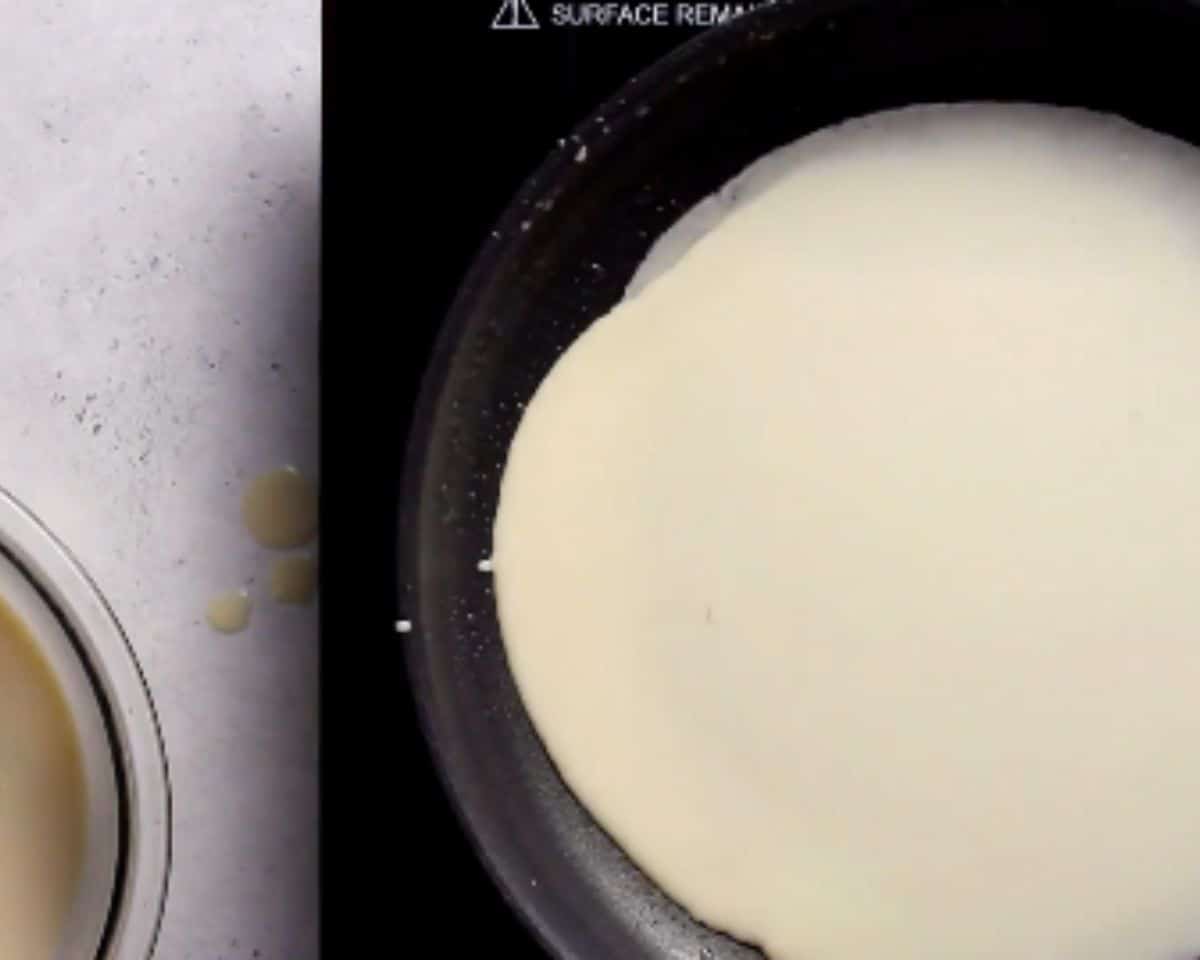
Swirl in the pan: When the butter starts to foam, ladle in 1/4 cup of batter into the center of the pan. Immediately lift the pan from the burner and swirl it so the batter coats the bottom in a thin, even layer.
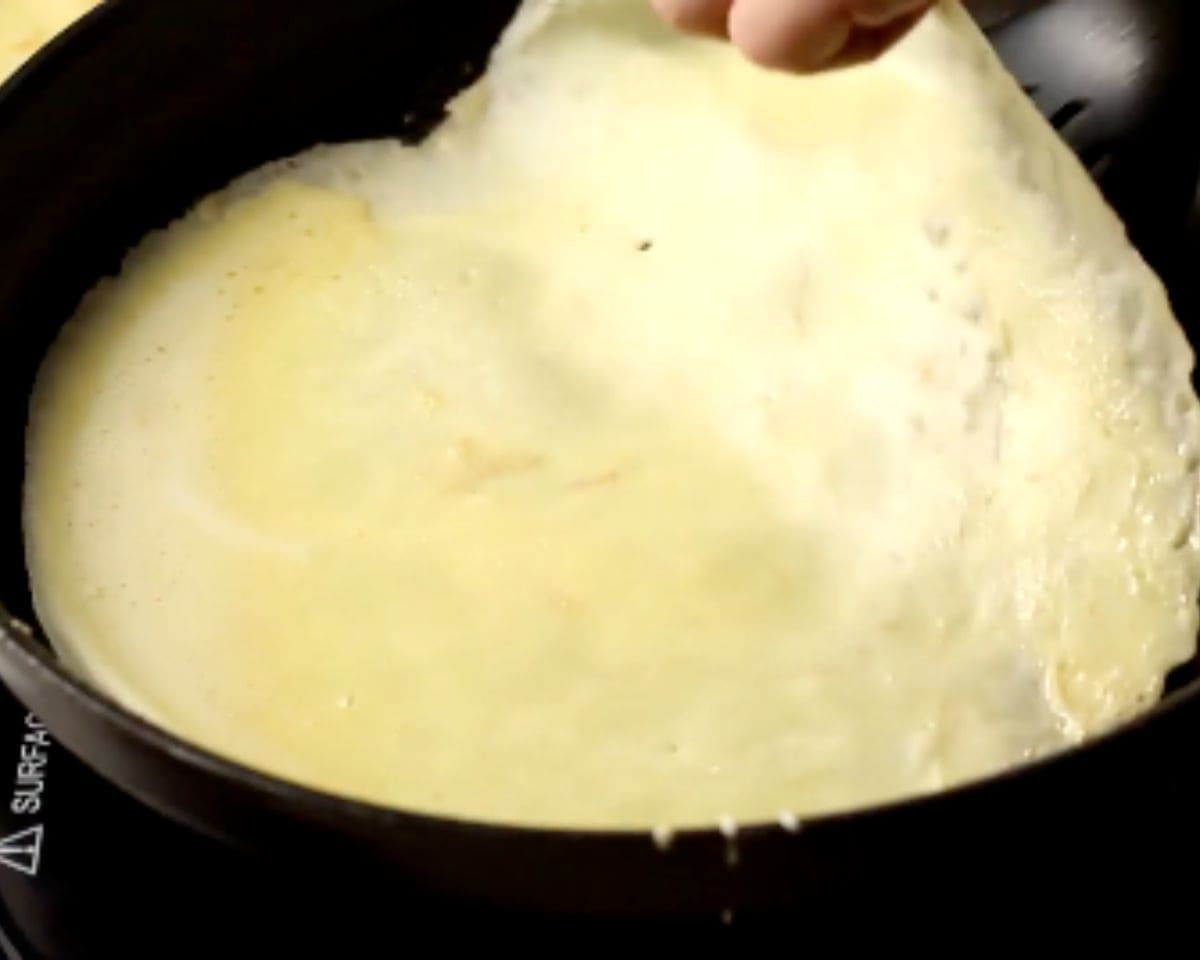
Cook until matte: Replace the pan on the burner and cook until the top looks matte and dry with no wet batter visible and the underside is lightly golden, about 1 minute. The edges will start to look dry and slightly lacy within the first 30 seconds, which is your cue that it’s getting close.
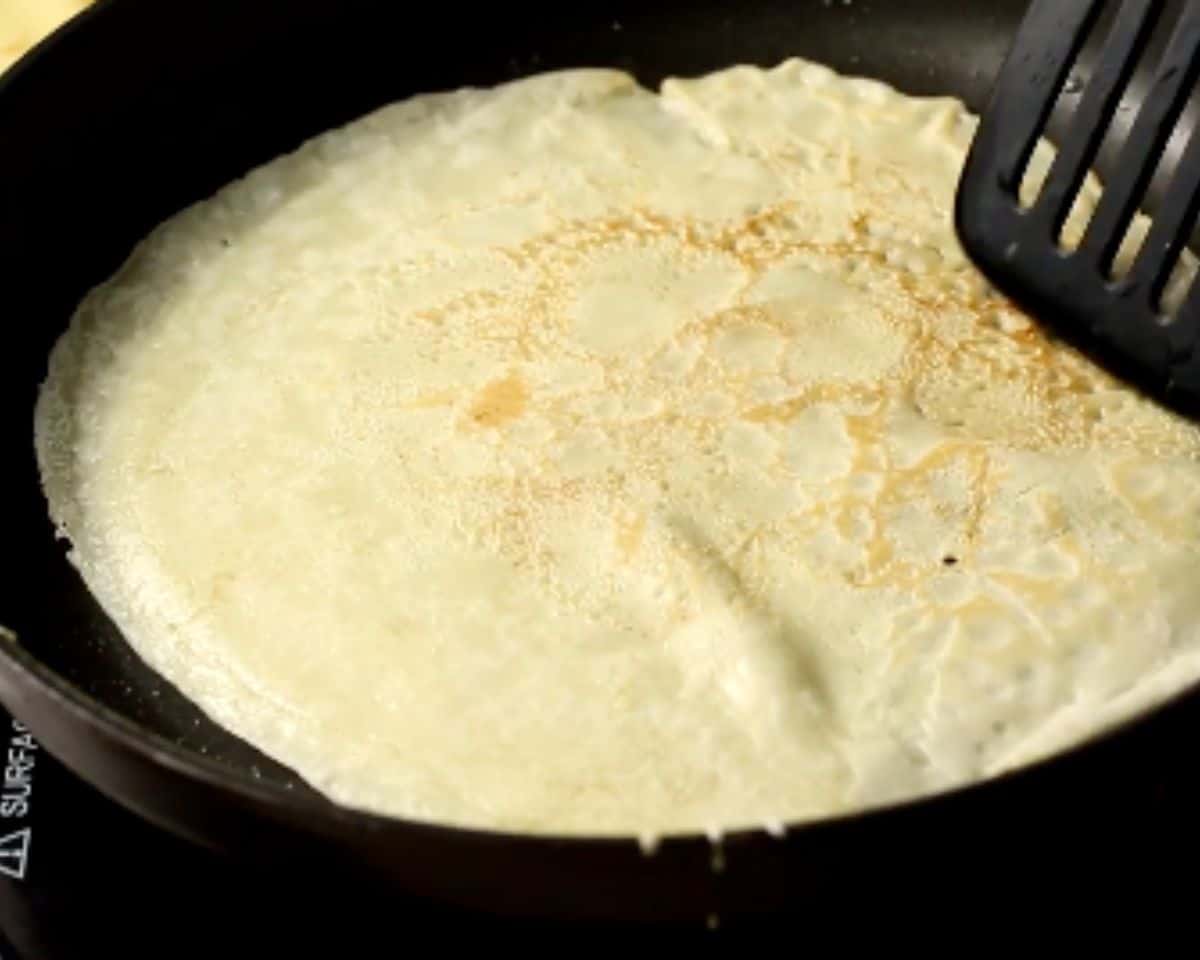
Flip the blini: Using a spatula or your fingers, loosen the edges of the crepe and gently flip. Cook for another 45 seconds, until the second side is just set and lightly spotted. Transfer the crepe to a plate and repeat with the remaining batter, using about 1 tsp of butter for each new crepe, until all the batter is gone.

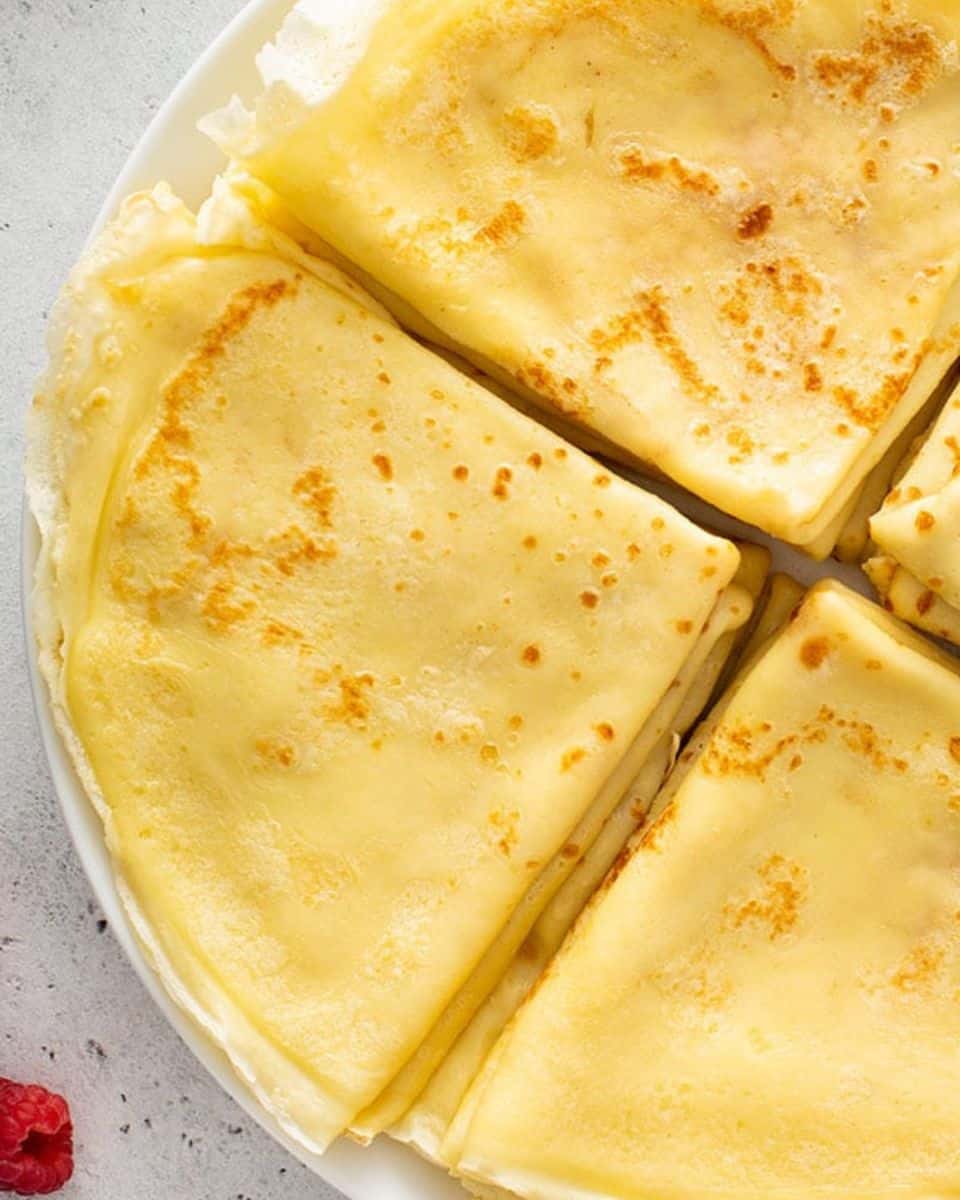
Fold and serve: Roll the crepes up or fold them into quarters. Serve immediately with jam or honey and fresh berries.
Serving Suggestions
The classic way to serve blini is warm, folded into quarters or rolled, with a small bowl of jam or honey and a dollop of sour cream (smetana) on the side. It’s simple, and it lets the crepes be the star, which is honestly how I serve them most Sunday mornings at my house.

For a savory brunch spread, I like topping mine with smoked salmon, a swipe of cream cheese, and a sprinkle of dill; the tangy fish balances the slightly sweet batter so well. If I’m feeding a crowd, I love setting up a full Blini breakfast bar with raspberry jam, a jar of honey, a dollop of homemade whipped cream, fresh berries, and a swirl of lemon curd for the citrus lovers in my family. It’s basically a taco bar for brunch, and everyone gets to build their own plate exactly how they like it. Keep in mind the base batter is vegetarian but not dairy-free or gluten-free as written, so for a vegetarian-friendly spread, I skip the smoked salmon and lean on jam, honey, and fruit instead.
How to Store Leftovers
Stack cooled blini with parchment paper between each layer and store in an airtight container or resealable bag for up to 3 days.
Freezer
Freeze the same way, with parchment between layers, sealed in a freezer bag, for up to 2 months.
Reheating
Thaw frozen blini on a rack before gently peeling apart so they don’t tear. Microwave each crepe for 10–15 seconds, or warm briefly in a dry skillet for slightly crisped edges.
Make Ahead
The batter itself can be mixed and refrigerated up to a day in advance. Just give it a good whisk before cooking, since it will thicken slightly as it sits.
More Pancake and Crepe Recipes to Try
- Basic Crepes: If you love the swirl-and-flip technique behind blini, this is the lower-key version to keep in your back pocket for a weekday breakfast when you don’t need the extra richness.
- Crepe Cake: Once you’ve got the technique down from making blini, you’re basically ready to build this one, which stacks dozens of thin crepes with raspberry cream for a special-occasion dessert.
- Cinnamon Roll Pancakes: If you’re building out a full brunch spread, these are a great sweet counterpart to set alongside a savory blini bar.
- Japanese-Style Soufflé Pancakes: For the same weekend-brunch crowd, these fluffy pancakes make a fun textural contrast to blini’s thin, delicate crepes if you want to offer both.








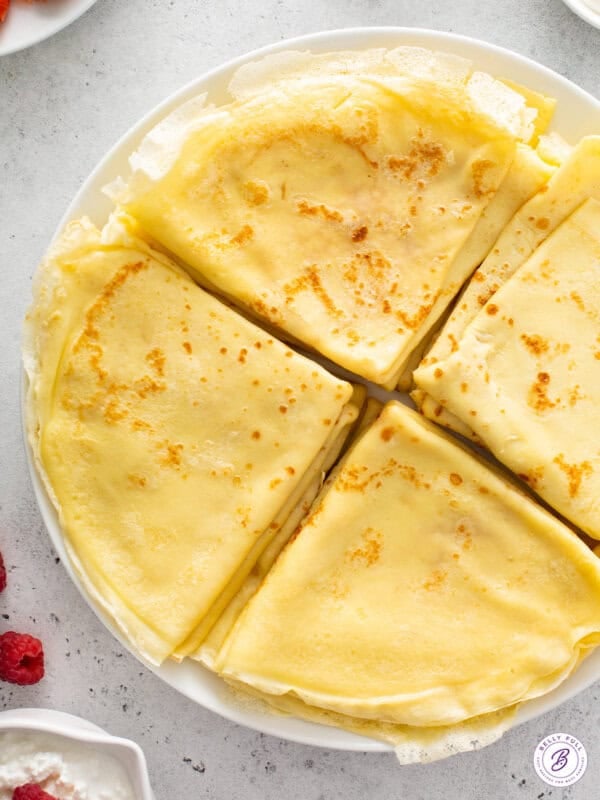






These were perfect and easy, too! I served them by spreading blackberry jam on some and strawberry jam on the others. Folded them into the triangle shaped, sprinkled with powdered sugar and topped with raspberries. Served with a side of sausage. Chef’s kiss!
Thank you with all my heart for this recipe!