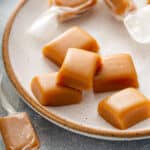
These Homemade Caramels are soft, chewy, sweet, and melt-in-your-mouth delicious! They’re a classic simple candy that can easily be made at home and perfect for gift giving any time of year.
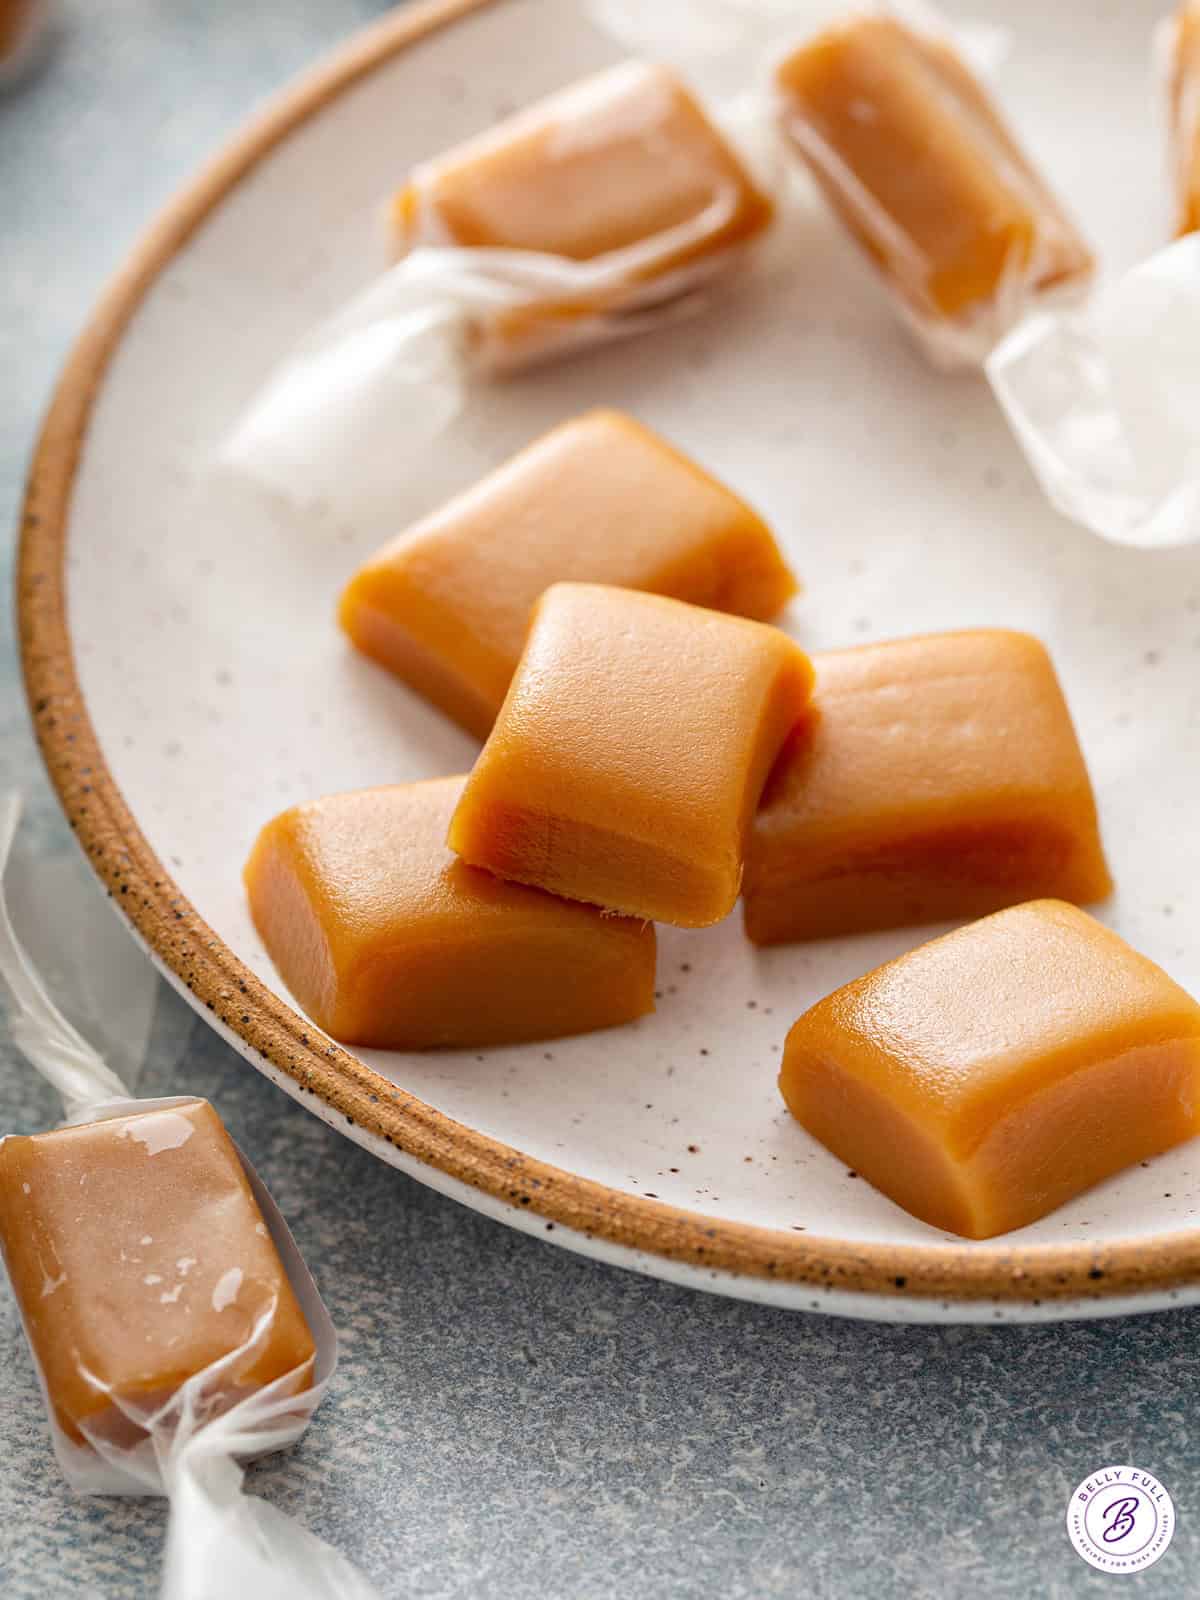
You know those candy shops with huge buckets filled to the rim with taffy and caramels? Those places were like Mecca to my kids when they were little – they love candy like no other. One day I made homemade caramels and it literally blew their minds. Yep, you can make caramel candy at home and it’s easier than you might think!
A trio of candied pecans, polar bear paws, and some of these caramel candies make such a great gift during the holidays. So yummy!
What’s in this Caramel Candy Recipe?
- Butter: Butter is a critical, non-negotiable ingredient in caramels. I use unsalted and then add in salt separately, so I can control the amount.
- Granulated sugar: Gotta have white sugar to make caramel candies. It breaks down into that gorgeous amber color that we know and love. Don’t try to substitute with all brown sugar – it will mess with the science of the other ingredients and not turn out.
- Light Corn Syrup: This helps the sugar molecules from crystallizing. In a nutshell, it prevents the candy from being grainy. We’re after smooth and creamy caramels!
- Evaporated Milk: This is what makes a soft caramel candy instead of a hard one. Make sure you use evaporated milk and not sweetened condensed milk for this recipe.
- Coarse Salt: A bit of salt gets incorporated into the mixture and balances out the sweetness. You can also sprinkle a little sea salt on top of the mixture at the end before it sets, but that is purely optional.
- Vanilla: Technically vanilla is optional, but it really does elevate the flavor and I wouldn’t skip it.
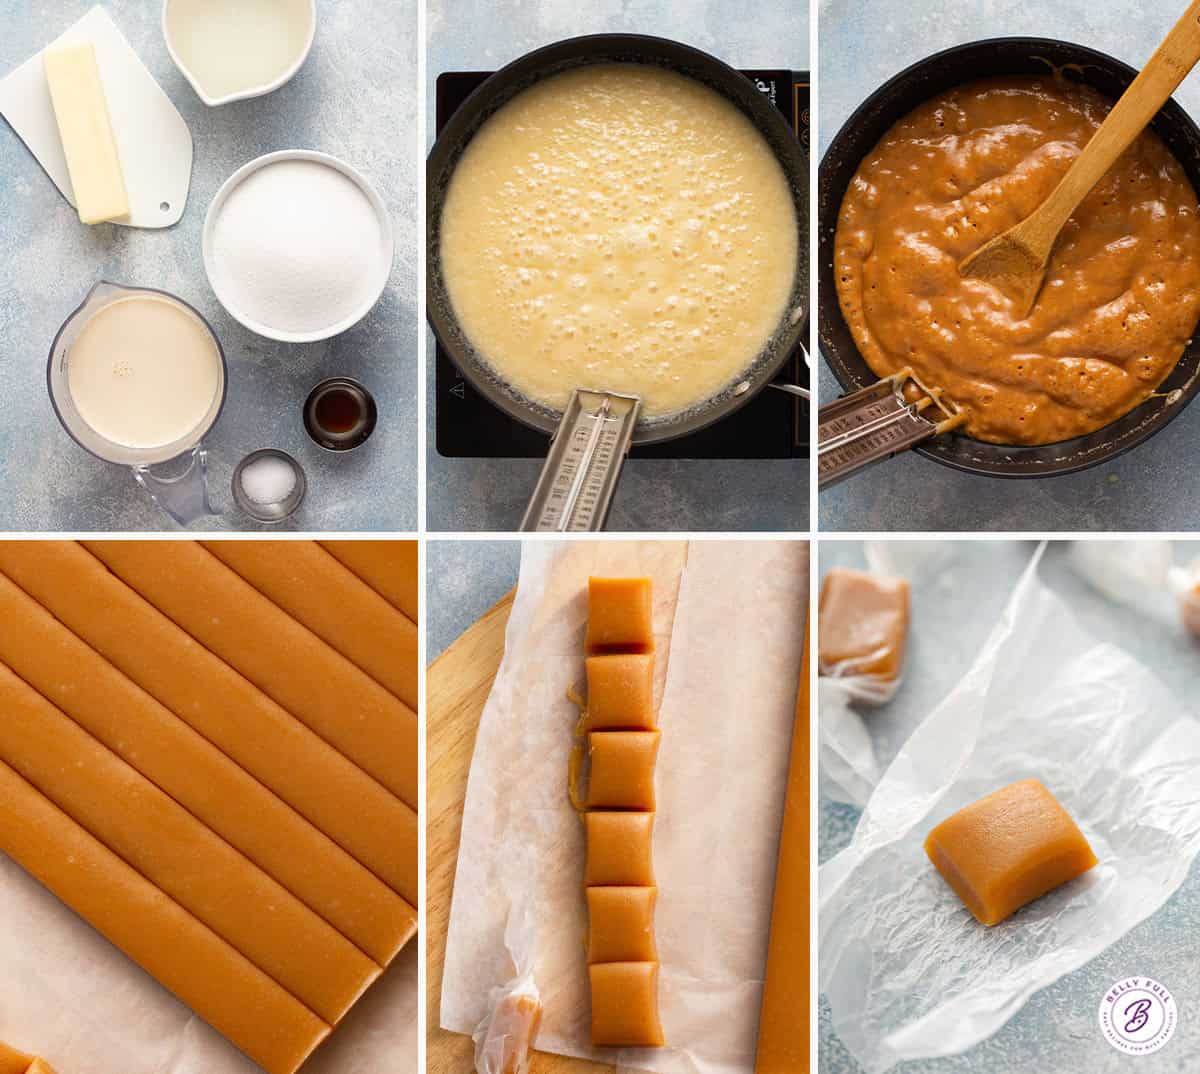
How to Make Homemade Caramels
Making caramels is similar to my easy caramel sauce in color and taste, but with a few tweaks, additional steps, and patience to make them into a soft candy. It’s super easy, but the perfection is all in the details. Scroll down to the recipe card below for the exact measurements.
- Maintain a steady temperature. The most important part of making homemade caramels is achieving the right temperature. The perfect temperature for soft caramels is a “soft ball” stage, which is 238 degrees F.
- Slowly add in the evaporated milk. It’s critical that you add in and stir the evaporated milk a little at a time, so the mixture maintains a constant, steady temperature (as mentioned above^) It’s such a simple step, but it can take up to 15 minutes and if you get impatient and rush it, your mixture will be ruined.
- Candy Thermometer and Ice Water Method. you’ll need a candy thermometer to determine when you’ve reached “soft ball” stage (238 degrees F.) But since they can sometimes be unreliable depending on how they’re calibrated or the altitude and humidity levels of where you’re located, check for perfect consistency the old fashioned way – the ice water test. Simply drizzle a small amount of the hot caramel into a cup filled with ice cold water, then mold the caramel into a ball with your fingers. It should be firm, but soft and pliable and still slightly sticky. (You can see the video in this post for a visual example.) I actually recommend using BOTH a thermometer and the cold water method to know exactly when it’s done.
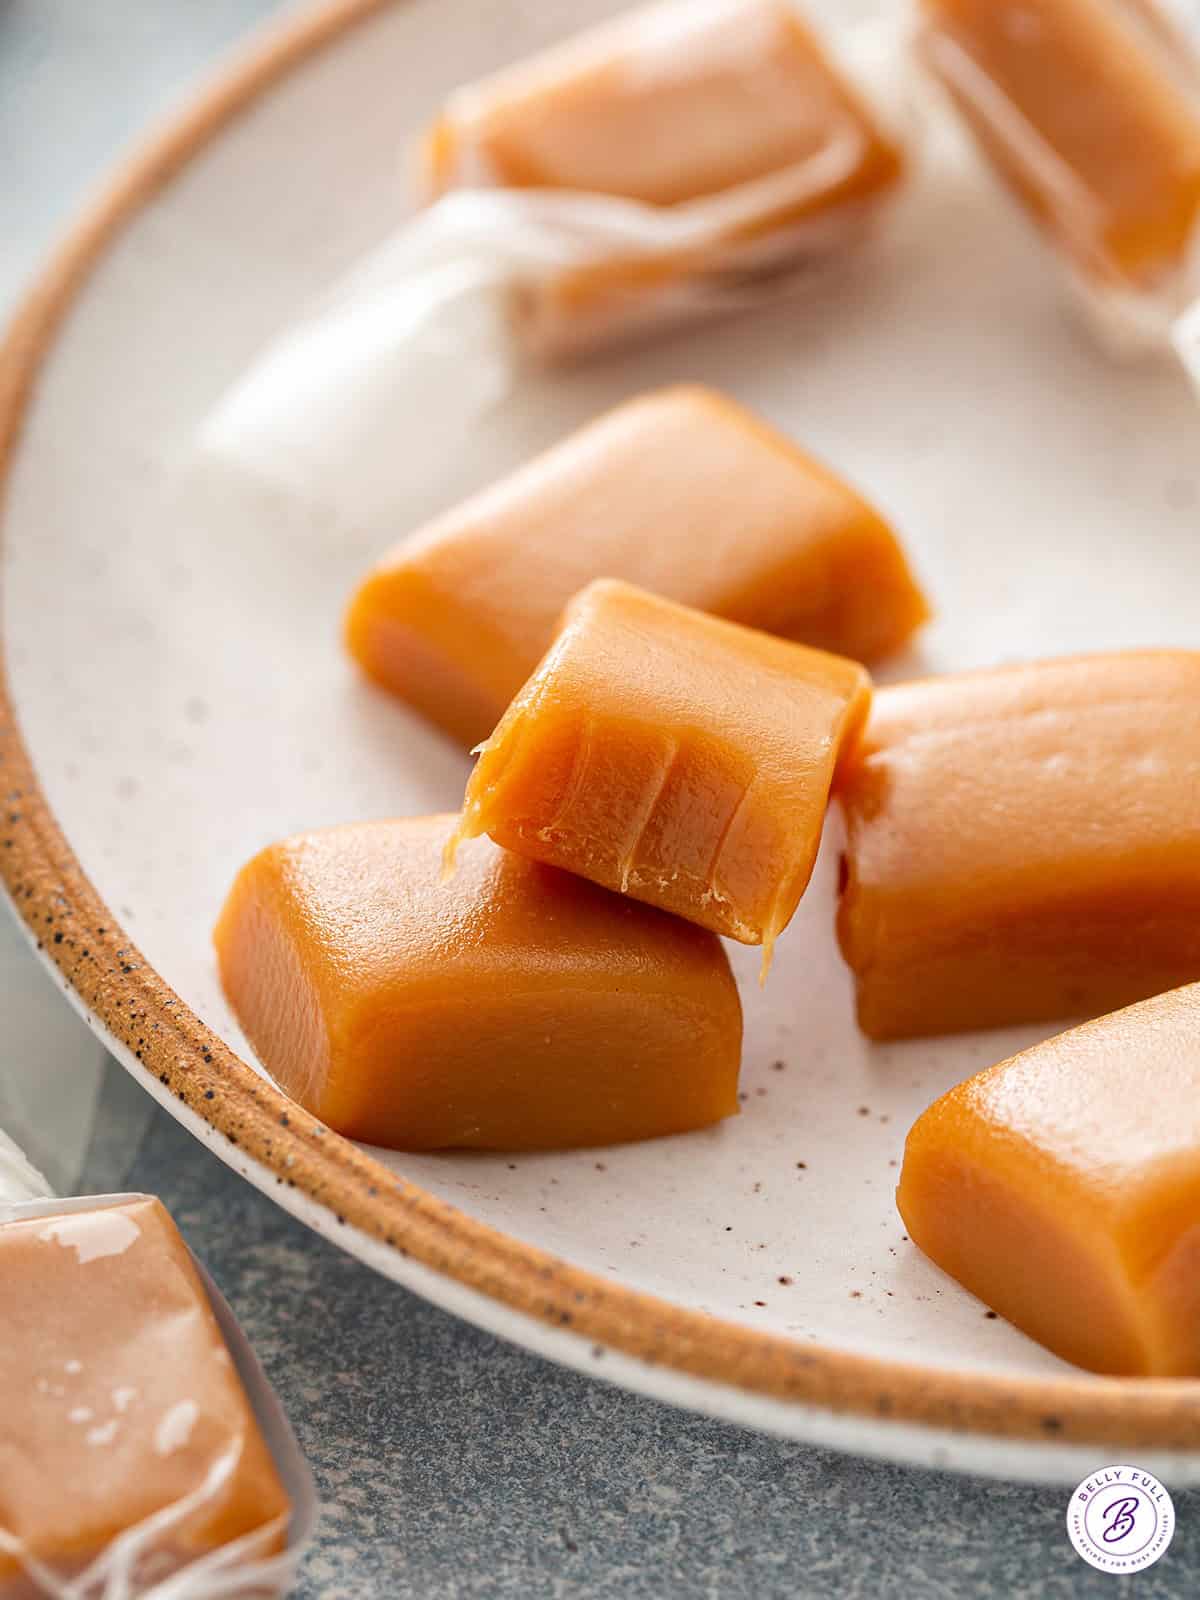
Tips to Cut Homemade Caramels
- Line and grease your pan. This helps immensely with getting the caramels out of the pan. Line the pan with parchment paper (with a slight overhang) and butter the paper, as well.
- Chill. Caramels don’t have to be chilled in order to set, but it does make it easier to cut them. Chill in the fridge, then let them warm slightly at room temperature so they’re chilled but not cold.
- Use a bench scraper. You can absolutely use a knife, but if you’ve got a bench/dough scraper, use that.
- Dip the blade in cold water. If your blade is sticking, dip the knife or bench scraper in cold water before cutting.
- Cut into pieces. You can cut them into any sized pieces you like – some prefer squares, while others like them long and thin. For this recipe I like to cut 10 rows and then individually cut each row into 8 pieces. You’ll end up with 80 caramels.
How to Wrap Caramels
Years ago, we used to have to cut individual 4×5-inch pieces of wax paper (and you can certainly still do that), but there are now pre-cut candy wrappers available that make the packaging process so much easier. Either way, you’ll place a caramel in the middle of the paper, roll up, and then twist the ends to seal, like a tootsie roll. (You can watch the video in the recipe card below for a visual example, if needed.)
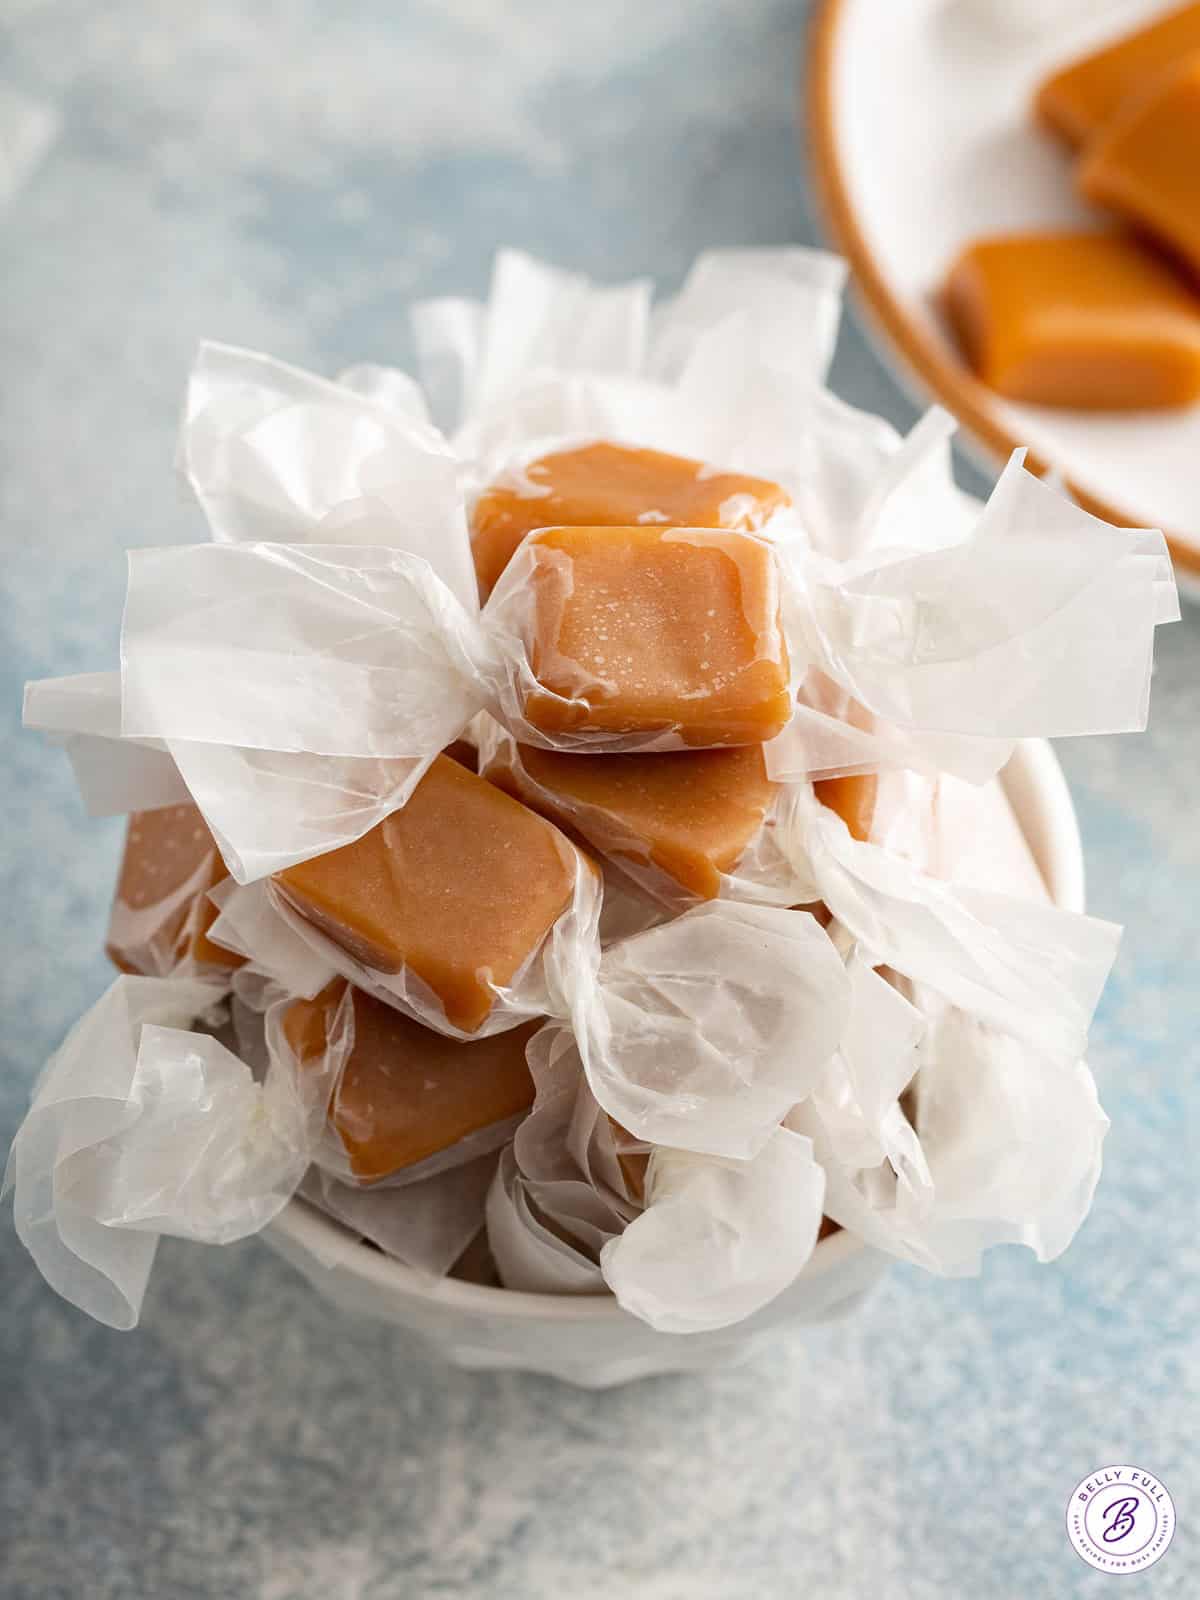
Proper Storage
- How long do homemade caramels last? Wrapped caramels will stay fresh at room temperature, stored in an airtight container for about 2 weeks. You can also store them in the refrigerator, but I would allow them to come to room temperature before enjoying.
- Can you freeze caramel candy? Yep. Store wrapped caramels in a freezer-safe, airtight container for up to 2 months. Thaw completely before eating.
More Caramel Recipes
I hope you love this delicious and easy recipe – be sure to give it a review below! Also don’t forget to follow Belly Full on TikTok, Instagram, Facebook, Pinterest, and YouTube!
Easy Homemade Caramels
Equipment
- pre-cut candy wrappers , optional
Ingredients
- 1/2 cup unsalted butter , plus butter for the pan/parchment paper
- 2 cups granulated sugar
- 1 cup light corn syrup
- 1 teaspoon coarse salt
- 12 ounce can evaporated milk
- 1/2 teaspoon vanilla extract
Instructions
- Line an 8×8-inch pan with parchment paper, with a slight overhang (for easy removal later.) Butter the parchment paper well.
- Add the butter, sugar, corn syrup, and salt to a medium heavy-bottom saucepan over medium heat. Stir over medium heat for 5-10 minutes until mixture begins to boil.
- Very gradually drizzle in the evaporated milk, taking about 12-15 minutes to slowly add it, while stirring constantly. (Remain over medium heat, maintaining a constant boil. It takes patience and time – don't rush this step.)
- Stir the mixture constantly, scraping the sides occasionally until it reaches a "soft ball" stage (238 degrees F on a candy thermometer). For certainty, drop a spoonful of the hot caramel sauce into a cup of ice water and mold it with your fingers into a ball. When ready it will feel pretty firm and pliable, but still slightly sticky.
- Once you reach 238 degrees F / or the soft ball stage, remove from heat. Stir in vanilla. (Be careful, it will bubble up.)
- Pour mixture into the prepared pan. Cool completely, usually about 4 hours. (You can also cool and chill in the fridge overnight, then set out on counter to warm slightly at room temperature, so they're chilled but not cold. This makes them easier to cut.)
- Remove the caramels from the pan by lifting out the parchment paper.
- Using a sharp knife or dough/bench scraper, cut caramel into 10 rows and then individually cut each row into 8 pieces, so you end up with 80 equal sized pieces.
- Place a caramel in the middle of wax paper, roll up, and then twist the ends to seal, like a tootsie roll. Then eat a bunch of them or give as gifts!The full article is filled with helpful tips, cutting, wrapping, and storage information.

I didn’t realize how slowly over 15 minutes adding in the evaporated milk made such a difference. Make sure you use a big enough pot so it doesn’t overflow!
The best! I needed some help making sense of my great grandmother’s recipe for caramels. Yours looked very similar! Hers had 3 steps… mix ingredients, heat to soft ball stage and pour in buttered dish. I needed a little more detail about the in between lol and your instructions were perfect! They came out so well. I might’ve gotten a little emotional haha! Thank you!
I only had my meat thermometer and I couldn’t get the temperature over 224.5°. I did the softball stage in cold water, but I’m wondering what the difference between thermometers is
The main differences between a meat thermometer and a candy thermometer are their temperature range, design, and intended use. Candy thermometers can measure temperatures up to 400° F or more, while most meat thermometers typically only measure up to 200° F.
These are so good and easy to make. I have tried many caramel recipes and this is my first success.
I’ve made these several times and everyone loves them. This last time I was distracted during cooking and the temperature reached firm ball stage / 248 degrees F. When I cut the caramels with a scraper, they did NOT stick to the blade like all previous times. The caramels are firmer and chewy. I’ll cook to firm ball from now on.
Can I use a instant read thermometer to make the caramel? I don’t have a candy thermometer. Thanks
This was my first time making caramel and I chose this recipe after looking through a bunch of other ones because it seemed the most simple and it didnt include brown sugar (the one thing I didnt have.) I followed the ingredients list as well as the directions and I can say that the flavor is amazing. I can see now why this is one of the type of things that get better with experience. My first mistake was using a sauce pan thinking that would be enough room. I didnt anticipate how much the recipe grew with the evaporated milk (did I mention that this was the first recipe I’ve ever followed, as in never cooked outside of Mac and cheese or sandwiches) so mid way through I had to hurry up and grab a larger pan, heat it up and then transfer it all over to that one. That didn’t seem to affect it to much though. My second and probably biggest mistake was that I kept the candy thermometer in the whole time I was stirring since I thought that was what I was supposed to do after noticing the little clip thing to keep it clipped to the pot. Well since that was in the same spot I never stirred behind it and made sure to even avoid it so as to not break it. I didn’t notice though until I took it out when it came time to pour the hot caramel into the dish. Then my third mistake was thinking it was going to come to the soft ball stage right after I was done adding the milk. And maybe it is supposed to but I have one of those glass top electric stoves that as my son lovengly refers to as being “dog water” for how well we are NOT able to control the temperature. So fifteen minutes after I poured in the milk (excruciatingly slow) and gone through 2 bowls of water by this point my mixture finally hit that softball stage on the thermometer (hallelujah). Then using my now third bowl of water I finally see the Carmel stack up on itself instead of just wooshing out in a cloud of murkey Carmel water and I knew it was done.This however is when I see the evidence that I didnt stir behind the thermometer.. But all in all (dark brown speckles and all) it was a neat experience and the Carmel actually tastes amazing. Thanks for the recipe.
This is a great recipe. My first time making caramel! I was wondering how long they stay soft for after wrapping? I made these tonight (12/20/2021) and I want them to stay fresh for Christmas. Any tips? Thank you so much
Hi Natalie – as mentioned in the recipe card notes, all storage information is included in the article. Thanks!
I absolutely love this recipe , my favorite by far. Excellent tasting and easy to follow. Thank you
Easy and delicious, with few ingredients. We stock evaporated milk, I like this recipe’s match to our pantry.
So easy, so delicious. Thank you for another keeper.