Teriyaki Chicken

Updated
Updated
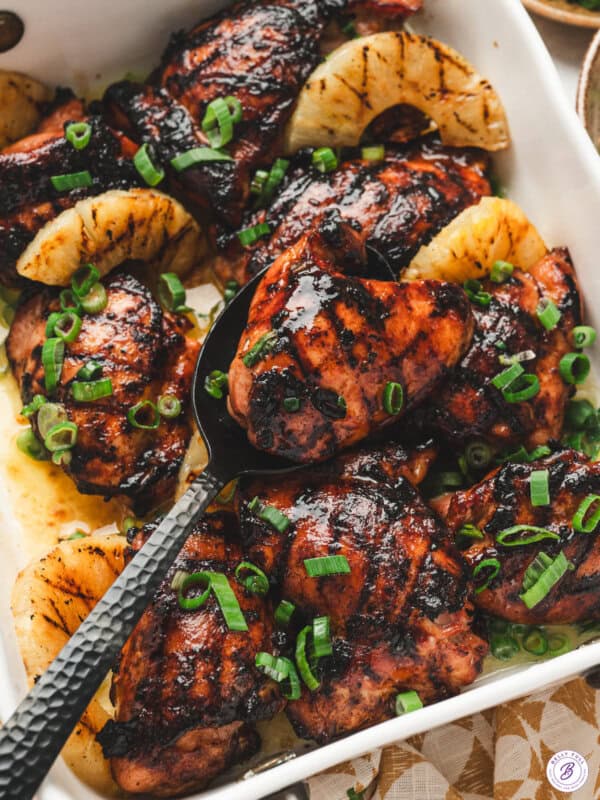
This is the teriyaki chicken recipe to make when you want that glossy, restaurant-style chicken without having to plan ahead for a marinade. Bone-in chicken thighs are brushed with a homemade teriyaki sauce made with soy sauce, mirin, brown sugar, ginger, and garlic, then baked until tender and deeply glazed. You’ll brush on more sauce every 10 minutes as it bakes, which gives the chicken that sticky, lacquered finish without standing over the stove. The finished chicken is tender, juicy, sweet, savory, and just a little sticky around the edges. This is a great takeout dinner easily made at home using pantry ingredients.
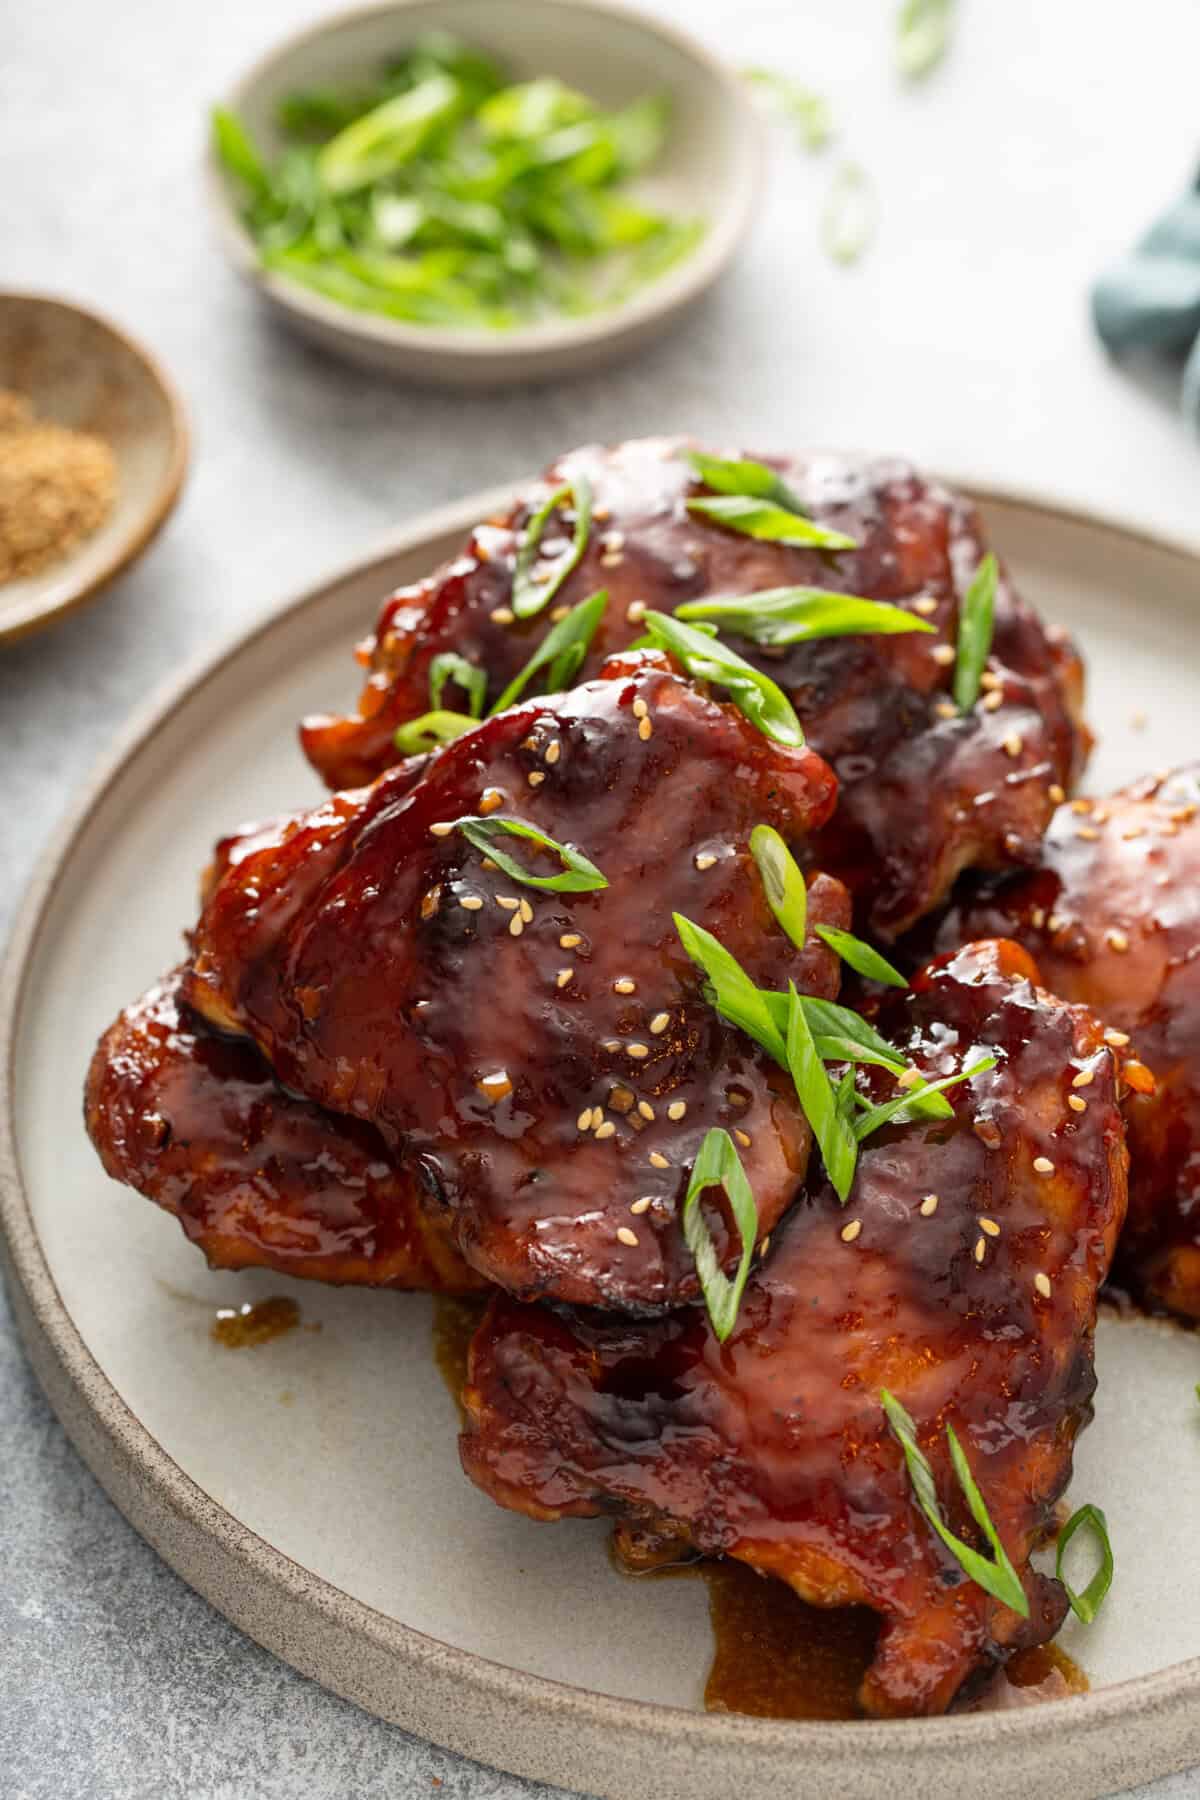
Pin this now to find it later
Pin It5 STAR REVIEW
The Basting Trick That Skips the Marinade
Most teriyaki chicken recipes make you choose between quick or deeply glazed. Skillet versions are fast, but you don’t get quite the same glossy, lacquered finish. Other recipes get that restaurant-style glaze, but only after hours of marinating. This recipe skips both. Instead of marinating, you build the glaze right in the oven. Brush the sauce over the chicken, bake for 8 to 10 minutes, then brush it again. Each layer has time to cook down and cling to the chicken before the next one goes on. By the end, you have tender chicken with a thick, glossy glaze without standing over the stove. If you want to make the sauce on its own for other recipes, my Homemade Teriyaki Sauce is great to keep in the fridge.
The basting timing really matters. I found that lighter, more frequent layers give you much more even coverage than fewer, heavier bastes. You’ll know it’s working when the chicken starts turning deep amber, and your kitchen smells like toasted soy sauce and caramelized sugar. Bone-in thighs are also key. The bone helps keep the meat juicy during the longer bake, while removing the skin gives the sauce a chance to cling directly to the chicken. The finished chicken should be deeply glazed and sticky, with the sauce clinging to the meat rather than pooling in the pan. This isn’t a 15-minute dinner, but it is easy. Most of the hour-long cooking time is hands-off, and the only thing you need to do is brush on more sauce every 8 to 10 minutes. That leaves plenty of time to make rice, prep a side, or just stay out of the kitchen.
Teriyaki actually refers to a cooking technique rather than a specific sauce. Traditionally, food is glazed with soy sauce, mirin, and sugar as it cooks, creating that signature shine. This recipe follows that idea, building the glossy glaze gradually instead of using a thick bottled sauce.
Helpful Tips
- Don’t cut back too much on the sugar. I tested several soy sauce and sugar ratios before landing on this one. The combination of granulated and brown sugar gives the sauce enough sweetness to caramelize without making it taste like syrup. If you reduce the sugar too much, the glaze stays thin, and the chicken tastes overly salty. Too much sugar and it can become overly sweet and scorch before the chicken is finished.
- Baste every 8-10 minutes. This is the sweet spot for building that glossy glaze. Each layer needs enough time to cook down and start caramelizing before you add more. Baste too often and the sauce stays thin. Wait too long, and you can end up with dry patches that the next layer doesn’t completely cover.
- Remove the skin, but keep the bone. The skin gets in the way of the sauce and keeps it from clinging directly to the chicken. I tested this with the skin left on, and the sauce mostly slid right off. The bone is worth keeping, though. It helps the thighs stay juicy during the longer bake.

Teriyaki Chicken
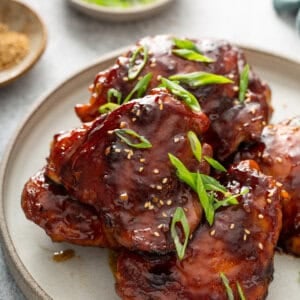
Ingredients
For the Teriyaki Sauce
- ¼ cup water
- 1 tbsp cornstarch
- ½ cup low-sodium soy sauce
- 3 tbsp Mirin rice wine
- 3 tbsp granulated sugar
- 2 tbsp brown sugar
- 2 tsp sesame oil
- 1 tsp fresh ginger, grated or minced
- 1 clove garlic, grated or minced
For the Chicken
- 6 bone-in chicken thighs, skin removed
- salt and pepper, to taste
- 2 scallions, diced small, for serving
Instructions
- Preheat oven to 425℉. Line a 9×13 baking dish with foil and coat with nonstick cooking spray.
- Place chicken pieces in the baking dish. Season with a bit of salt and pepper on both sides, to taste.
- In a small saucepan, whisk together the water with the cornstarch until cornstarch is dissolved, to create a slurry. Whisk in all the remaining sauce ingredients until smooth and incorporated. Bring to a simmer, stirring it frequently to prevent overflow and scorching. Right when it boils, reduce heat to a low bubble for 3-4 minutes until the sauce has thickened, stirring occasionally. Remove the sauce from the heat.
- Baste chicken thighs with the sauce. Turn thighs over, bone side up, and brush again.
- Transfer to the oven and cook for 25 minutes, uncovered, basting with the sauce every 8-10 minutes. Turn chicken pieces over, and bake an additional 25 minutes, uncovered, basting every 8-10 minutes. (Or until no longer pink, juices run clear, and an internal temperature of 165℉ is reached.)Thighs should have a gorgeous, glossy, sticky amber-brown coating.
- Sprinkle with diced scallions and serve with some of the pan sauce.
Video
Notes
- Mirin is a sweet Japanese rice wine, which is similar to sake, but with less alcohol and more sugar. It’s available at all Asian markets and most common grocery stores. If you can’t find it, a good substitute would be dry sherry mixed with a bit of granulated sugar. (Avoid rice wine vinegar, which would give the sauce an acidic taste.)
- Chicken thighs can vary in size. Smaller thighs will finish before larger ones. Check them with a meat thermometer a few minutes early if your pieces are very different in size.
- Boneless thighs cook faster. Start checking them around 30 to 35 minutes instead of waiting for the full 50 minutes.
- This recipe is high in sodium. Each serving contains about 879mg even with low-sodium soy sauce, because the sauce reduces and becomes more concentrated as it cooks. If you’re watching your sodium intake, reduce the soy sauce slightly and add a little extra water to the sauce.
- A thinner teriyaki sauce works best. Store-bought teriyaki sauce can be used in a pinch, but avoid very thick, syrupy sauces. A thinner sauce spreads more easily and builds a better glaze as the chicken bakes.
- Don’t use the basting sauce as a finished table sauce. It’s safe to keep brushing it over the chicken while it cooks, since it goes back into the hot oven each time. If you want to serve extra sauce with the chicken, reserve it before it touches the raw chicken.
Nutrition
Nutritional information given is an automatic calculation and can vary based on the exact products you use and any changes you make to the recipe. If these numbers are very important to you, I would recommend calculating them yourself.
 Did you make this? Leave a rating below!
This post may contain affiliate links. If you click on one and make a purchase, we may earn a small commission at no extra cost to you. We only recommend products we genuinely love.”
How to Make Teriyaki Chicken Step by Step
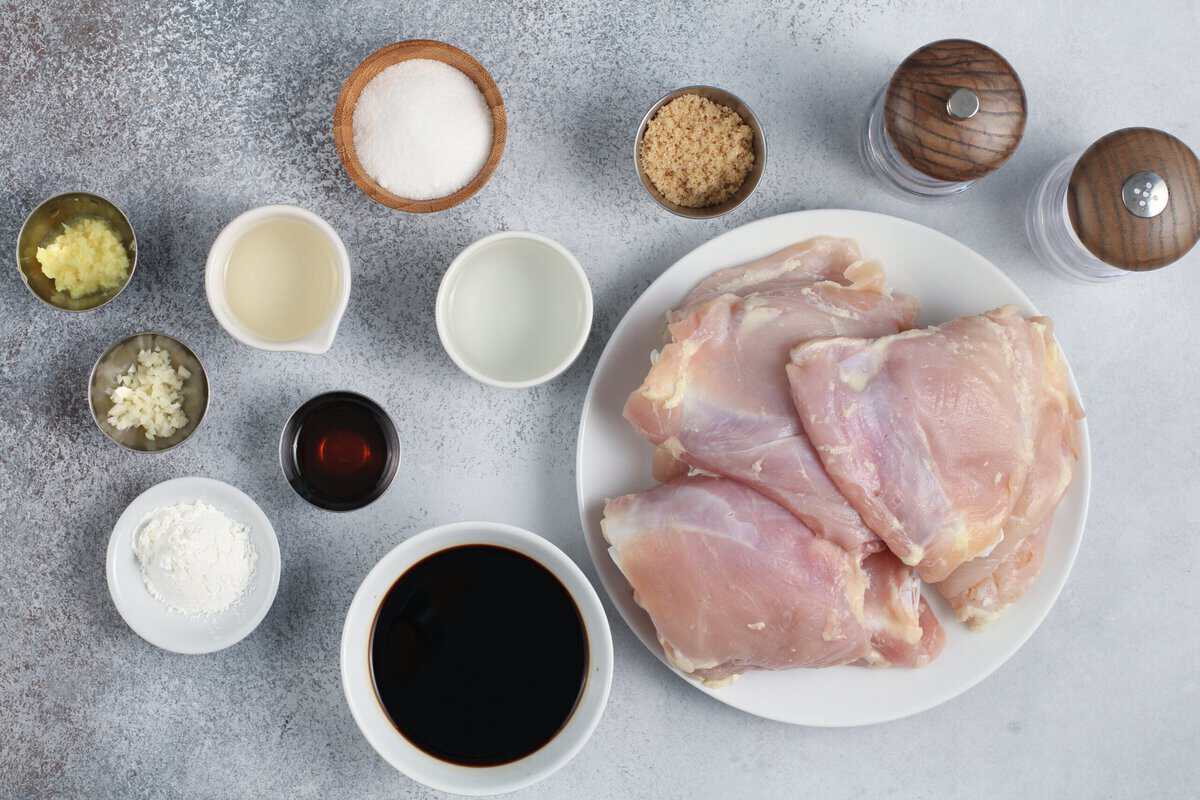
Gather the ingredients: Gather all the ingredients together. Preheat your oven to 425°F and line a 9×13-inch baking dish with foil and coat it with nonstick spray. Season 6 bone-in chicken thighs, about 3 lbs total, with the skin removed, with salt and pepper.
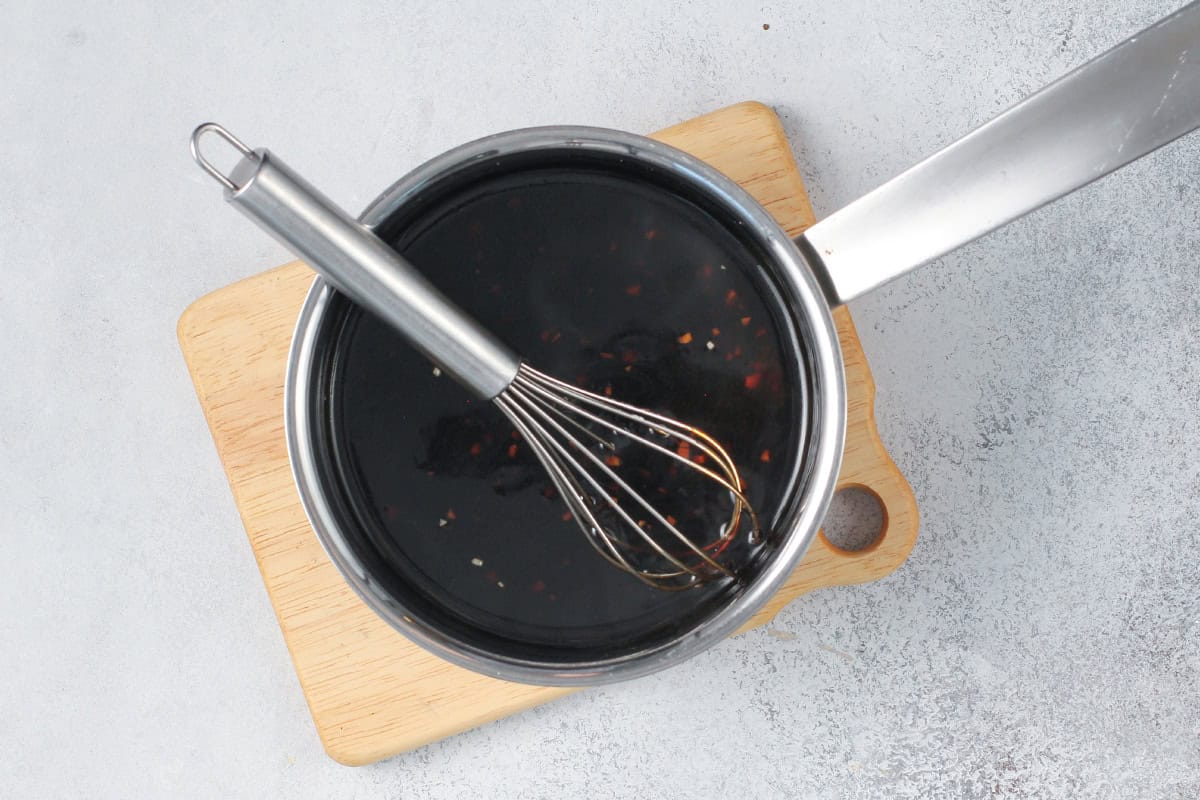
Make the sauce: Whisk ¼ cup water with 1 tbsp cornstarch in a small saucepan until smooth. Add ½ cup low-sodium soy sauce, 3 tbsp mirin, 3 tbsp granulated sugar, 2 tbsp brown sugar, 2 tsp sesame oil, 1 tsp fresh ginger, and 1 minced garlic clove. Bring to a simmer over medium heat and cook for 3-4 minutes. The sauce should thicken enough to coat the back of a spoon and leave a clean line when you run your finger through it. It should look glossy and slightly darker than when you started.
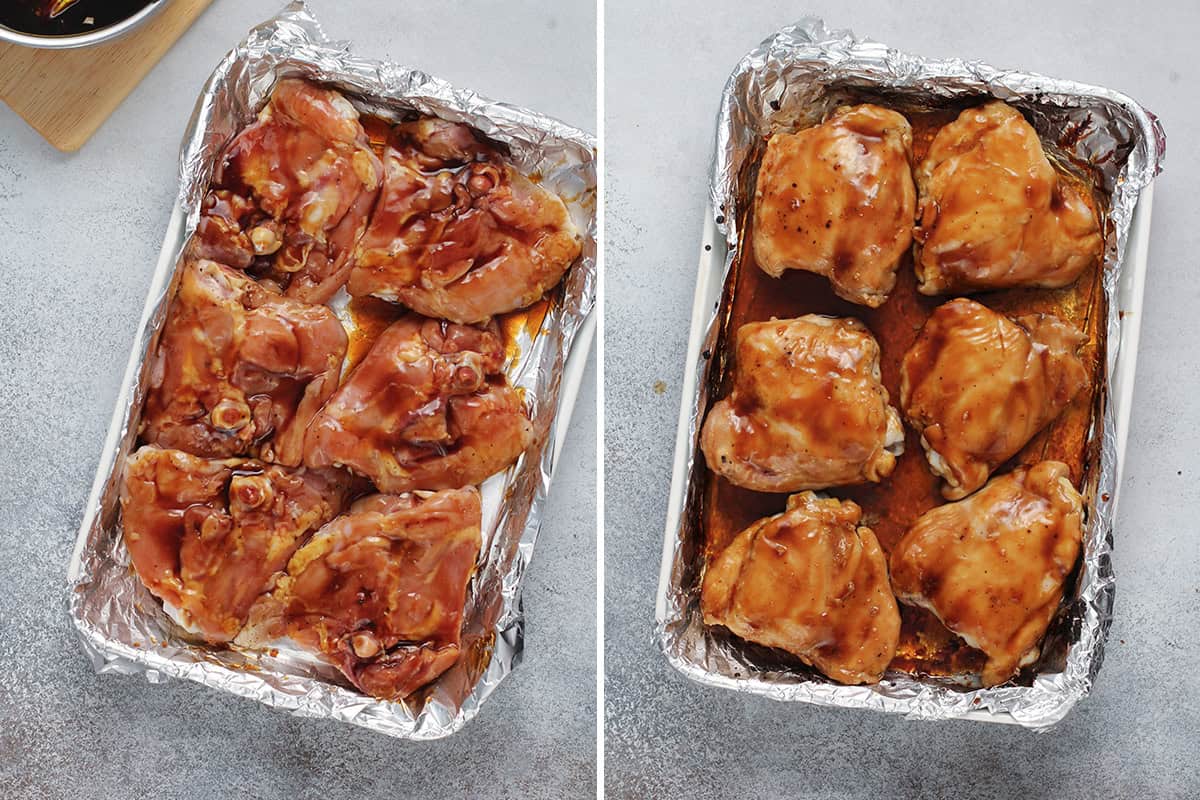
First baste: Arrange the chicken in the prepared baking dish. Brush generously with the sauce, then flip the chicken so the bone side is facing up and brush again. Because the sauce is touching raw chicken, don’t save any of this sauce to use as a dipping or serving sauce later. If you want extra sauce for the table, set some aside before it touches the raw chicken.
Bake and baste: Bake for 25 minutes, brushing with more sauce every 8-10 minutes. The chicken should start turning a light golden amber color. You’ll also notice the sweet, savory smell of the sauce becoming much stronger. The sauce in the bottom of the pan should be thickening and reducing rather than staying watery.
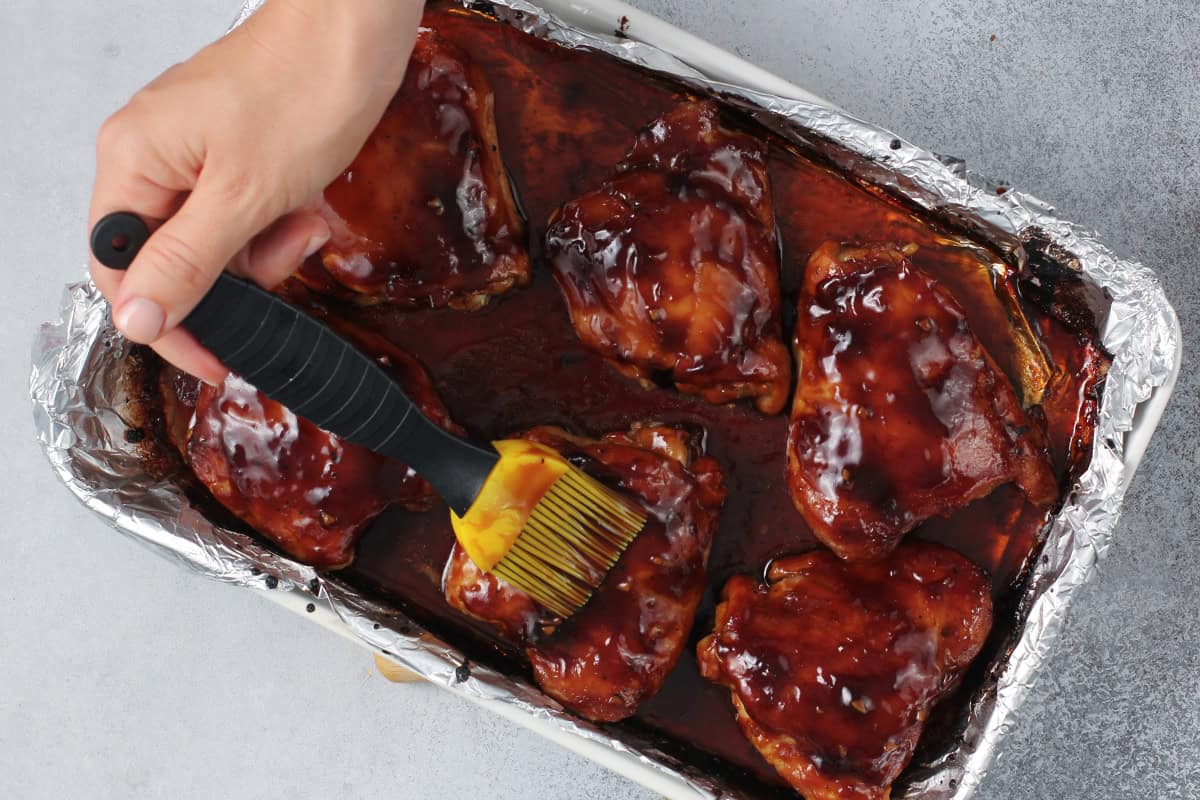
Flip and finish: Flip the chicken and bake for another 25 minutes, continuing to baste every 8-10 minutes, until the chicken reaches an internal temperature of 165°F. Check the thickest part of the meat with an instant-read thermometer, avoiding the bone. The chicken should be deeply glazed and sticky with the sauce clinging to the meat rather than pooling in the pan.
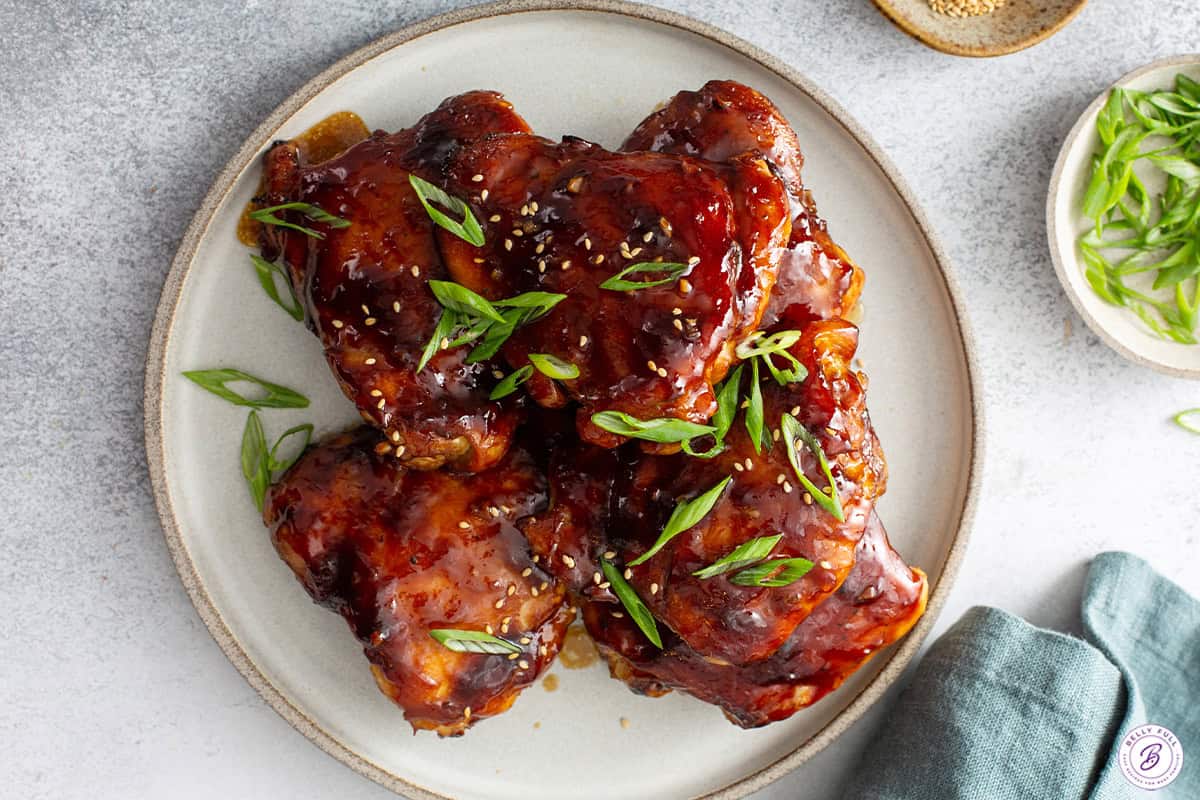
Garnish and serve: Sprinkle with 2 diced scallions and serve warm. Spoon any extra pan sauce over the chicken before serving.
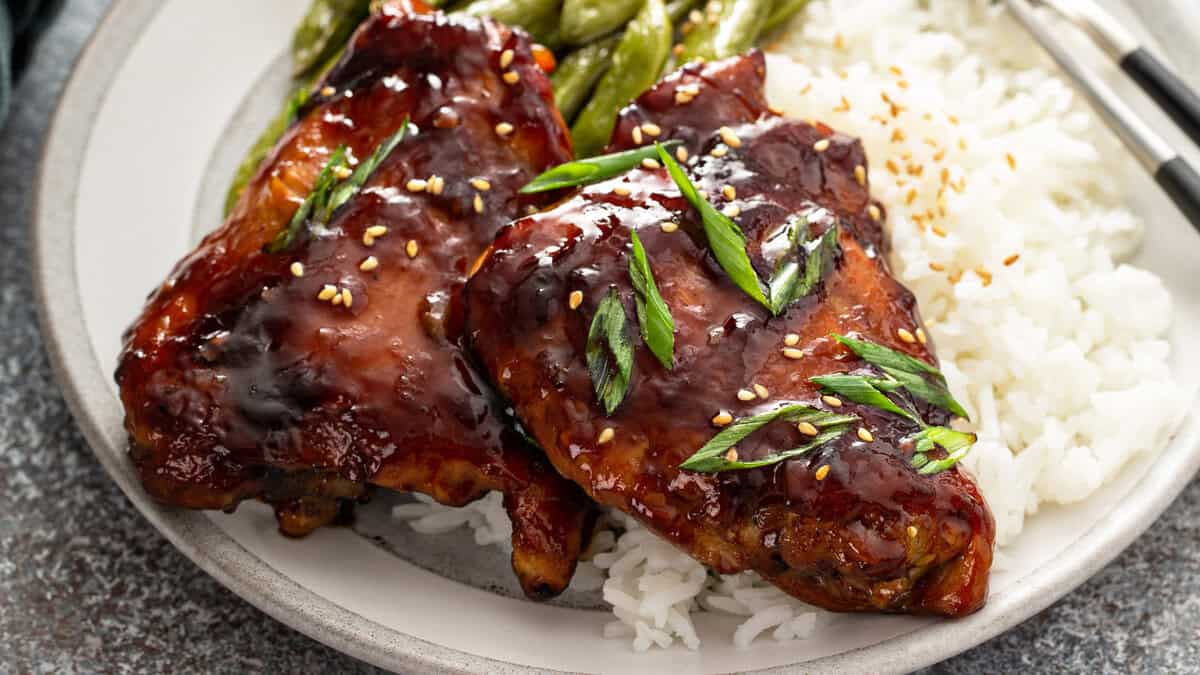
The Best Sides for Teriyaki Chicken
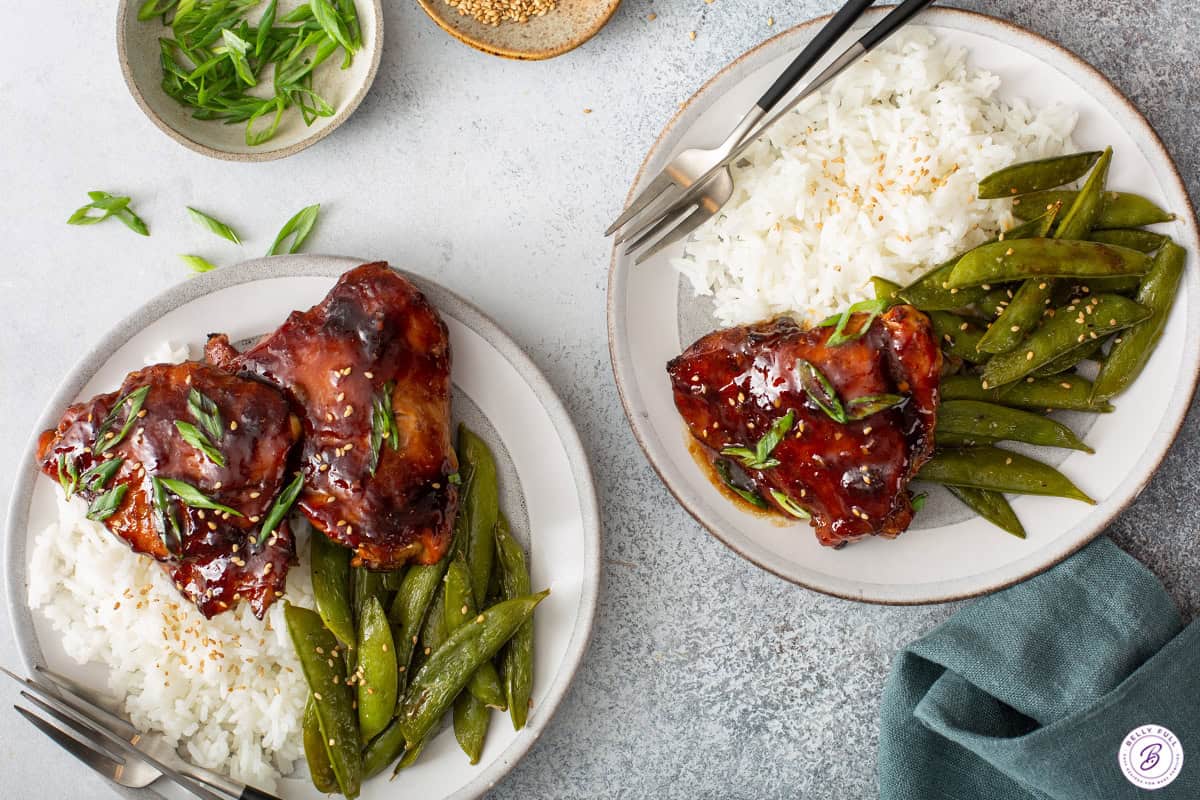
I almost always serve this chicken over steamed white or jasmine rice. The rice soaks up all that extra glossy sauce, and the combination of sticky chicken and fluffy rice is hard to beat. It’s simple, classic, and exactly what I want on a busy weeknight.
When I want to make the meal a little heartier, I’ll swap plain rice for easy fried rice. It already has eggs and vegetables mixed in, so you get a complete meal without needing another side dish. For something fresh and crunchy, Asian cucumber salad is a favorite. The cool cucumbers and tangy dressing balance the sweet glaze really well, and you can make it while the chicken finishes in the oven. If I’m feeding a crowd, I’ll add some teriyaki roasted snap peas. They have those same sweet and savory flavors as the chicken and make an easy vegetable side.
Storage & Freezing Instructions
Refrigerator
Store leftover chicken in an airtight container in the refrigerator for up to 3 days.
Freezer
Let the chicken cool completely, then place it in an airtight container or freezer bag. Freeze for up to 2 to 3 months. The glaze may lose some of its shine after freezing and thawing. A little extra sauce when reheating helps bring it back.
Reheating
For the best texture, reheat the chicken in a 300°F oven, loosely covered with foil, for about 15 minutes or until warmed through. The microwave also works when you’re short on time. Heat in 30-second intervals so the chicken doesn’t dry out.
Make Ahead
The teriyaki sauce can be made up to a week ahead and stored in the refrigerator. Warm it gently before using so it brushes easily over the chicken.
More Baked Chicken Thigh Recipes to Try
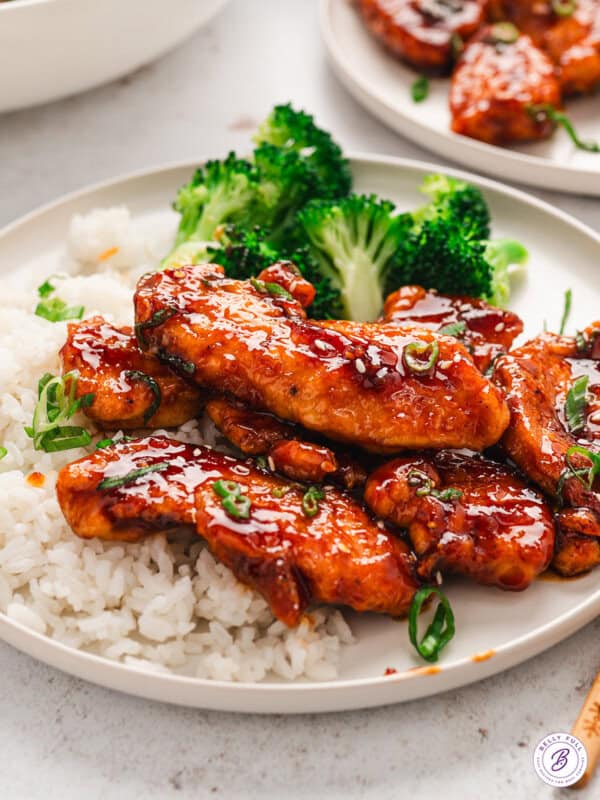
- Baked Honey Mustard Chicken Thighs: Another easy bone-in chicken thigh recipe, this one swaps the teriyaki glaze for a sweet and tangy honey mustard sauce.
- Apricot Chicken: A sweet and fruity take on baked chicken thighs with an apricot glaze that gets beautifully sticky in the oven.
- Salsa Verde Chicken: This delicious and simple chicken recipe only requires a few pantry ingredients, 5 minutes of prep, and one pan!
- Apple Cider Chicken Thighs: Another easy baked thigh dinner with a tangy apple cider glaze and plenty of flavor.









Awesome
It was delicious! I did have to make a few adjustments because I didn’t have some stuff… I used a pineapple kolsch beer in place of the rice wine, and I used chicken breasts cut into strips. I also added fresh pineapple pieces. It turned out great! I will definitely make it again.
I have tried many teriyaki recipes and they were just okay. This recipe was easy and delicious. Definitely a keeper!!
Sticky Yummy and Delicious! I always ask my kids “is this a keeper?” And this one was an astounding yes! Great recipe, thank you for sharing.
I can’t wait to make again. Absolutely loved it.
Loved this. My picky kids licked their fingers clean. I served it with coconut rice and roasted green beans.
This was delicious! Even my grandchildren, who are picky eaters, enjoyed it! Thanks for the great recipe!
This really is the best teriyaki sauce ever. I do with boneless skinless thighs. I love this. Have made many times. Thanks so much for the recipie
This recipe was perfect! My husband requested double next time :)
My dumb butt went ahead and subbed rice wine vinegar before reading your note to definitely not add that. So unfortunately my sauce did end up kind of acidic. I tried adding crushed pineapple to hopefully negate that a little bit. So I can’t say that this came out amazing but it was definitely my fault and I will be trying this again.
This is a winner!
WOW. Just…wow. This is the best Teriyaki Chicken I have ever made. My husband said “do not lose this recipe!”