Graham Cracker Crust
Updated
Updated
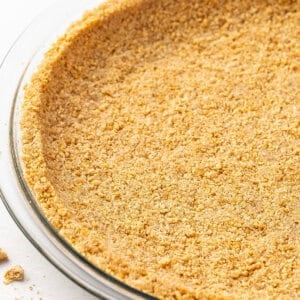
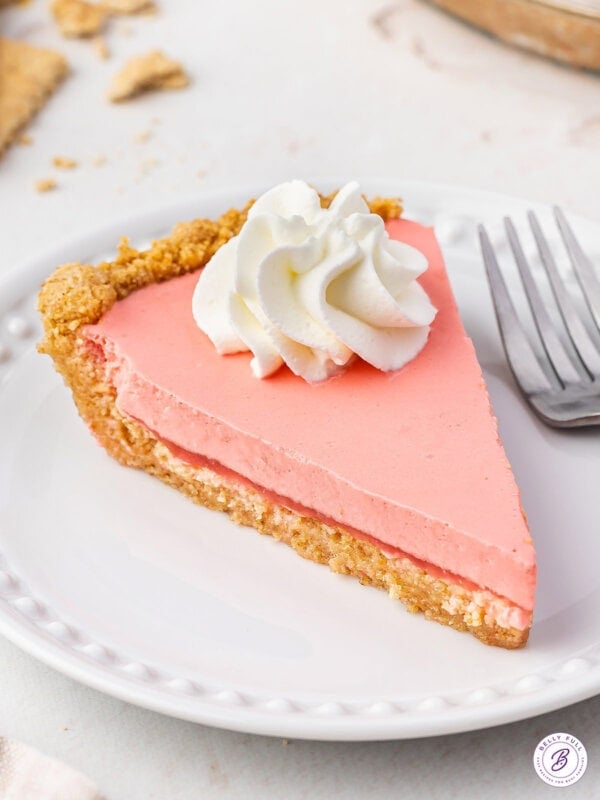
This Graham Cracker Crust recipe is deliciously buttery and sweet. I love that it holds its shape and is so easy to make with just 3 simple ingredients. I like to use it for baked or no-bake pies, cheesecakes, and more. This homemade graham cracker pie crust is so simple and foolproof, there’s no need to ever buy one at the store ever again!

Pin this now to find it later
Pin ItThis post may contain affiliate links. If you click on one and make a purchase, we may earn a small commission at no extra cost to you. We only recommend products we genuinely love.
Easy Graham Cracker Crust Recipe
I totally understand if making a traditional pie crust seems intimidating, but a graham cracker crust is another story! It doesn’t get any easier—there’s no rolling, no pre chilling, and no blind baking.
Sure, you can buy a premade one at the grocery store, but they’re usually stale and almost always taste bland. My graham cracker pie crust recipe is just the opposite, with perfect flavor and texture, golden and slightly crumbly, but it still holds its shape. It literally takes 5 minutes to prep and a few minutes in the oven.
Recipe Tips and Variations
- Use different flavored crackers. Graham crackers typically come in honey, cinnamon, and sometimes (if you’re lucky!) you can find them in chocolate flavor. Any flavor will work in this recipe. The best graham crackers to use for this crust are the Nabisco Honey Maid brand.
- Swap the crackers for Nilla wafers. If you don’t like or can’t find graham crackers, this crust also works with vanilla wafer cookies.
- Add cinnamon. For a warmer flavor, you can add ½ tsp ground cinnamon.
- Adjust the sugar. This recipe calls for a ¼ cup of granulated sugar, but you can reduce it to 2 tbsp. You can also use a mix of white sugar and brown sugar. Brown sugar adds a slightly richer flavor to the crust and is so delish.
- Vary the bake time. I recommend baking at 350°F for 10 minutes if you plan to bake the crust again with a cooked fruit pie filling, or 12-14 minutes if you’re using it for a no-bake dessert and topping it with a cold cream or pudding filling. Make sure the crust is completely cool before filling it. Another option for a no-bake dessert is chilling the crust in the fridge for 1 hour before filling.
- Pie pan depths can vary quite. This recipe yields enough for one 9-inch pie crust. If your pie pan is shallow, you might have crumbs leftover, which can be refrigerated or frozen for later, or used on a crumble topping for a different dessert. If you’re making a 9×13-inch dessert, I recommend increasing this recipe by 1½.
Graham Cracker Crust
Ingredients
- 10 to 12 full sheet Graham crackers, (you need 1½ cups of crumbs)
- 6 tbsp salted butter, melted
- ¼ cup granulated sugar
Instructions
- Preheat the oven to 350°F.
- (If making your own crumbs, the number of full sheets will depend on the brand, since manufacturers have changed their size and weights.) Break apart the graham cracker sheets into a food processor or blender. Pulse until a fine, crumbly mixture forms (the consistency of coarse sand.) You should have 1½ cups of crumbs. Pulse more sheets, if necessary.
- In a medium bowl, combine the graham cracker crumbs, butter, and sugar until well combined.
- Pour the crumb mixture into a 9-inch pie pan. Starting with your hands, apply gentle pressure until the crumbs aren't loose anymore. Then using a small flat-bottomed measuring cup, pack the crumbs in more (but not too hard or your crust will be dense), smoothing out the surface and to set the shape. The crust needs to be compact but not so tight that it's hard after baking. Finally, slide a spoon around where the bottom and sides meet, keeping it rounded so it all stays connected and won't crumble when you go to slice it.
- Bake for 10 minutes, then let cool completely.
- Use right away for your favorite pies or store for later.
Nutrition
Nutritional information given is an automatic calculation and can vary based on the exact products you use and any changes you make to the recipe. If these numbers are very important to you, I would recommend calculating them yourself.
How to Make Graham Cracker Crust Step by Step

Gather your ingredients.
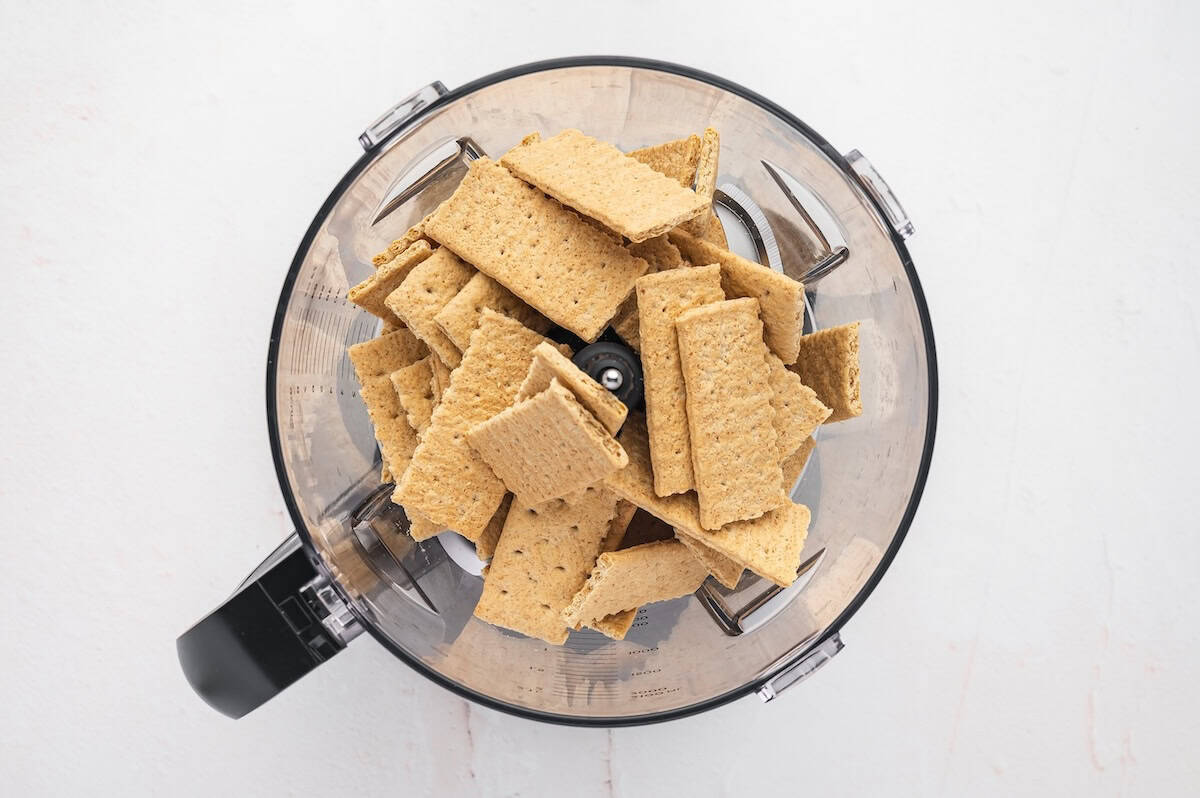
Prepare the crust: Process 10 to 12 full sheet Graham crackers. Transfer to a bowl.
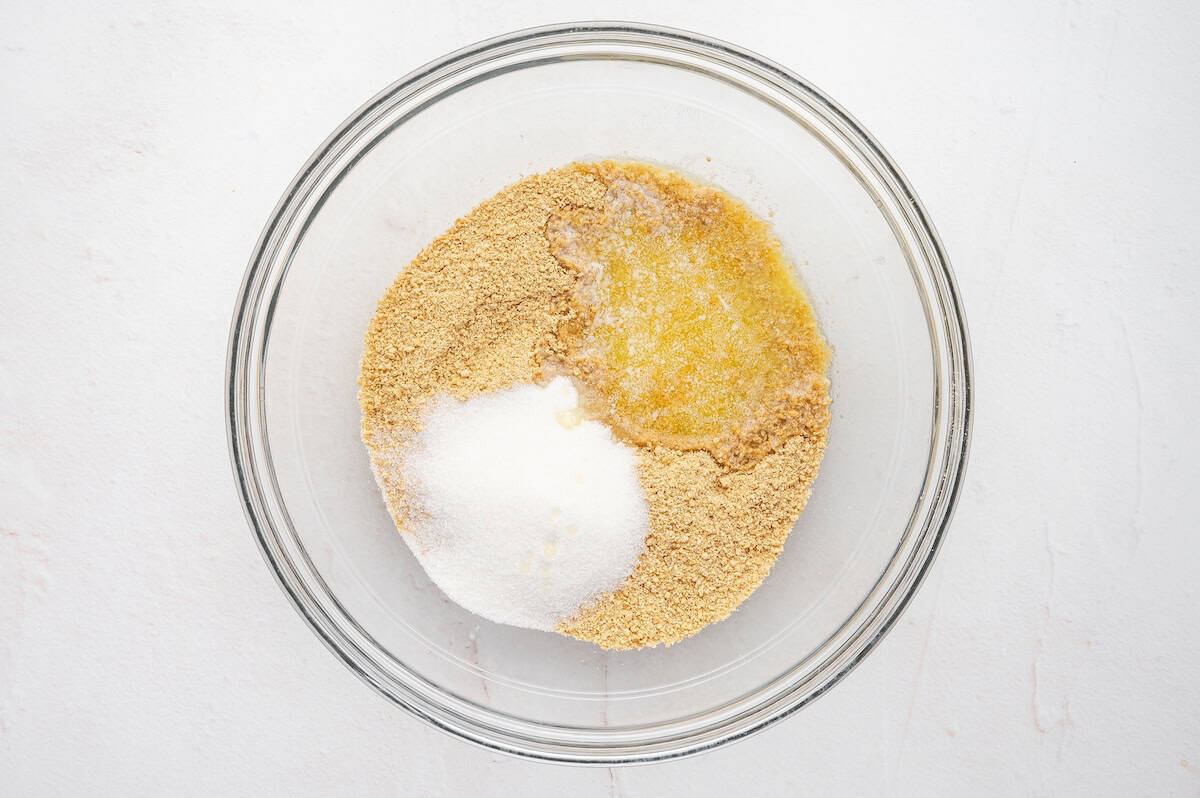
Add 6 tbsp of butter a ¼ cup of sugar and mix well to combine.
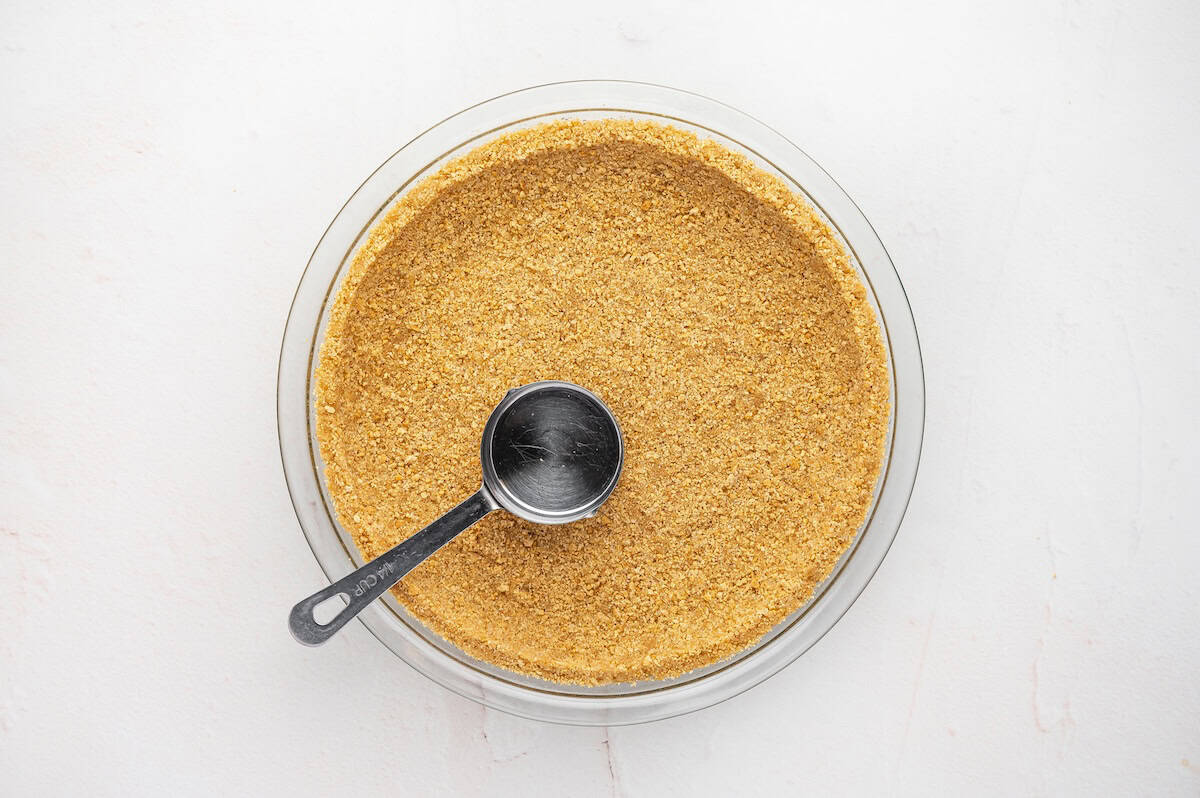
Transfer to pie plate and bake: Transfer to a pie plate and press down with a measuring cup to smooth and level it out. Slide a spoon around where the bottom meets the sides so they stay connected.
Bake the crust for 10 minutes and then cool completely.

Ways to Use a Graham Cracker Crust
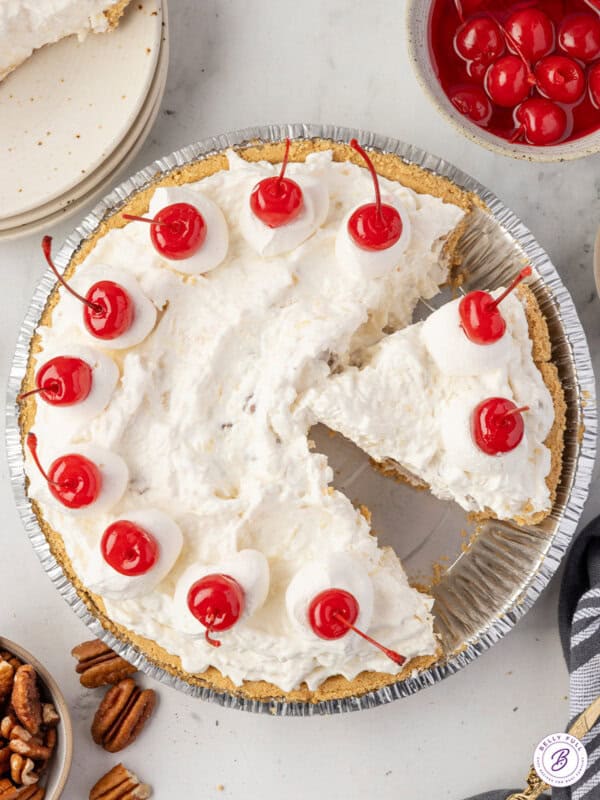
I like to use this graham cracker crust as a base for this layered pumpkin cheesecake, which I find is perfect for Thanksgiving, though the crust also works well with an easy key lime pie. If I’m in the mood for a no-bake dessert, I’ll use the crust for a jello pie, a no bake cherry cheesecake, or no bake apple cheesecake.
How to Store
If you’re not using the prepared crust right away, store it in the fridge once cooled completely, covered in plastic wrap. It will keep up to 3 days before filling it.
Freeze the prepared crust in the pan. Tightly wrap the pan in foil and then transfer to a freezer-safe plastic bag, if possible. It will keep in the freezer for up to 3 months. Thaw in the fridge before using in a recipe.


Easy recipe to make and just the right amount for a crust. Delicious! Thanks
It went great to make the pie crust with the graham crackers!
Can I use a gram crackers crust for a blueberry cobbler
Hi Greg – a cobbler is typically made with a buttery biscuit-like batter baked on top, as seen here: https://bellyfull.net/blueberry-cobbler/
Excellent and easy to follow. I love your YouTube videos. I watch them a lot. Very fun and informative. One question about your graham cracker crust. I want to make a Pumpkin Pie so do I still bake it for the 10 minutes prior to baking the Libby’s Pumpkin Pie recipe which starts off at 425 degrees for 15 minutes the drops to 350 for another 45 minutes. Will the graham cracker crust tend to burn since it has sugar in it? Than yo very much Amy.
Hi Terry – Yes, make my graham cracker crust exactly as instructed and then proceed with whatever recipe you’re using it for. It needs to pre-bake and cool for it to set properly.