Dutch Oven Bread
Updated
Updated
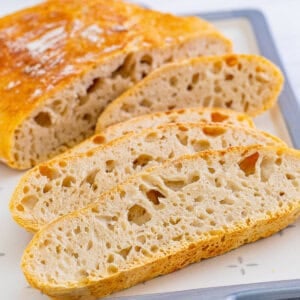
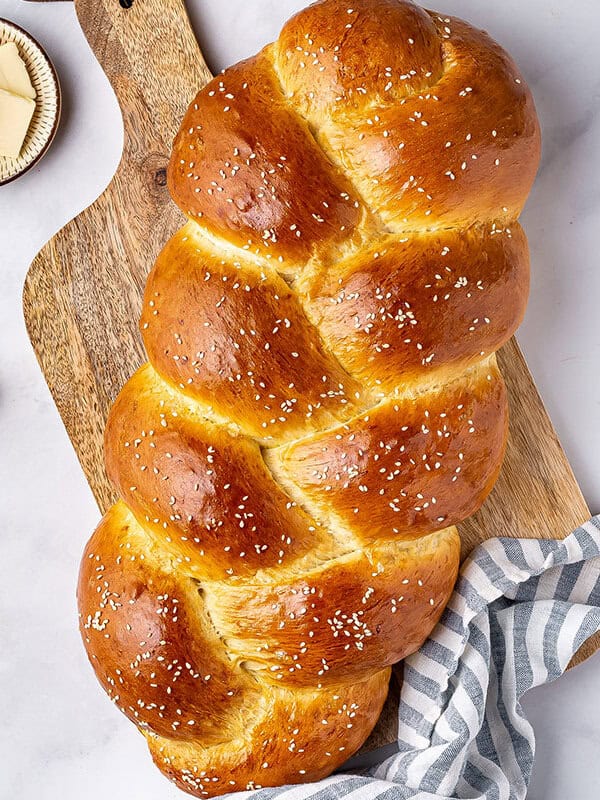
Crusty on the outside, soft and pillowy on the inside, this No Knead Dutch Oven Bread requires just 4 ingredients. I’m in awe of how simple, easy, and irresistible this bread is when served warm with salted butter!

Pin this now to find it later
Pin ItThis post may contain affiliate links. If you click on one and make a purchase, we may earn a small commission at no extra cost to you. We only recommend products we genuinely love.
5 STAR REVIEW
Easy Dutch Oven Bread Recipe
This no-knead Dutch oven bread is a great recipe for first-time bread makers, as well as anyone else who simply wants an easy homemade bread recipe. I used just 4 ingredients, a large bowl, and a Dutch oven to make it.
Just a heads up that a loaf of this crusty Dutch oven bread does require 12 to 18 hours to rise, so there is some advance prep to plan for. However, believe me, it’s super easy to put together—there’s no kneading or second rise time necessary. There’s literally just 5 minutes of hands-on time, and then it bakes in under an hour.
The end result is crusty on the outside, softy and pillowy on the inside with an incredible chew. Add some salted butter to a slice while it’s still warm and you have absolute nirvana!
From classic tomato soup to slow cooker beef stew, this bread is perfect for dipping and soaking up every last drop.
Dutch Oven Bread
Equipment
- 5 to 7 quart-sized dutch oven
Ingredients
- 3 cups all-purpose flour, spooned and leveled (plus more for dusting)
- 1½ tsp kosher salt
- 2¼ tsp instant dry yeast
- 1½ cups water, (temperature should be between 100-110°F)
Instructions
- In a large bowl, whisk together the flour, salt, and yeast. Add the water and stir to combine to form a shaggy, wet dough. (Make sure you mix it in well, so there is no leftover flour on the bottom of the bowl.)
- Cover with plastic wrap and let sit for 12-18 hours in a draft free area.
- Preheat the oven to 450°F. Place a 5 to 7 quart Dutch oven with the top on into the oven and let it heat up for 30 minutes.
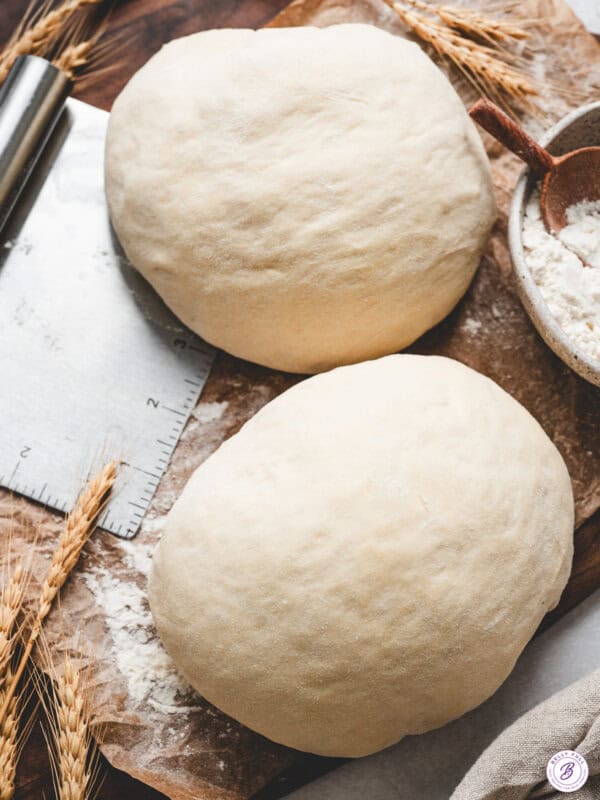
- Once the Dutch oven has been preheated, lightly dust a large piece of parchment paper with flour on a flat work surface. Place the dough in the center of the paper and lightly dust the top with more flour. As best you can, form it into a ball or at least a round formation (see note below.)
- Using the parchment paper to help, carefully lower the dough into the body of the Dutch oven. Cover with the top and bake for 30 minutes. Uncover and bake an additional 10-15 minutes until golden brown. The bread should sound hollow when tapped.
- Take the bread out of the Dutch oven and remove the paper. Place on a wire rack to cool completely before cutting.
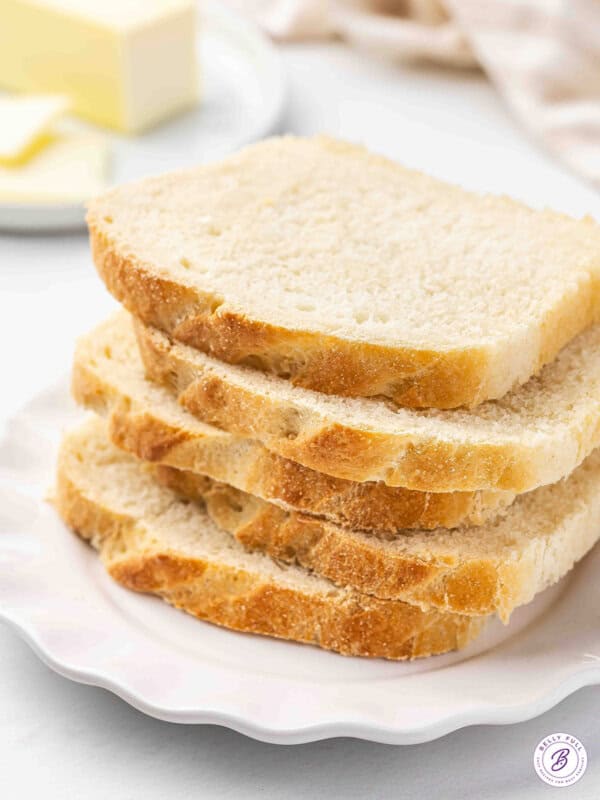
- Slice and slather with butter, if desired.
Video
Notes
- You’ll want a round Dutch oven between 5 and 7 quarts. Smaller ones won’t provide enough room for the dough, while larger ones can result in the dough spreading to become more of a flat bread, versus the thick loaf you ideally want from this recipe.
- The dough is EXTREMELY WET, which makes it pretty much impossible to form into a ball. Just do the best you can. The bottom of the Dutch oven will help form the bread into its round shape, so don’t be too concerned if it looks funny going in.
Nutrition
Nutritional information given is an automatic calculation and can vary based on the exact products you use and any changes you make to the recipe. If these numbers are very important to you, I would recommend calculating them yourself.
How to Make Dutch Oven Bread Step by Step
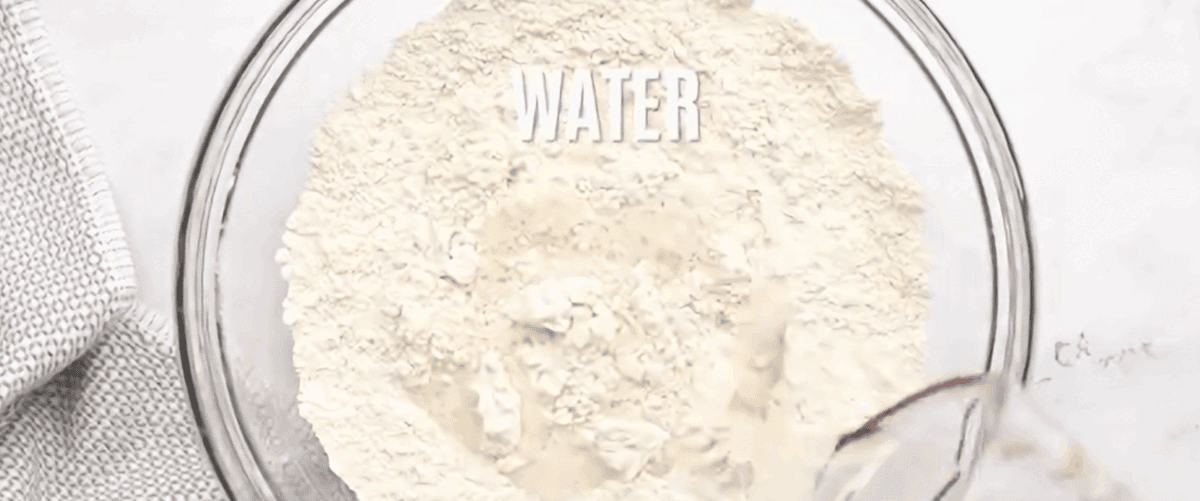
Prepare the dough: Stir together 3 cups flour, 1½ tsp salt, and 2¼ tsp yeast. Add the water and stir to form a shaggy, wet dough. Mix it well, making sure there’s no leftover flour on the bottom of the bowl.
Let the dough sit: Cover with plastic wrap and let sit in a draft-free area for 12 to 18 hours.
Preheat the Dutch oven: Preheat your oven to 450°F. Place the Dutch oven, with the top on, into the oven. Heat for 30 minutes.

Bake: Lightly dust parchment paper with flour. Place the dough in the center and dust the top with more flour. Try to form into a ball. Using the parchment paper for help, lower the dough into the body of the Dutch oven. Cover and bake for 30 minutes. Uncover and bake for an additional 10 to 15 minutes until golden brown.
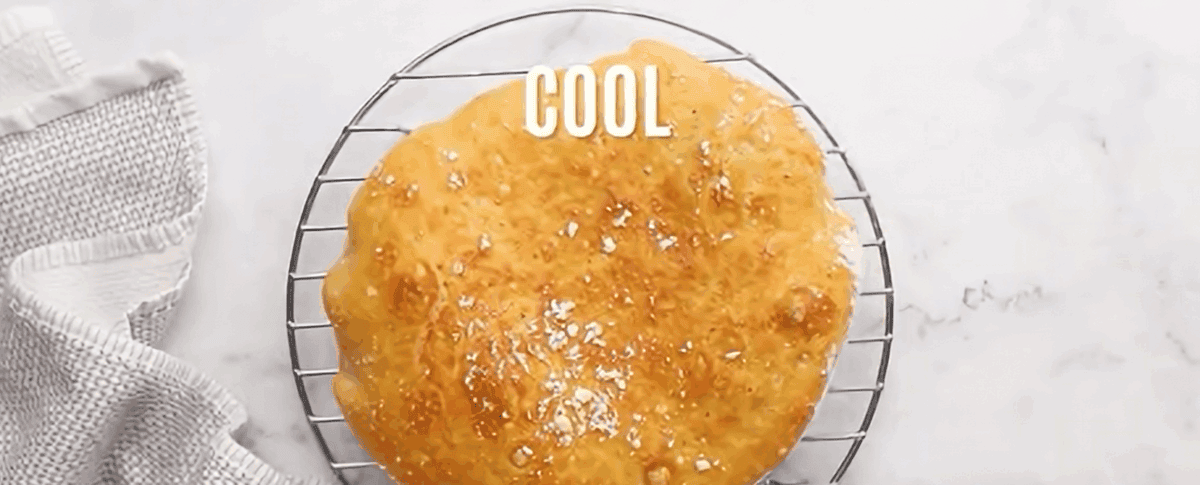
Let cool: Remove the bread from the Dutch oven and take off the paper. Cool completely on a wire rack before slicing.

How to Store
Store any leftover Dutch oven bread in an airtight container on the counter at room temperature. Homemade Dutch oven bread is wonderful to make, but it doesn’t stay fresh long. It’s best eaten the first day, but it will last up to 2 days.
Extend the life of your baked bread by freezing it. First, make sure it’s completely cool. If you plan to defrost and eat one piece at a time, cut the bread into thick slices; otherwise, leave the loaf whole. Wrap snuggly in plastic wrap and then again in foil. For a third layer of insurance, transfer to a freezer-safe bag and then into the freezer. If stored properly, it will keep for 4 months. Thaw a single slice at a time and rewrap the loaf or thaw the entire loaf at once.

What to Serve with Dutch Oven Bread
For breakfast, I like this bread toasted with a layer of sweet maple butter or our easy cinnamon butter. For a savory option, I’ll spread it with herb butter. Or simply serve warm with regular salted butter. Absolutely irresistible!


I made this today, it smells incredible. How ever it didn’t get air pockets it’s very dense Any advice??
Typically with homemade bread, this would mean the dough wasn’t kneaded enough resulting in weak gluten development, but since there’s no kneading with this recipe, it could be the result of under-proofing (not allowing enough time for the yeast to create gas), too much flour (dry dough), or not using fresh yeast, causing insufficient fermentation.
Hi, can you specify the diameter or width of the dutch oven here? I don’t know the measurements you mentioned. Thanks!
So easy to make!! We live this bread!
I made my first load and it came out wonderful! Thank you! Next time I am going to add some flavor additions. I was thinking about dried roasted tomatoes and chopped olives. At what point do you think it’s best to add the additions?
Can this be made in a 6 qt oblong Dutch oven?
Hi Diana – without further testing, I can’t say for sure…but I *think* it would be fine.
I never had luck with bread. But this recipe is the best. I have made this three times and stopped buying store bought bread. Thank you so much.
This was truly easy just as described. Great for a newbie bread baker like me. We loved it, thank you!
Wonderful!