Butter Mints
Published
Published
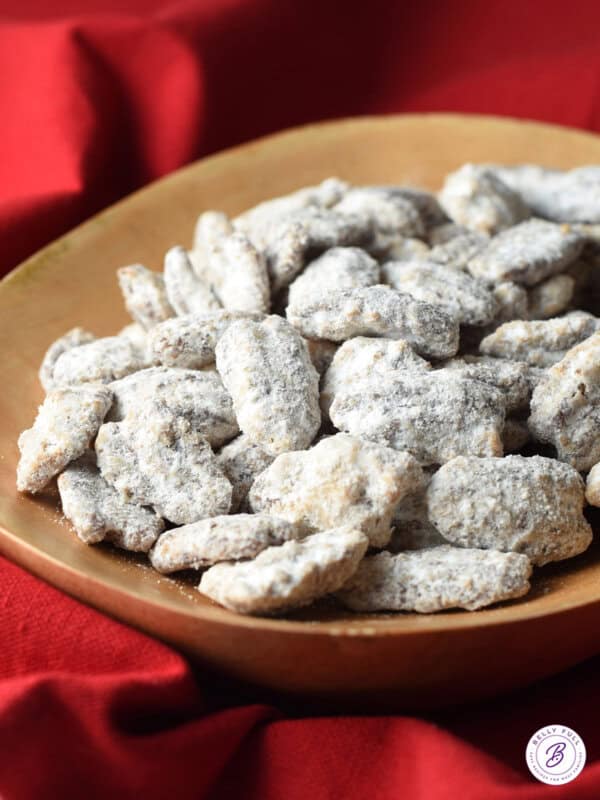
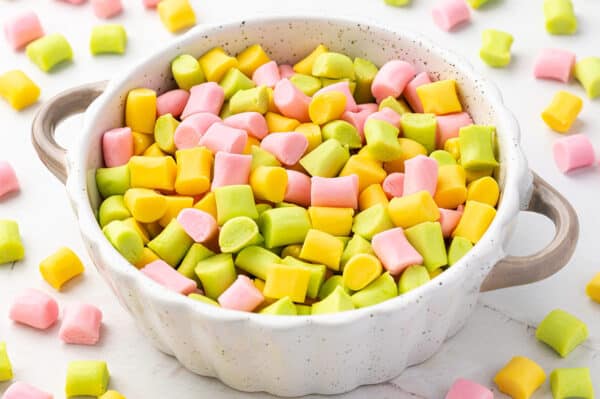
These Butter Mints, also sometimes referred to as wedding mints or dinner mints, are an old-fashioned classic recipe made with just a few ingredients. They’re super easy to make – no oven needed – and you can customize the colors to suit any occasion.

Pin this now to find it later
Pin ItThis post may contain affiliate links. If you click on one and make a purchase, we may earn a small commission at no extra cost to you. We only recommend products we genuinely love.
Butter mints remind me of my Nan. She always had a little tray of them sitting out, or even in her purse! While they’re popular at baby showers and weddings or bridal showers, I think they’re a lovely little treat to have on hand anytime. Similar to my cream cheese mints, the colors can easily be customized to match any occasion, though I’m personally partial to the pastel colors shown. They store really well, too.
Tips for Success
- Play-Doh consistency. The right texture for the butter mint dough is similar to Play-Doh. It should not be sticky. If it is, add more powdered sugar until the desired texture is reached.
- Work in batches. When making multiple colors of butter mints, I always work with one part of the dough at a time and keep the rest covered with a damp cloth. This helps prevent it from drying out before I work with it.
- Food gel coloring – I highly recommend using gel coloring to avoid making the mixture too wet. I typically use green, pink, and yellow to make pastel colors but any colors can be used. Red and green would be perfect for Christmas, or pink, blue, and yellow for a baby shower, the chosen wedding colors for a wedding, etc.
- Plan ahead. These mints are super simple to make without any cooking/baking needed. The hands-on time is just 30 minutes or so but they do need a minimum of 3 hours to dry out, ideally overnight. There should be no moisture and they should be firm, not squishy.
Butter Mints

Ingredients
- 1/2 cup regular salted butter, , softened to room temperature
- 1 tablespoon heavy cream, (or whole milk)
- 1/2 teaspoon peppermint extract
- 1/4 teaspoon vanilla
- 4 cups powdered sugar, , plus more for rolling
- food gel coloring, (of your choice – I typically do green, pink, and yellow)
Instructions
- Line 2 large baking sheets with parchment paper and lightly dust with powdered sugar. Set aside.
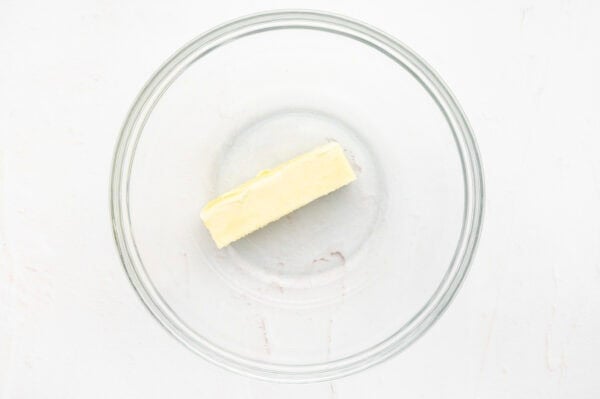
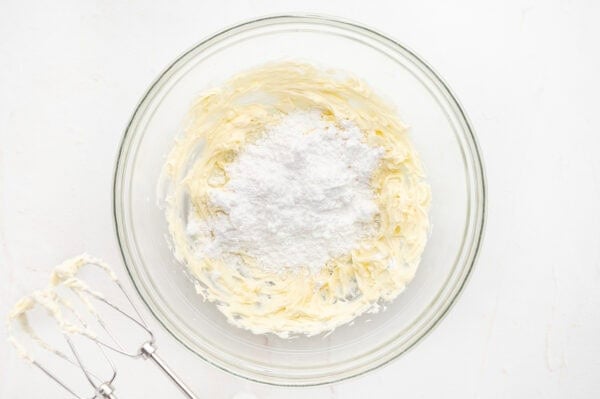
- Using a handheld mixer and a large bowl (or a stand mixer), beat 1/2 cup softened butter until smooth and creamy.

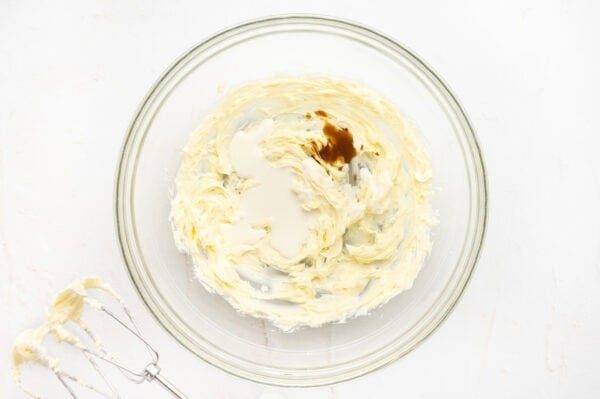
- Add 1 tablespoon heavy cream, 1/2 teaspoon peppermint extract, and 1/4 teaspoon vanilla.
- Add 2 cups of powdered sugar and beat until smooth. Gradually add the remaining 2 cups powdered sugar, 1 cup at a time, until smooth and well combined. Scrape down the bowl as needed in-between additions. Dough should be very stiff and not sticky (if it’s still sticky, add more powdered sugar a little at a time until it has a Play-Doh consistency).
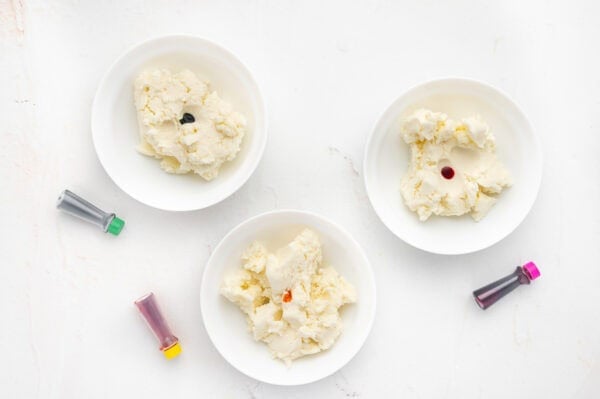
- Divide the mixture into three separate bowls (or however many different colors you’re using.)
- For pastel colors, add 1 scant drop of food gel coloring to each bowl and mix in until well incorporated and no white streaks remain. (Work with one color at a time and keep the remaining dough covered with a slightly damp towel, so it doesn’t dry out.)

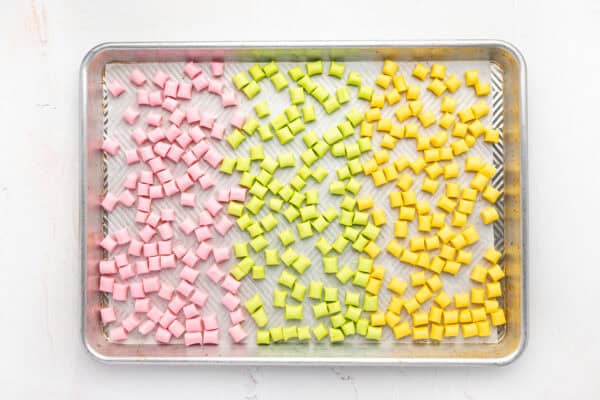
- Pinch off small amounts of the dough (about 1 & 1/2 tablespoons) and using the palms of your hands, form into balls, rolling until any cracks disappear. Roll each ball into a 1/2-inch thick log, then using a sharp knife, cut into 1/4 to 1/2-inch mini pieces. Transfer them all to the prepared baking sheets.
- Repeat rolling and pressing the remaining colors/batches of mints.
- Let stand, uncovered, at room temperature for at least 3 hours (ideally overnight) until the mints firm up and the powdered sugar has been absorbed. (If the bottoms of the mints have any moisture, flip them over and let stand again until the bottoms are also firm. They should not be squishy at all.)
- They can be stored in a cool dry place at room temperature for up to two weeks, an airtight container in fridge for a month, or freezer for 6 months. Store mints in a single layer between sheets of wax paper to avoid sticking together.


Video
Nutrition
Nutritional information given is an automatic calculation and can vary based on the exact products you use and any changes you make to the recipe. If these numbers are very important to you, I would recommend calculating them yourself.

How Long Do Homemade Butter Mints Last?
One of the great things about these mints is that they store really well. The key is to keep them away from moisture and to store them in a single layer with sheets of wax paper between them.
- Room temperature. Butter mints can be stored at room temperature for up to two weeks. Keep them away from moisture and in an airtight container.
- Fridge. They can also be stored in an airtight container in the fridge.
- Freezer. For longer storage, store them in the freezer for up to 6 months.
More Classic Candies To Try
I hope you love this delicious and easy recipe – be sure to give it a review below! Also don’t forget to follow Belly Full on TikTok, Instagram, Facebook, Pinterest, and YouTube!