Banoffee Pie
Updated
Updated
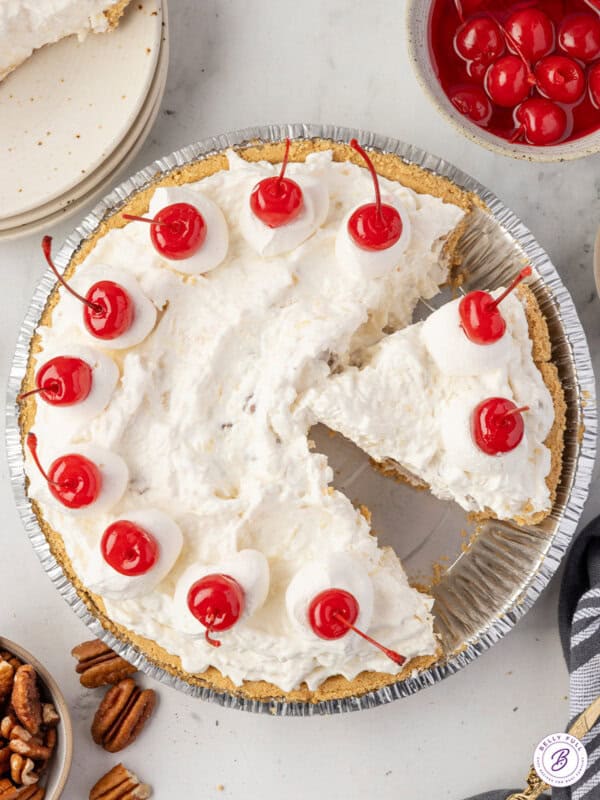
With a vanilla wafer crust, dulce de leche and banana filling, homemade whipped cream, and chocolate shavings, I can’t get enough of this Easy Banoffee Pie! A simple but show-stopping dessert, sure to please everyone.

Pin this now to find it later
Pin ItThis post may contain affiliate links. If you click on one and make a purchase, we may earn a small commission at no extra cost to you. We only recommend products we genuinely love.
Easy Banoffee Pie Recipe
Ever heard of the popular British dessert banoffee pie? If not, you’re in for a true treat today. And if you have tried it but thought it sounded complicated, you’ll be surprised by just how easy it is to make. In case you’re wondering where the word ‘banoffee’ came from: banoffee = banana + toffee.
Instead of a graham cracker crust, I’ve created this easy banoffee pie recipe with a homemade pie crust using vanilla wafers, which I think complements the filling even better. Next, I’ve added a can of dulce de leche as the filling. Thick, sweet, and gooey, it adds a caramel texture and flavor. I’ve topped the pie with sliced ripe bananas, followed by homemade whipped cream. Don’t forget the chocolate shavings! Now, doesn’t that sound like a dream come true?
Banoffee Pie

Ingredients
FOR THE CRUST
- 2 cups fine vanilla wafer cookie crumbs
- ½ cup unsalted butter, melted
- ¼ cup granulated sugar
FOR THE FILLING
- 13.4 oz. can dulce de leche
- 2 to 3 ripe bananas, (no green, but no brown specs either)
FOR THE TOPPING
- 2 cups heavy whipping cream, cold
- 3 tbsp powdered sugar
- 1/8 tsp salt
- ¼ cup chocolate shavings
Instructions
- Preheat the oven to 350°F. Grease a 9-inch tart pan with nonstick spray or butter and set aside.
- In a medium bowl, combine vanilla wafer crumbs, melted butter, and granulated sugar. Mix until the crumbs are evenly wet.
- Press the mixture into the base of the tart pan, forming an even crust along the bottom and up the sides.
- Bake the crust for 8-10 minutes or until lightly golden. Allow it to cool completely.
- Spread the dulce de leche evenly over the cooled crust, then transfer to the refrigerator for 30 minutes.
- Slice the bananas into ¼ inch-thick coins and arrange over the dulce de leche layer.
- In a chilled bowl, whip the cold heavy whipping cream until it starts to thicken. Add powdered sugar and salt. Continue whipping until stiff peaks form.
- Spread the whipped cream over the banana layer, covering the entire surface, then sprinkle with chocolate shavings.
- Refrigerate the Banoffee Pie for at least 4 hours (ideally overnight) before slicing.
Video
Notes
- Don’t have a tart pan, no worries, you can also use a 9-inch pie plate.
- Try different crust options like a graham cracker crust, shortbread crust, or a combination of digestive biscuits and nuts.
Nutrition
Nutritional information given is an automatic calculation and can vary based on the exact products you use and any changes you make to the recipe. If these numbers are very important to you, I would recommend calculating them yourself.
How To Make Banoffee Pie Step by Step
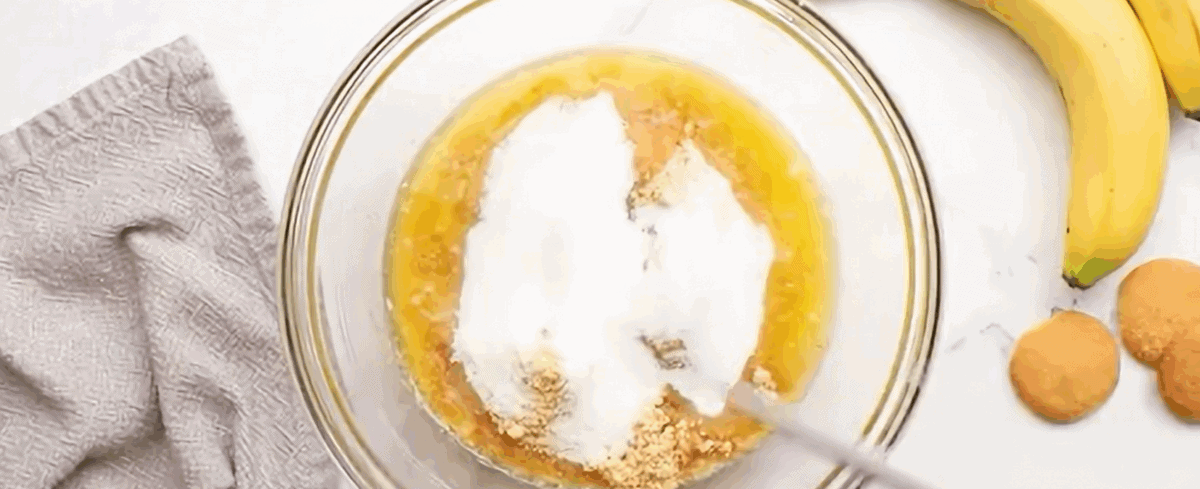
Prepare the crust and preheat the oven: Preheat the oven to 350°F. Grease a 9-inch tart pan with nonstick spray or butter and set aside. Combine 2 cups wafer crumbs, ½ cup butter, and ¼ cup sugar.
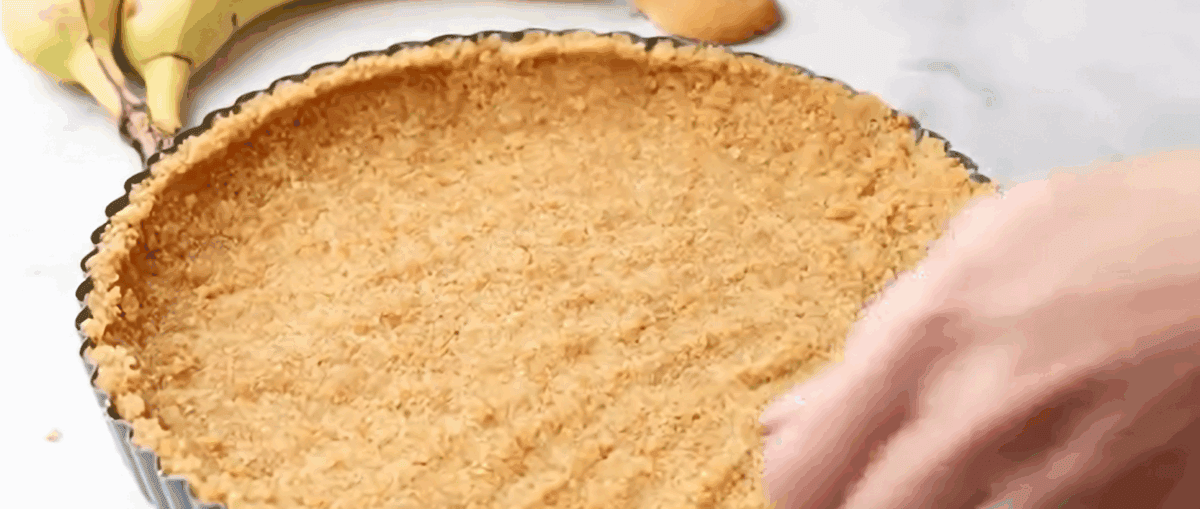
Transfer and bake: Press the mixture into the tart pan along the bottom and up the sides. Bake at 350°F for 8-10 minutes. Cool completely.
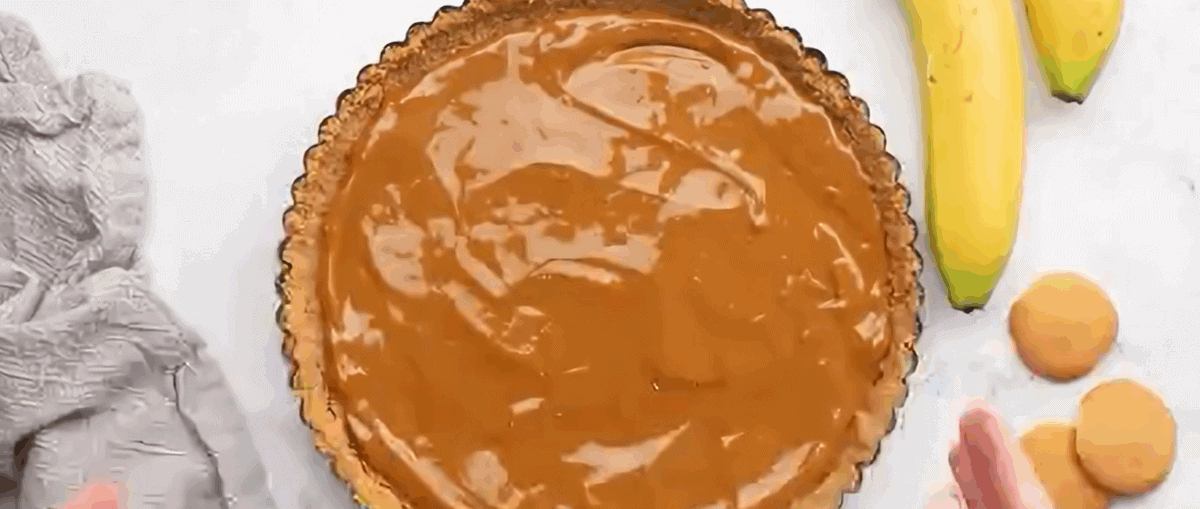
Add dulce de leche: Once the crust has cooled, spread one can dulce de leche over the crust. Chill in the fridge for 30 minutes.

Add the bananas and topping: Slice the bananas into ¼-inch coins and arrange over the dulce de leche. Beat 2 cups heavy whipping cream in a chilled bowl until it thickens. Add 3 tbsp powdered sugar and 1/8 tsp salt, whipping until stiff peaks form. Spread over the bananas. Sprinkle ¼ cup chocolate shavings.

Chill the pie for at least 4 hours before slicing and enjoying.
How to Store
Banoffee Pie should be made in advance since it needs a minimum of 4 hours to chill (ideally overnight). However, it’s recommended to add the whipped cream and chocolate shavings just before serving for a fresh appearance.
Store banoffee pie in the refrigerator, covered with plastic wrap or in an airtight container. Consume within 2-3 days for the best taste and texture. Do not let the pie sit at room temperature for extended periods. Freezing is not recommended since the texture of bananas and whipped cream isn’t appetizing once thawed.

What to Serve With Banoffee Pie
Afternoon treats just taste better with a slice of pie and a cool glass of boba tea, a refreshing glass of Southern-style iced tea, or, if coffee is more your thing a Starbucks Caramel Frappe will fit the bill.