Sushi Rice
Published
Published
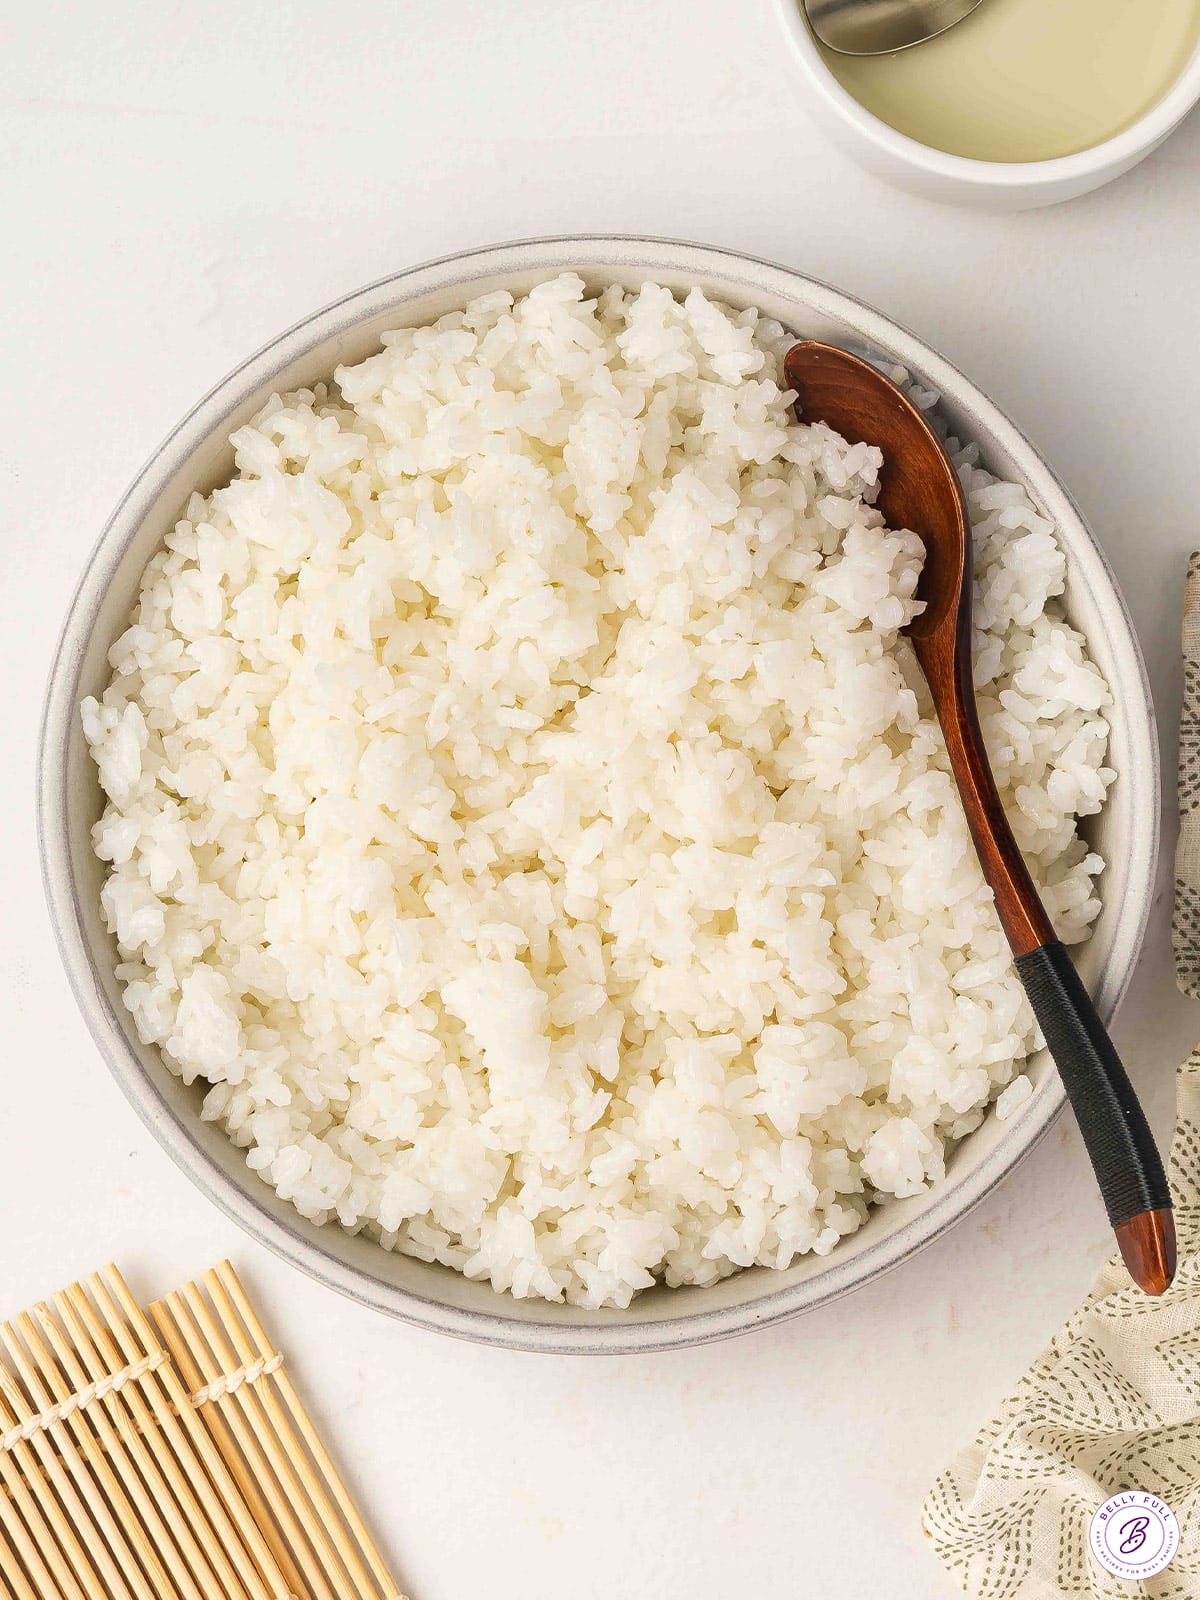
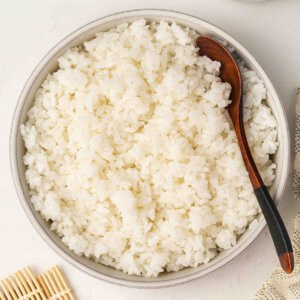
Sushi rice is the foundation for so many of my favorite dishes, from classic rolls and sushi bake casseroles to spam musubi. This recipe gives you fluffy, slightly sticky, lightly seasoned rice that’s easy to make at home and turns out perfect every time.
Pin this now to find it later
Pin ItThis post may contain affiliate links. If you click on one and make a purchase, we may earn a small commission at no extra cost to you. We only recommend products we genuinely love.
My family loves all things sushi, and that definitely includes the rice! I started making sushi rice at home a while ago once I realized how simple it is. It’s just tender rice seasoned with rice vinegar, sugar, and salt. Once you learn the basic method, you’ll always have the perfect base for sushi rolls, sushi bowls, sushi bake casserole, or musubi.
Helpful Tips & Variations
- Make sure to use sushi rice. Sushi rice is a specific type of Japanese rice that’s short and stubby, which becomes sticky as it cooks. Koshihikari, Botan, and Nishiki are all popular brands, but any brand is fine as long as it’s labeled sushi rice.
- Rinse thoroughly. Wash the rice under cold water until it runs clear. This step removes excess starch, which prevents clumping and ensures each grain cooks up light, fluffy, and just the right amount of sticky.
- Once cooked, don’t stir. When seasoning the cooked rice, avoid stirring like you would soup or batter. Instead, use a gentle slicing and folding motion with a rice paddle or spatula. This keeps the grains intact and prevents the rice from turning gummy.
- Fan while mixing. As you fold in the vinegar mixture, fan the rice at the same time. Traditional sushi chefs use a handheld fan (uchiwa). The airflow cools it down quickly, helps the grains absorb the seasoning evenly, and gives the rice that signature glossy finish you see at sushi restaurants.
- Keep covered. Sushi rice dries out fast if left uncovered. While you assemble rolls or bowls, keep the rice in a large bowl with a damp paper towel on top. This locks in moisture and keeps the texture soft and pliable for shaping.
Sushi Rice
Equipment
- rice cooker or medium-sized pot
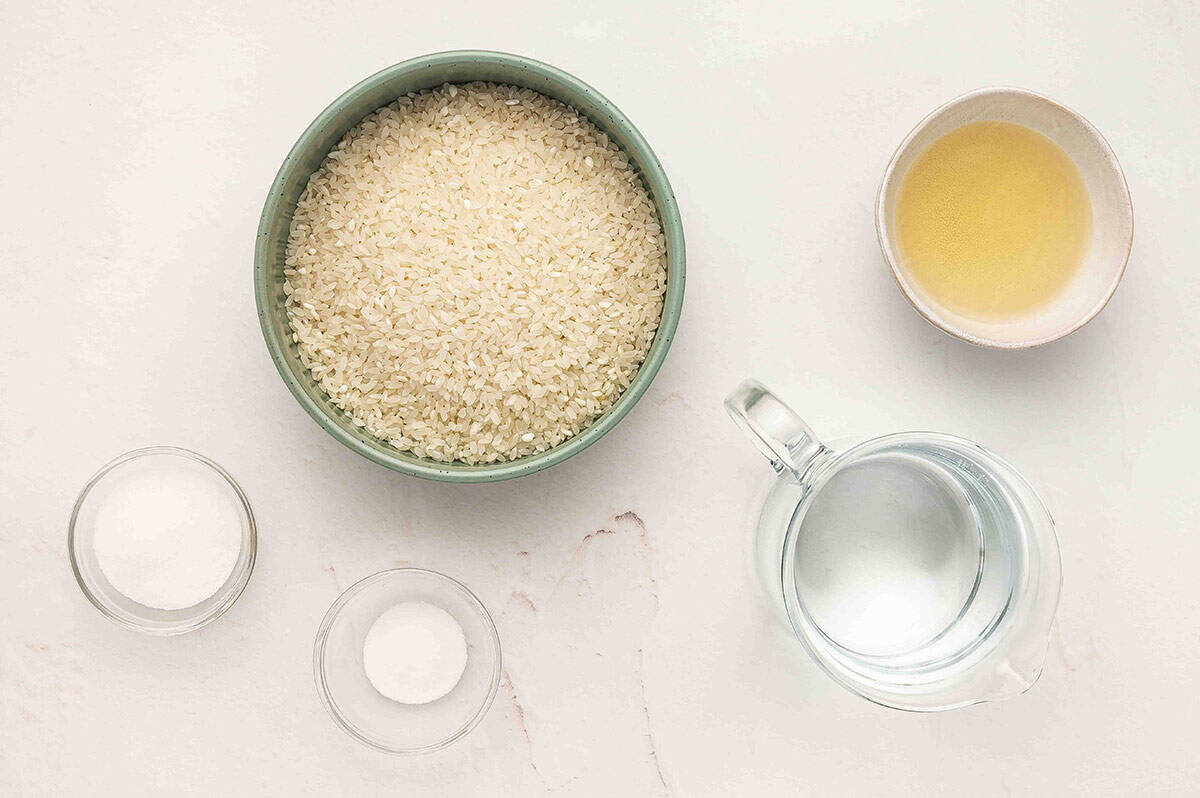
Ingredients
- 2 cups uncooked sushi rice, (it should say “sushi rice” on the bag)
- 3 cups water
- 1/4 cup rice vinegar
- 2 tablespoons sugar
- 1 teaspoon salt
Instructions
- Add the dry sushi rice into a fine-mesh sieve. Run it under cold water, mixing it around with your fingers until the water runs clear.
- Add the rinsed rice and 3 cups of water to a rice cooker and cook according to package directions. (If you don't have a rice cooker, place rice and water in a heavy medium-sized pot and bring just to a boil, then reduce the heat to low and simmer, covered, for 15 minutes. Turn off the heat and let the rice rest, covered, for an additional 15 minutes.)
- While the rice cooks, combine rice vinegar, sugar, and salt in a microwave-safe bowl or measuring cup and cook on high until it steams and the sugar is dissolved (don’t let it boil.) Then let it cool to room temperature.
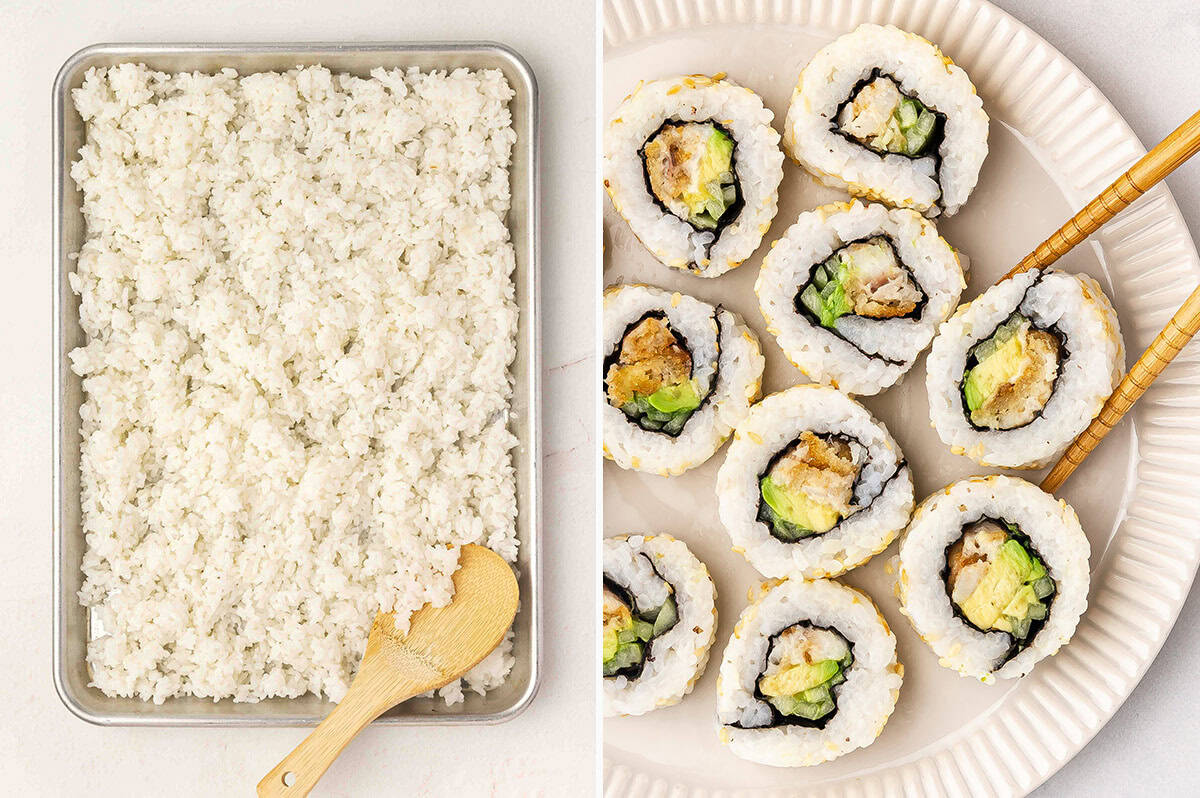
- Transfer cooked rice to a rimmed baking sheet or baking dish and drizzle evenly with the cooled vinegar mixture. Gently combine with a slicing motion using a rice paddle/spoon (be gentle, do not stir or mash it up.)
- Fan the rice while mixing to help cool it off. When it’s cooled to room temperature, it’s ready to use for sushi rolls, sushi bowls, sushi casserole, and spam musubi.
Notes
- Use sushi rice, not regular white rice: Sushi rice has the right starch content to make it sticky enough for rolls. Regular white rice doesn’t have the right texture and won’t hold together properly.
- Don’t skip the vinegar: Rice vinegar isn’t optional—it gives sushi rice its signature flavor and helps the grains hold their texture.
Nutrition
Nutritional information given is an automatic calculation and can vary based on the exact products you use and any changes you make to the recipe. If these numbers are very important to you, I would recommend calculating them yourself.
How to Make Sushi Rice Step by Step
Gather the ingredients: Gather all the ingredients together. Place 2 cups of uncooked sushi rice in a fine-mesh sieve and rinse it under cold water, mixing it around with your fingers until the water runs clear.
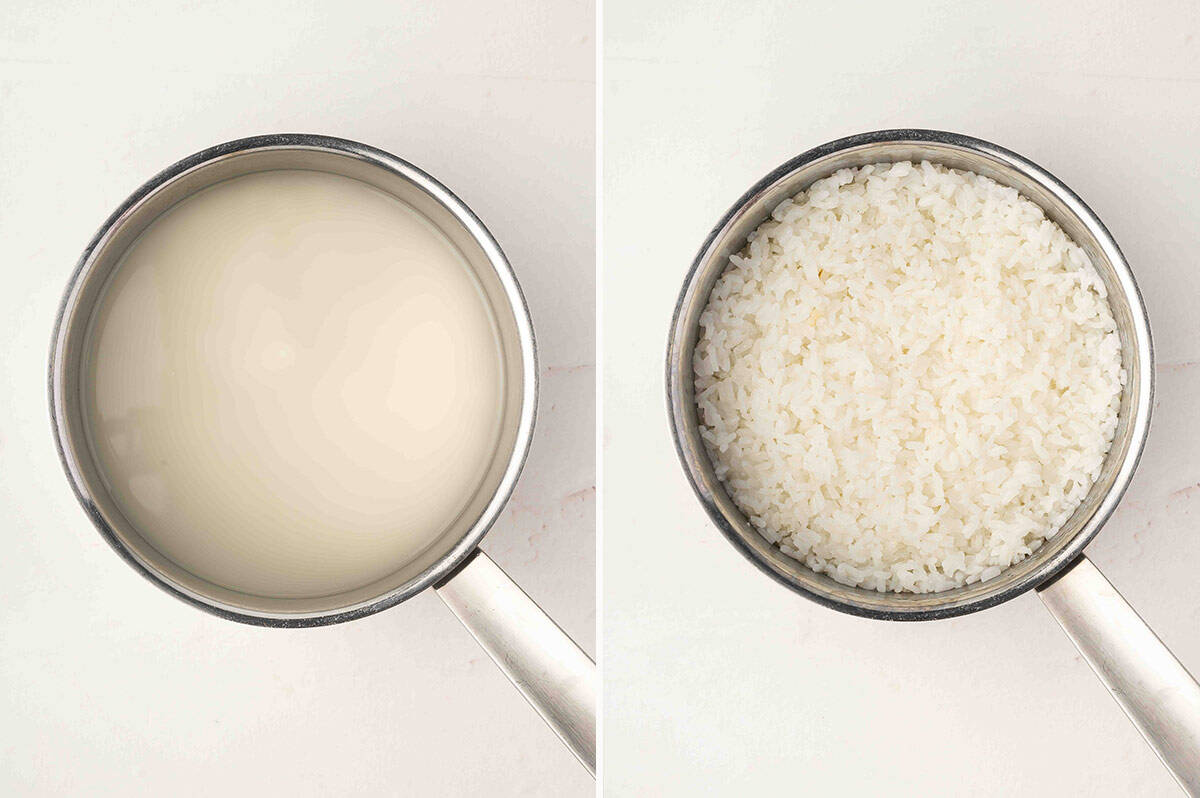
Cook the rice: Add the rinsed rice and 3 cups of water to a rice cooker and cook according to the package directions. (If you don’t have a rice cooker, place the rice and water in a heavy medium pot, bring just to a boil, then reduce the heat to low and simmer, covered, for 15 minutes. Turn off the heat and let the rice rest, still covered, for another 15 minutes.)
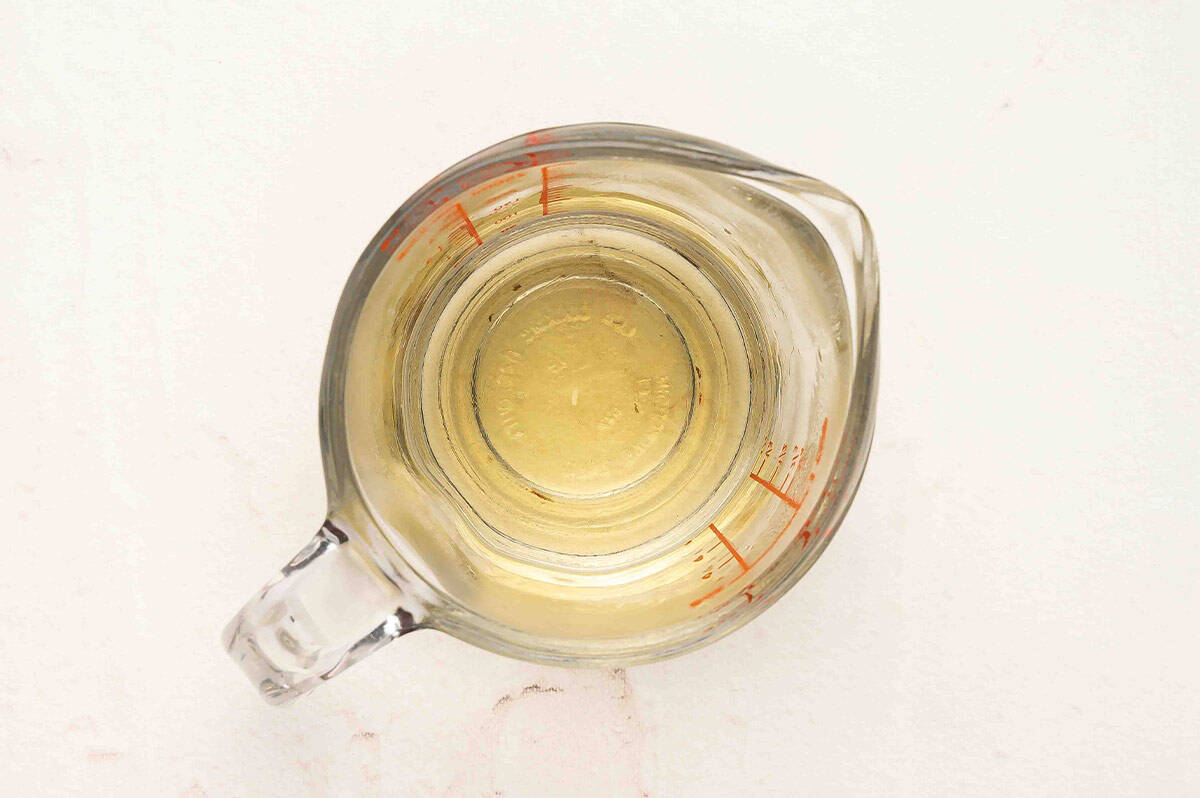
Make the seasoning: While the rice cooks, combine ¼ cup rice vinegar, 2 tbsp sugar, and 1 tsp salt in a microwave-safe bowl or measuring cup. Heat on high until the mixture steams and the sugar is dissolved, but do not let it boil. Set aside to cool to room temperature.
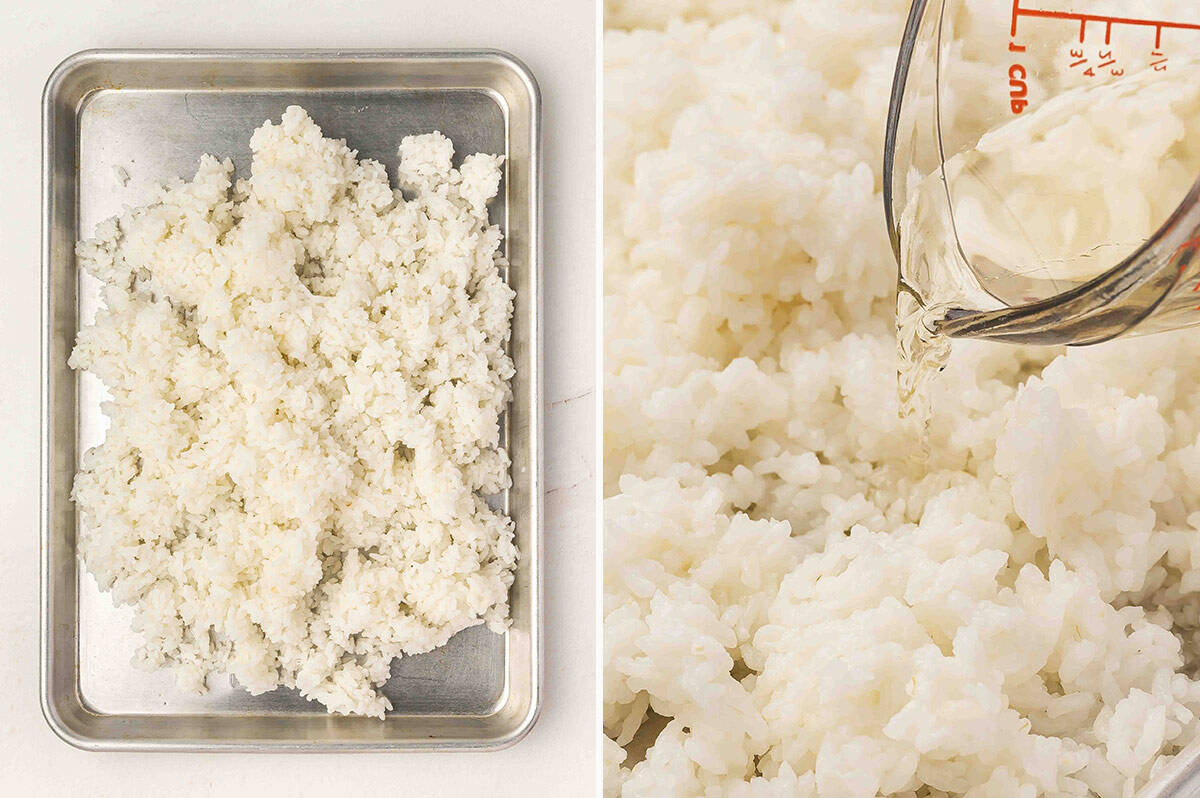
Season the rice: When the rice is done, transfer it to a rimmed baking sheet or baking dish. Drizzle the cooled vinegar mixture evenly over the top, then gently fold it in with a slicing motion using a rice paddle or spoon. Avoid stirring or mashing so the grains stay intact. Fan the rice as you mix to help it cool.
Use and serve: Once it reaches room temperature, the sushi rice is ready to use. Enjoy!

Serving Suggestions
I love using this sushi rice as the base for all kinds of meals. I’ll roll it up with fresh veggies and fish for classic sushi rolls, layer it in a casserole dish with crab and spicy mayo for a fun sushi bake, or pile it into sushi bowls topped with imitation crab, avocado, and cucumbers for an easy dinner. Or sometimes I just mix it with some soy sauce, sesame oil, and scallions. Delish!
How to Store Leftovers
Store leftover sushi rice in an airtight container in the refrigerator for up to 2 days. It tends to dry out, so before reheating, sprinkle a little water over the rice and cover it with a damp paper towel, then microwave in short bursts until just warmed through. Keep in mind that sushi rice is best enjoyed the same day it’s made, since the texture becomes firm and less sticky after sitting in the fridge.