Spritz Cookies
Updated
Updated
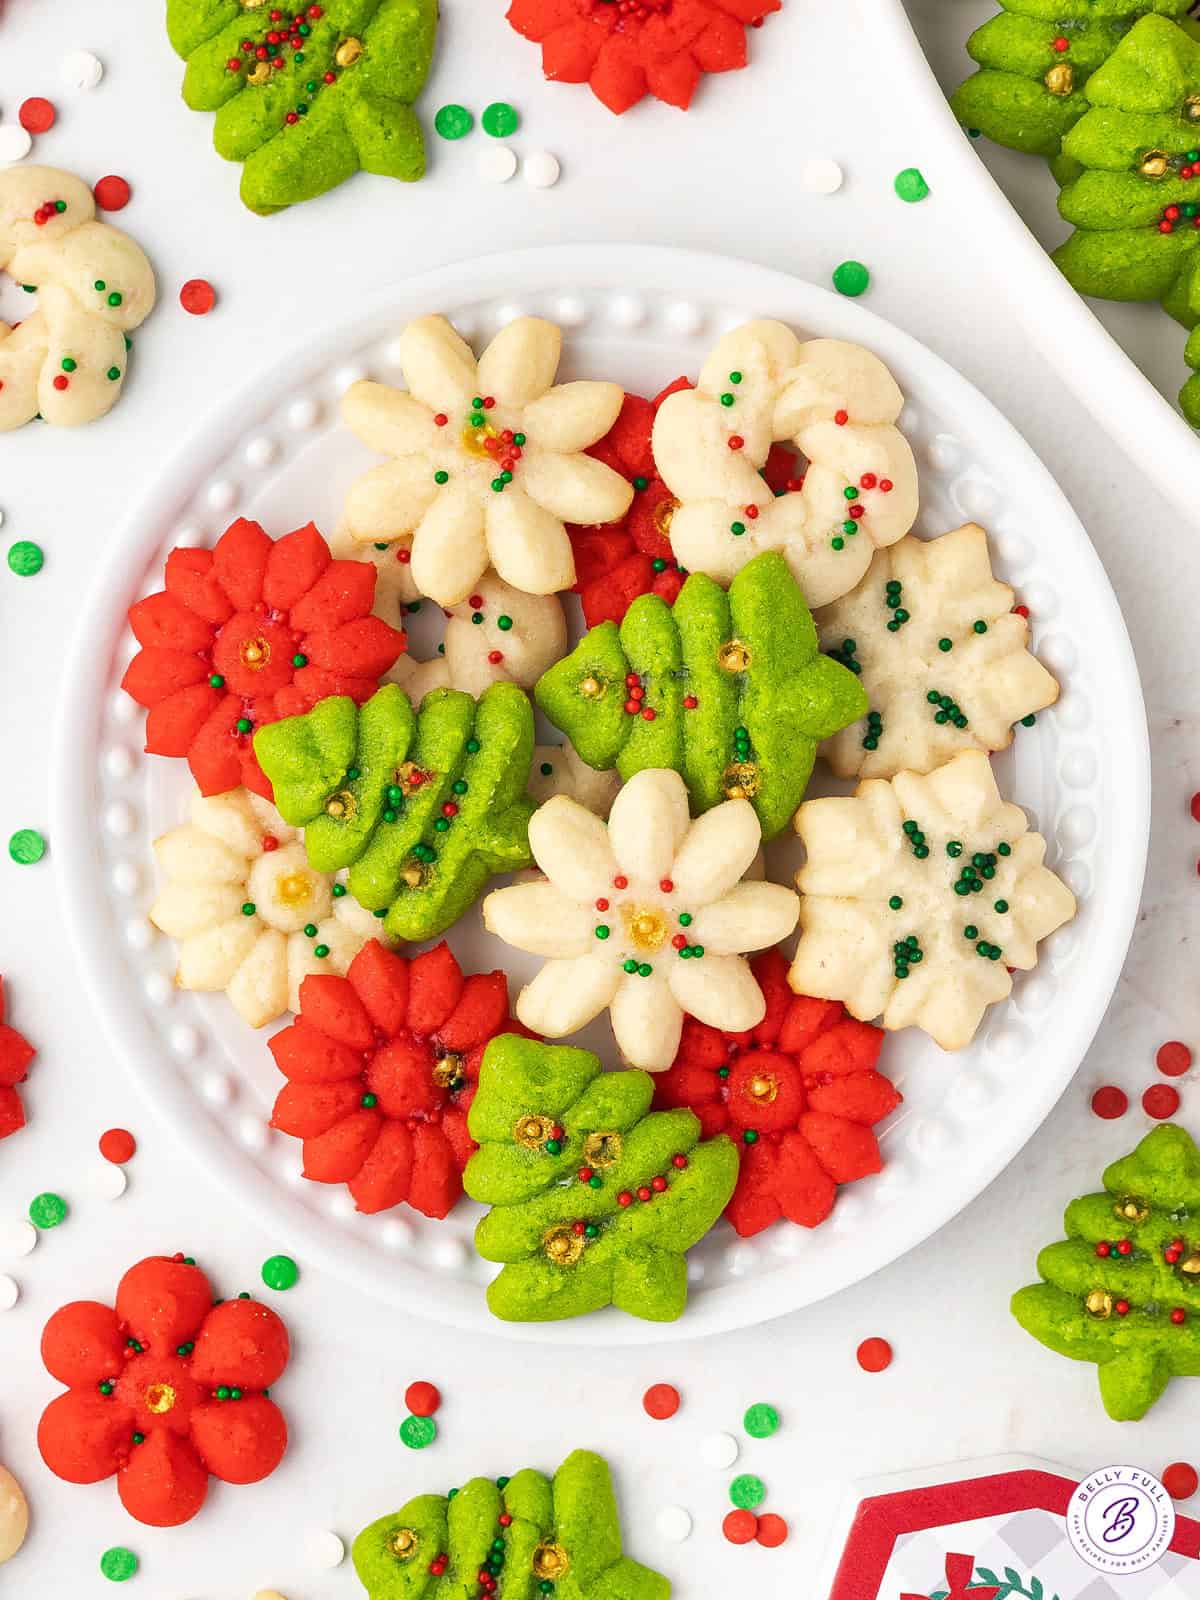
There’s nothing more nostalgic or festive than a platter of freshly decorated homemade Spritz Cookies! These buttery, tender cookies are some of my favorites around the holidays, and I love getting the whole family in on the process. The simple dough is shaped using a cookie press and then topped with colorful sprinkles and a sweet lemon glaze. My Christmas cookie platter isn’t complete without these little gems!
Pin this now to find it later
Pin ItThis post may contain affiliate links. If you click on one and make a purchase, we may earn a small commission at no extra cost to you. We only recommend products we genuinely love.
If you usually make sugar cookies or shortbread bites around the holidays, I urge you to give these homemade spritz cookies a try. They have the most irresistible almond-vanilla flavor, topped with a powdered sugar glaze, and the buttery crumb stays tender for days. They’re also a blast to make! The cookie press makes it easy to shape the dough into all sorts of fun designs.
The term ”spritz” originates from the German word for “squirt,” which refers to how the cookies are formed by squeezing the dough through a cookie press. And while butter spritz cookies are a traditional Christmas treat, who says you need a holiday to make these perfectly crispy, super cute cookies? I hereby give you permission to make these year-round!
What’s in this Spritz Cookie Recipe?
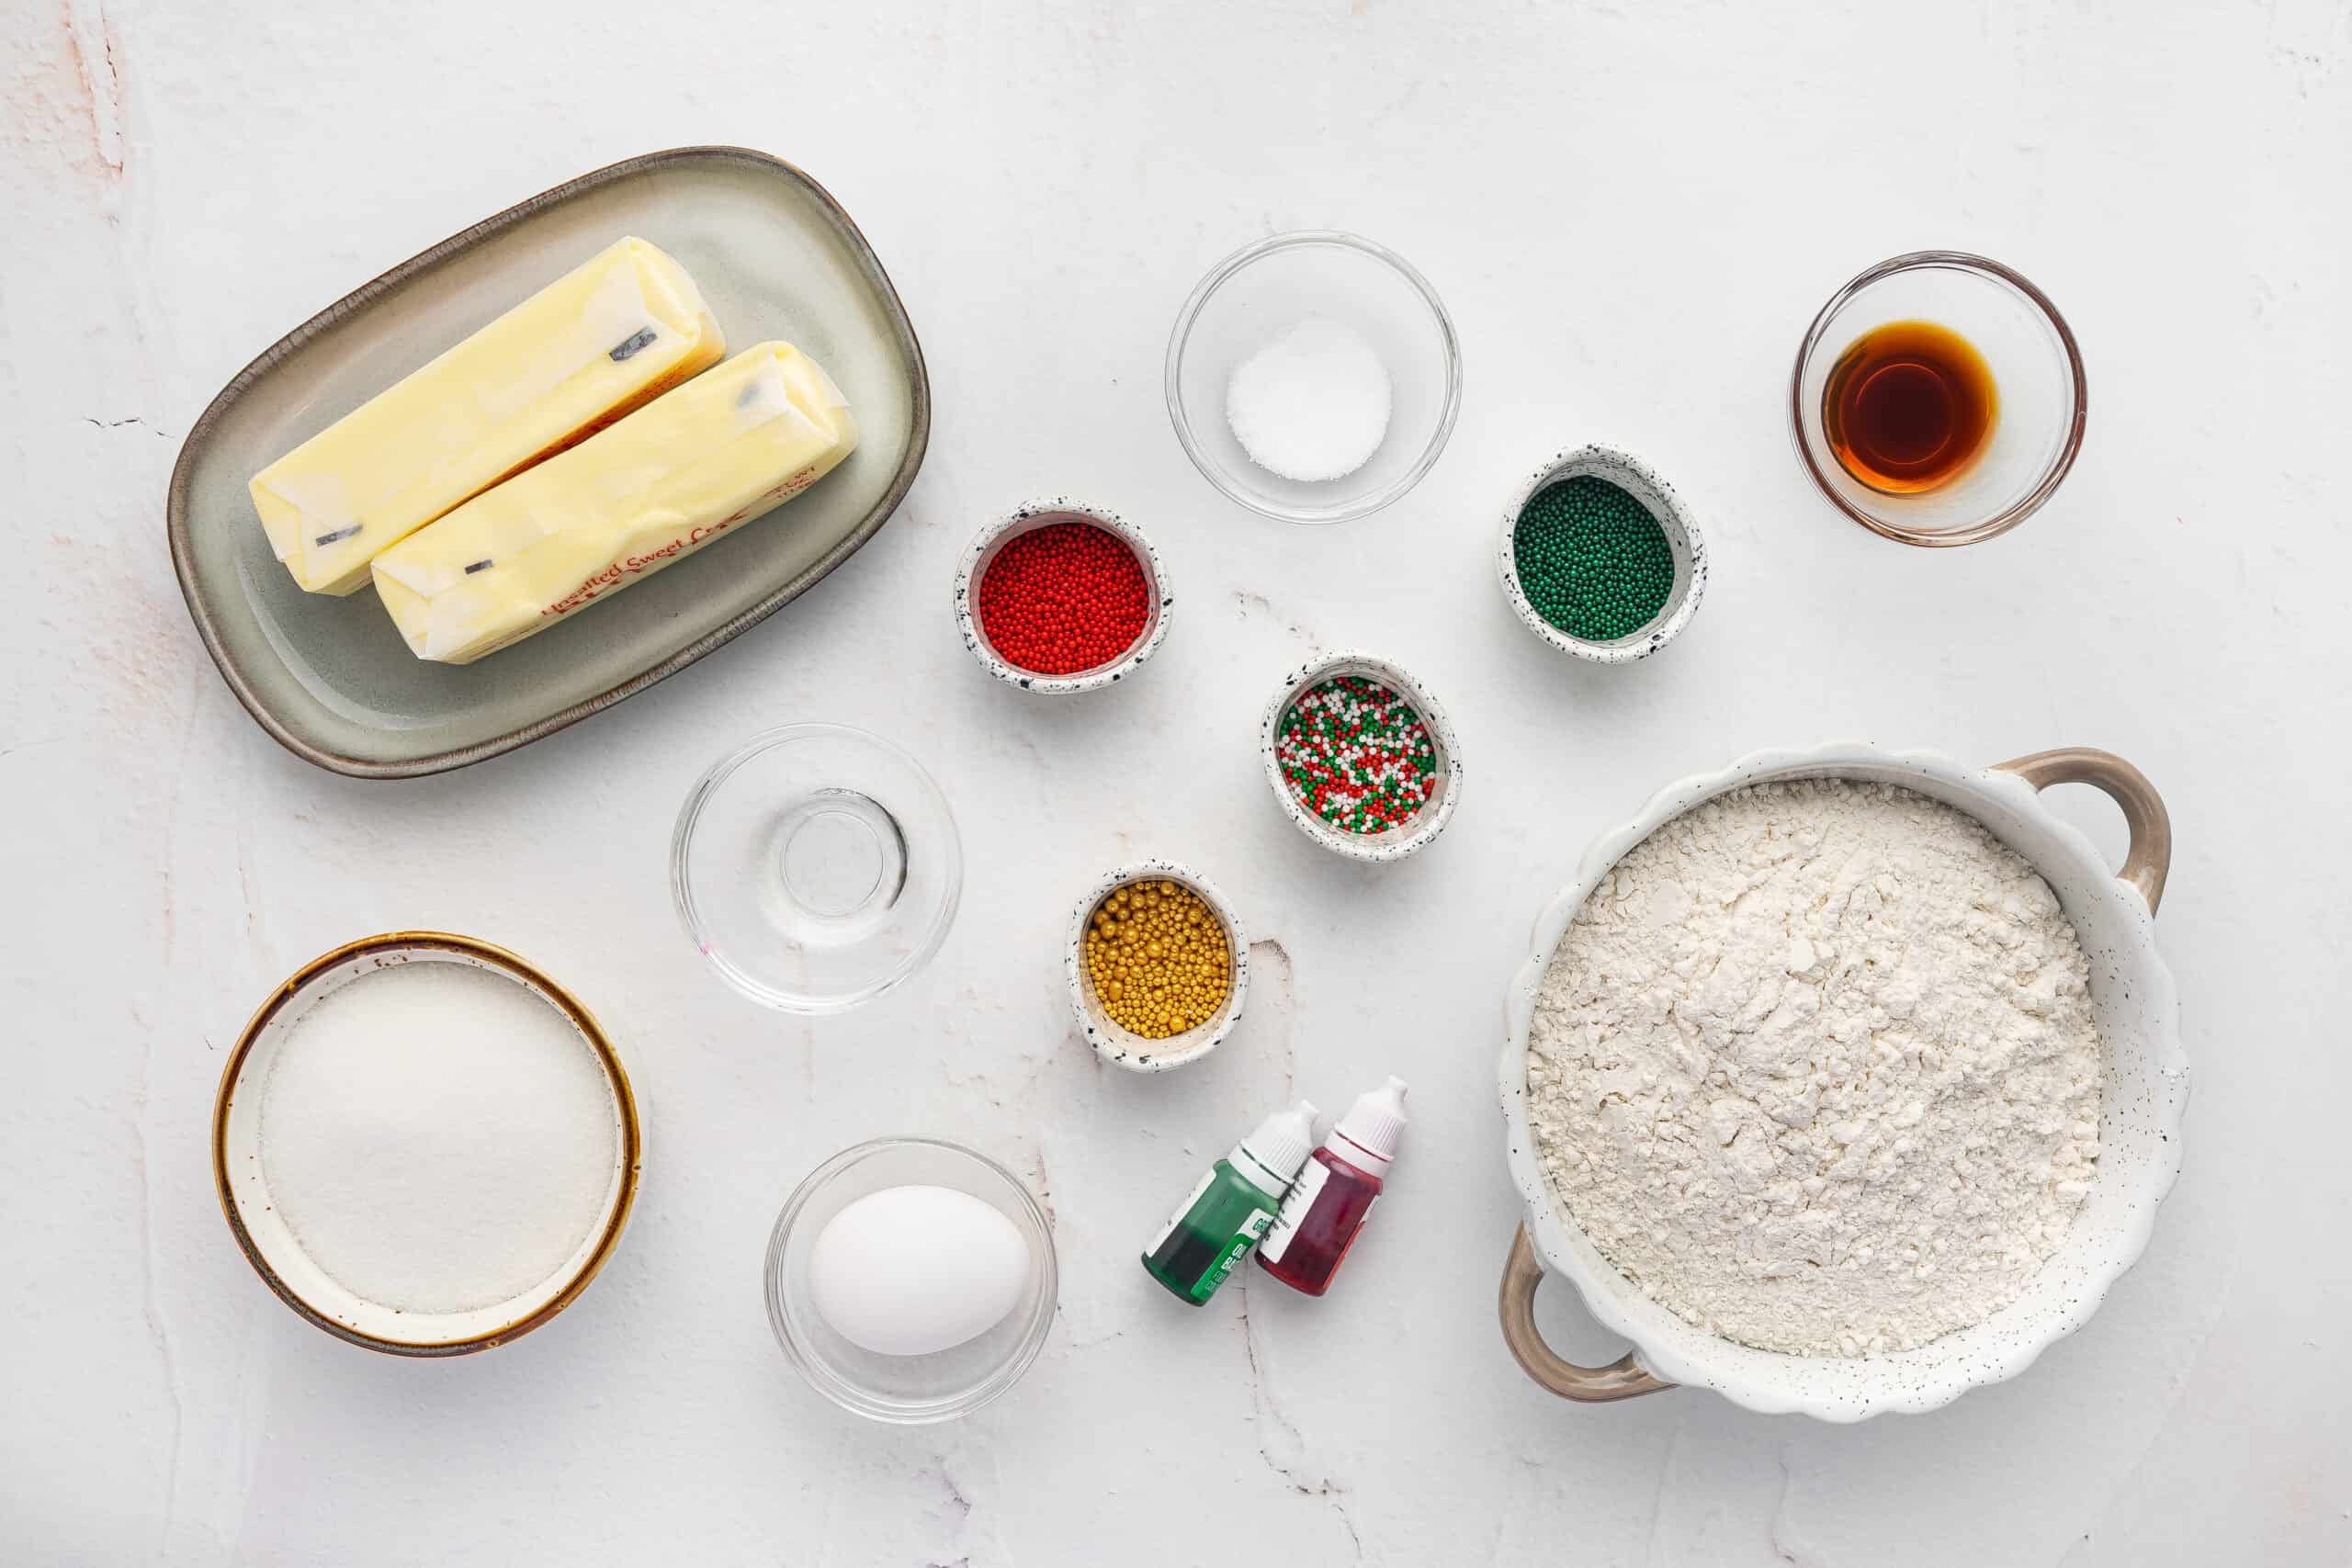
Here’s what you’ll need to make this recipe for spritz cookies. Scroll down to the recipe card below for the exact measurements.
- Butter: I highly recommend using unsalted butter, as we’ll be adding salt separately. Make sure your butter is at room temperature before starting the recipe.
- Sugar: Creaming the butter with sugar sweetens these cookies and adds to the tender texture.
- Salt: For balancing out the sweetness.
- Egg: I use a large egg to give the cookies structure. It also adds moisture to the dough, making it easier to push through the cookie press.
- Vanilla and Almond Extract: I’ve seen these cookies made with just almond extract or a combination of the two. I prefer the almond-vanilla combo for a slightly nutty and sweet flavor.
- All-Purpose Flour: Spoon and level your flour for the most accurate measurement.
- Red and Green Gel Food Coloring: For an all-out festive vibe, I portion the dough and color some red and green. This is completely optional, though! I also leave a portion uncolored for a classic look.
- Sprinkles: Again, these are optional, but who doesn’t love sprinkles on holiday cookies?! I use red, green, white, and gold sprinkles. Adding the sprinkles is also the perfect step for kids to join the baking fun. Just note that some sprinkles ”bleed” color when baked, so you can add them after baking while the glaze is still wet if you want to avoid this.
- Glaze: I make a simple glaze using powdered sugar, lukewarm water, a little more vanilla extract, and lemon juice. It adds even more flavor and adds a pretty shine.
Variations to Try
I personally prefer glaze icing when making these cookies, as it doesn’t hide the intricate design made by the spritz cookie press. But I recently made this recipe using our classic sugar cookie icing, which turned out great and was delicious! So feel free to use whichever icing you prefer. Or, you can skip the icing altogether and enjoy these cookies as is.
Spritz Cookies vs. Butter Cookies
Both cookies have a high ratio of butter to sugar and similar basic ingredients. However, butter cookies are much softer than spritz cookies. The dough is also wetter, which makes it easier to pipe into different shapes. I actually add egg yolks and milk to my butter cookie dough for a richer texture. Spritz cookies have a slightly firmer dough that’s perfect for using a dough press to create precise and uniform shapes. They’re also crisper and hold their shape better when baked. I love both, and they’ll always be a staple in my holiday baking.
What’s the Best Cookie Press to Use?
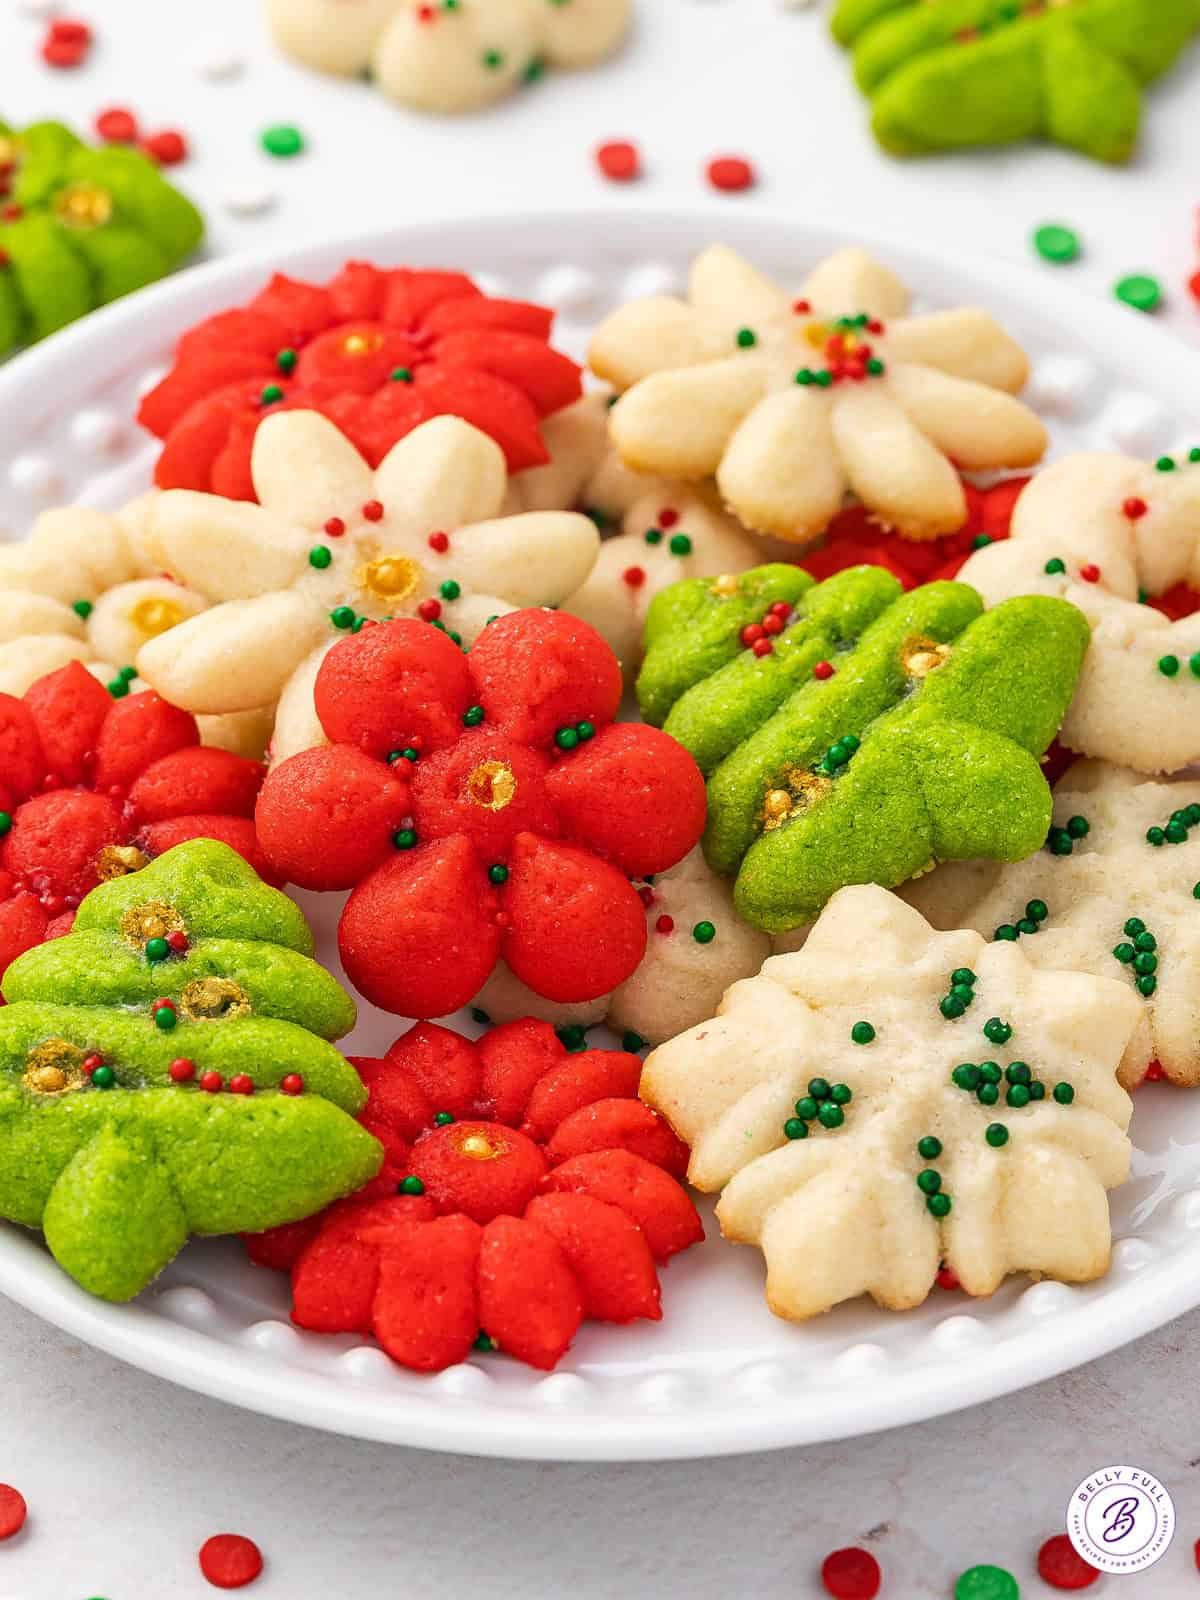
If you’ve never used a cookie press before, have no fear! It’s not an overly expensive tool, and it’s fun to have on hand. I have this spritz cookie press, and I love all of the shapes that come with it. The obvious pine tree shape is perfect for Christmas, but there are shapes that look like flowers and leaves, too—perfect for Thanksgiving, Halloween, and even springtime holidays.
Helpful Tips for Success
- Use room-temperature butter. I cream my butter and sugar together with a hand mixer, which is made easier by using softened butter. Cold butter won’t incorporate as well and can make the dough crumbly.
- Use a cold baking sheet. I use a parchment-lined baking sheet when pressing my cookies. Some recipes recommend not using parchment paper, but I had no issues using it. However, if your dough isn’t adhering to the baking sheet, you can try removing the parchment paper and chilling the baking sheet before pressing more cookies.
- Chill the pressed cookies before baking. This helps the cookies hold their shape and stops them from baking up flat. I let mine chill in the refrigerator for about 30 minutes before baking. DON’T chill the dough before pressing the cookies, though! The dough will harden too much, and it’ll be difficult to press.
- Add the flour gradually. I add my flour to the wet ingredients, 1/4 cup at a time. Why? Adding too much at once can easily lead to overworked dough. Slowly incorporating the flour helps create a tender cookie rather than a tough one.
- Don’t overbake the cookies. You want them to be just golden around the edges. The timing can vary depending on your oven, so I recommend keeping an eye on them after about 8 minutes. They’ll continue to cook and harden as they cool, so taking them out at the right time is important. I also bake my cookies on the middle shelf of my oven for even baking.
- Give them time to cool. I let mine cool for about 10 minutes before removing them from the baking sheet to give them time to set. They should also be completely cool before brushing with the glaze.
- Make colorful cookies. This is optional, but I added red and green gel food coloring to some of the dough for a festive touch. Only add a drop or two at a time and mix well until you reach your desired color.
Proper Storage
- Room-temperature. These Christmas spritz cookies don’t need to be refrigerated and can be stored at room temperature for about 3-4 days. Keep them in an airtight container away from direct sunlight and moisture.
- Freezer. These cookies also freeze really well, but I wouldn’t add the glaze before freezing. Once the cookies are completely cool, place them in an airtight container and freeze for up to 3 months. Thaw at room temperature before adding the glaze and serving.
I hope you love this delicious and easy recipe – be sure to give it a review below! Also don’t forget to follow Belly Full on TikTok, Facebook, Instagram, Pinterest, and YouTube!
Spritz Cookies

Equipment
- Basting Brush
Ingredients
For the Cookies
- 1 cup unsalted butter, , room temperature
- 1 cup granulated sugar
- 1/2 teaspoon salt
- 1 large egg
- 1 teaspoon vanilla extract
- 1 teaspoon almond extract
- 2 & 1/4 cups all-purpose flour, , spooned and leveled
- red and green food coloring gel, , optional
- sprinkles, , optional
For the Glaze
- 1 cup powdered sugar
- 2 tablespoons lukewarm water
- 1/4 teaspoon vanilla extract
- 1 teaspoon lemon juice
Instructions
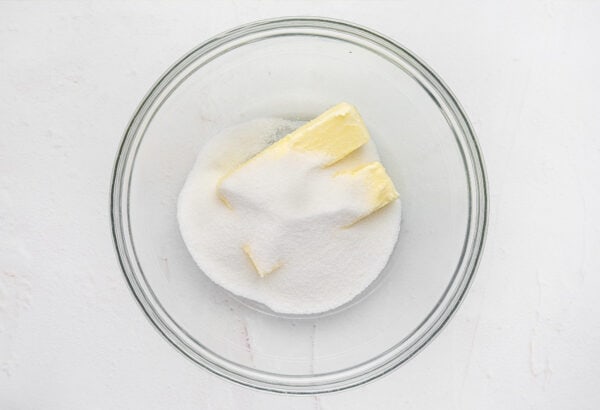
- Preheat oven to 400F. Cream together 1 cup room temperature unsalted butter and 1 cup granulated sugar on medium speed with a hand mixer.
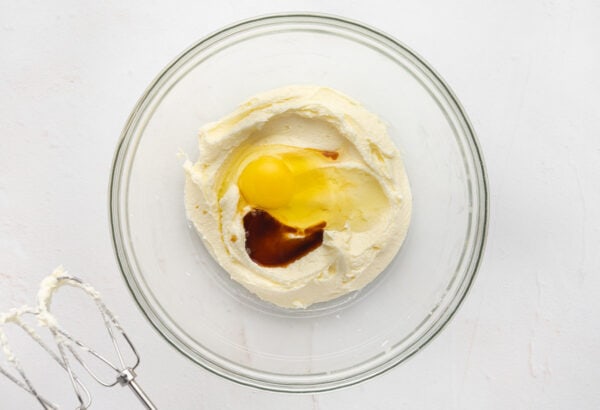
- Add 1/2 teaspoon salt, 1 large egg, 1 teaspoon vanilla extract, and 1 teaspoon almond extract to the creamed sugar butter mixture. Blend on medium speed until just incorporated.
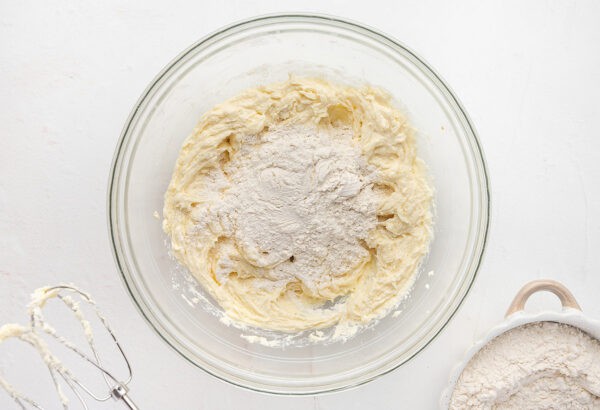
- Mix in 2 & 1/4 cups all-purpose flour (a 1/4 cup at a time), until you've used it all.
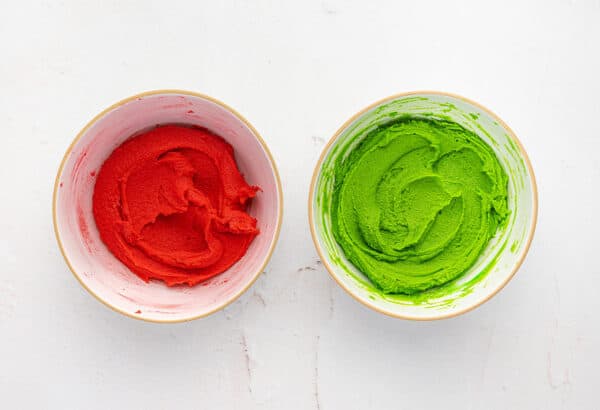
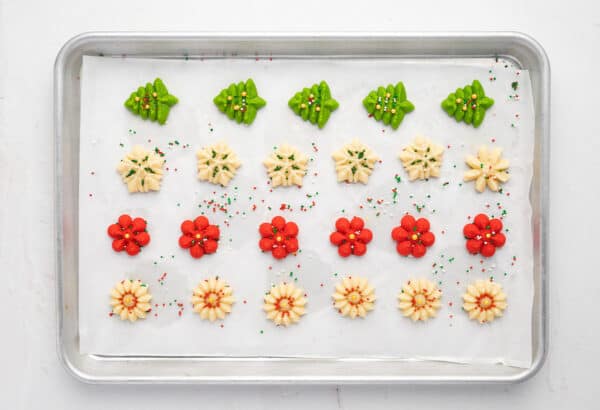
- If desired, divide the dough into three separate bowls. Add a few drops of red food coloring in the first bowl, and in the second bowl, add green food coloring. Mix each bowl thoroughly, adding more food coloring as needed to achieve your desired shades. Leave the third portion of dough plain, without any added coloring.
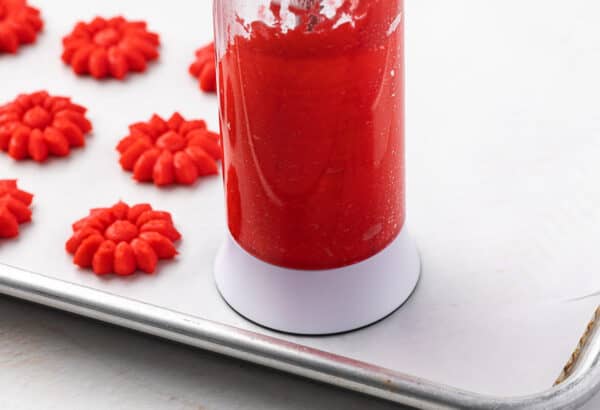
- Roll 1/4 cup of dough into a ball and push it into your cookie press to load. Press the dough down evenly into the cylinder to avoid air pockets.
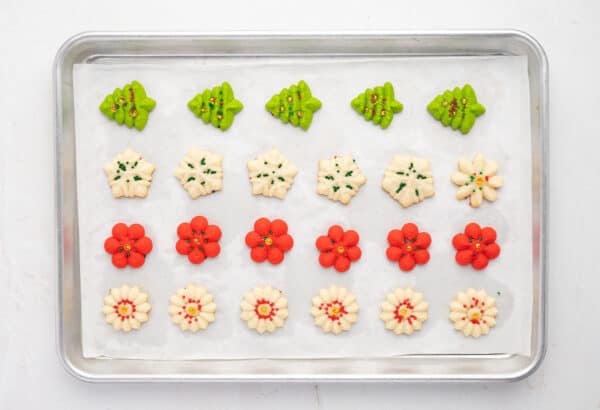
- Next, choose the design plate you wish to use. Using your cookie press, press out as many variations of shapes as you like onto an ungreased parchment-lined baking sheet (see note below.) Reload with another 1/4 cup of dough as needed. Please refer to the instructions that came with your cookie press on how to use it, as different presses may vary.
- If using, top the unbaked cookies with sprinkles.
- Place the pressed cookies into the refrigerator for 30 minutes before baking.
- Bake at 400F for 8 minutes, just until the edges are faintly golden. Make sure your cookie sheet is in the middle of the oven to avoid burning on the bottom.
- Let the cookies cool for 10 minutes before handling.
- To make the glaze, combine 1 cup powdered sugar, 2 tablespoons lukewarm water, 1/4 teaspoon vanilla extract, and 1 teaspoon lemon juice in a small bowl and whisk until very smooth.
- When the cookies have completely cooled, using a basting brush, brush a thin layer of glaze over each cookie.
Notes
Nutrition
Nutritional information given is an automatic calculation and can vary based on the exact products you use and any changes you make to the recipe. If these numbers are very important to you, I would recommend calculating them yourself.
