Mandelbrot Jewish Cookies
Updated
Updated
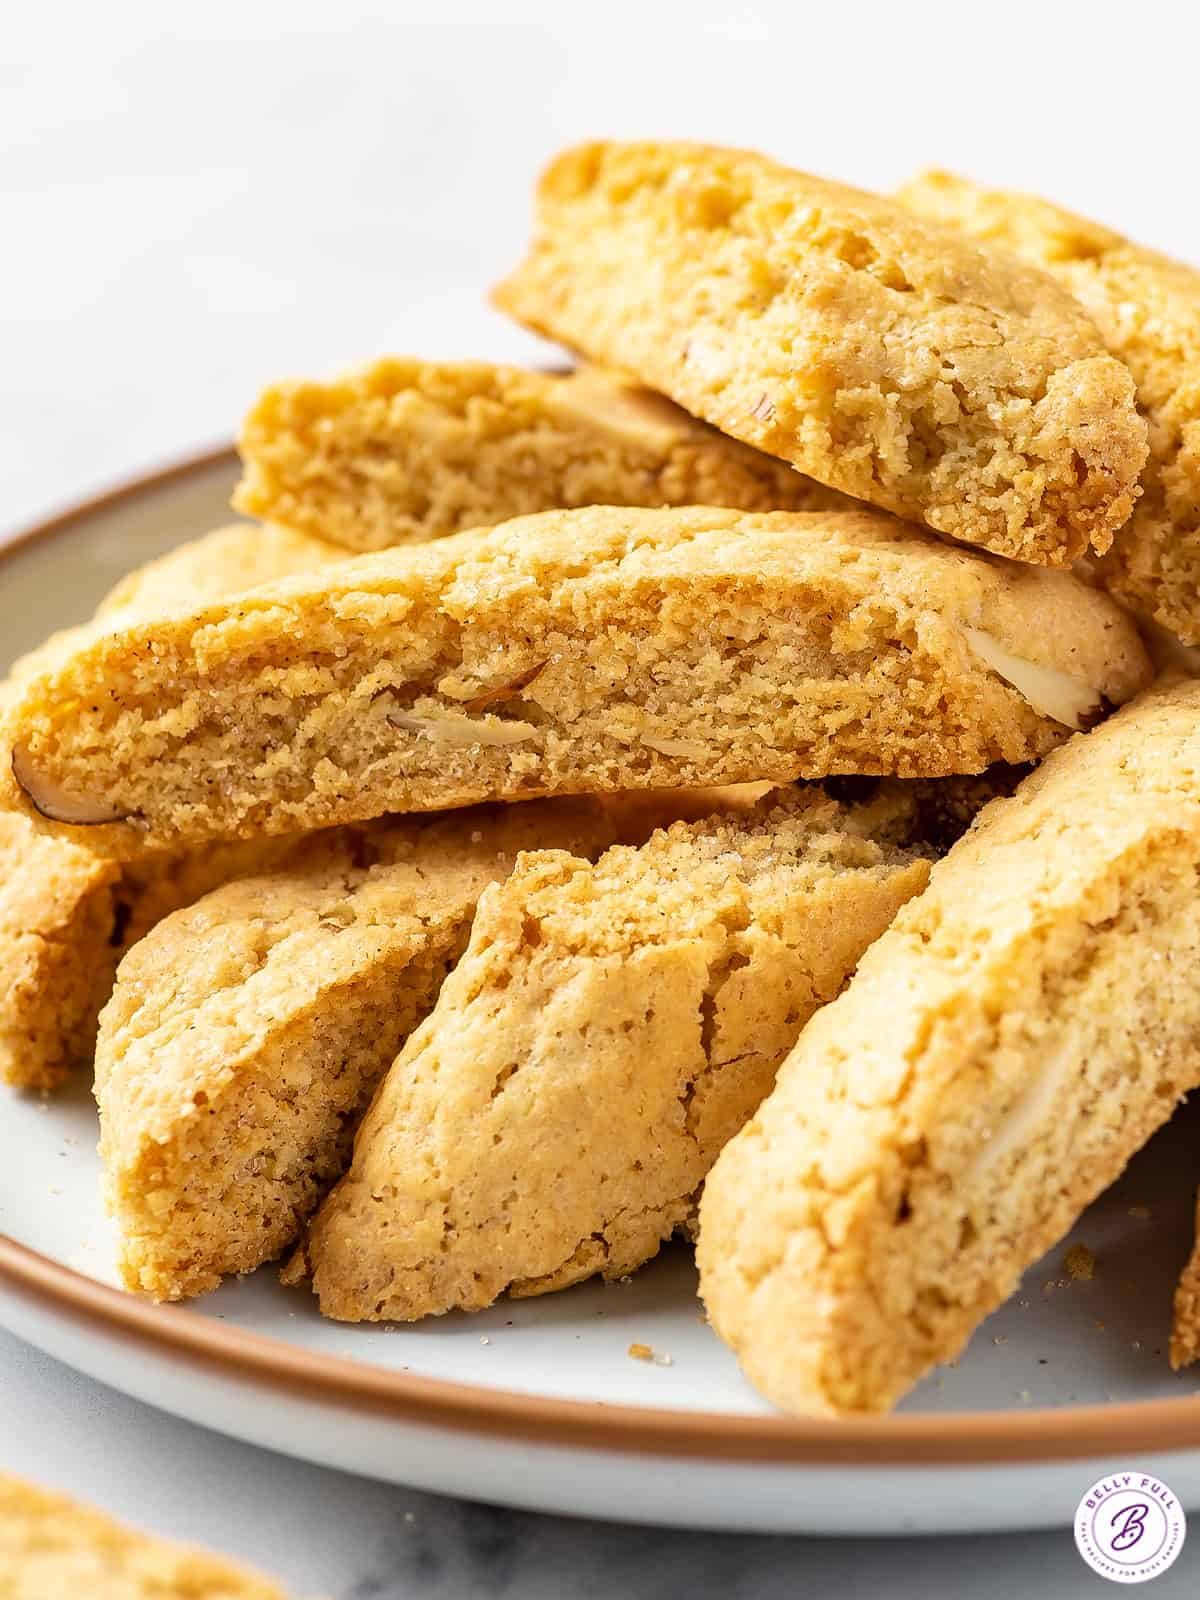
Crunchy with a light almond flavor, Mandelbrot {Mandel Bread} is a twice-baked, non-dairy Jewish cookie that’s similar to Italian biscotti. Enjoy with tea or coffee for Rosh Hashanah, Hannukkah, or just because. If you love biscotti, you’ll love these too!
Pin this now to find it later
Pin ItThis post may contain affiliate links. If you click on one and make a purchase, we may earn a small commission at no extra cost to you. We only recommend products we genuinely love.
Mandel Bread Jewish Cookies Recipe
Mandel bread (also known as Mandelbrot) is a Jewish dessert I grew watching my mom make every year for holidays like Rosh Hashanah (the Jewish New Year) and Hanukkah. Between these cookies and a slice of honey cake, the new year was always off to a sweet start!
Similar to Italian biscotti, these Jewish cookies are crunchy and fairly dry (perfect for dipping in coffee!) and have a light almond flavor. I add a dusting of cinnamon sugar for some added sweetness as well.
While mandel bread can be a traditional Passover treat, our recipe does include white flour so it shouldn’t be served for Passover. It is perfect for Rosh Hashanah, Hannukah, and other Jewish holidays. You don’t need to be Jewish to enjoy it, though. If you love biscotti, you’ll love this almond-flavored cookie too.
What is Mandel Bread?
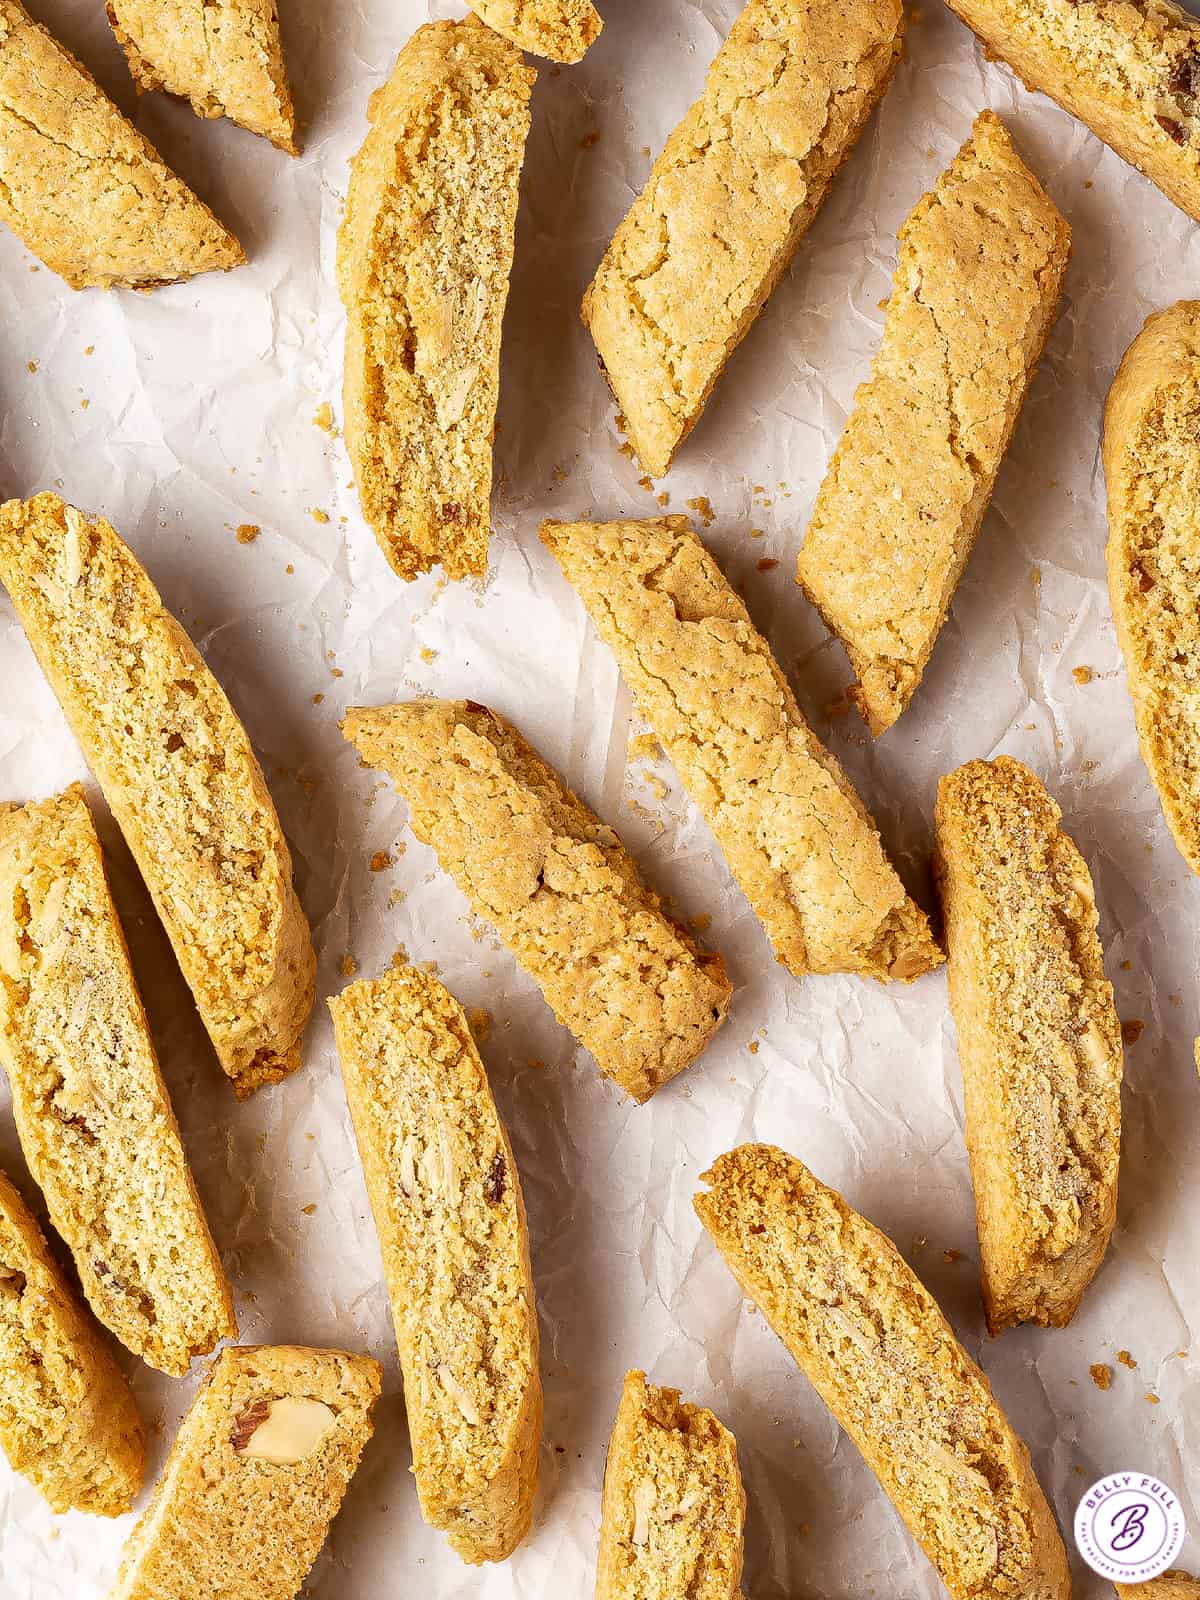
Mandel Bread (also known as Mandelbrot) is a dairy-free Jewish cookie and similar to Italian Biscotti, which is twice-baked, to create a crispy, crunchy texture. Our recipe is also dusted with a cinnamon-sugar mixture for a bit of sweetness. They’re served for many Jewish holidays, but also enjoyed year round in the mornings or after dinner dunked in coffee!
Mandel Bread vs Biscotti
As mentioned above, mandel bread and Italian biscotti are very similar. There are two main differences: mandel bread is made with more fat than biscotti so the cookie has a bit richer flavor and isn’t quite as dry, though it’s still crunchy. Also, mandel bread includes either almonds or almond flour in the dough, which makes sense since the Yiddish word mandelbrot literally means almond bread.
Ingredients Needed
Standard pantry items are used to make these Jewish cookies.
(Scroll below to the printable recipe card for details and measurements.)
- Almonds – Since the Yiddish word mandelbrot literally means almond bread, it makes sense to have some almonds in the dough, which adds extra crunch and great flavor.
- Flour – Use the spoon and level technique for accurate measuring. Too much flour can dry the cookies out and make them crumble.
- Baking powder – Gives the cookies lift.
- Sugar – For sweetness.
- Cinnamon – Adds a warm flavor throughout the cookie.
- Eggs – Provides structure to the dough and adds a bit of richness.
- Vegetable oil – The fat in the oil provides necessary moisture to help prevent the cookies from drying out.
- Orange juice – I recommend squeezing the juice from 2 oranges yourself.
- Vanilla – For a light flavor that compliments the almonds and orange.
Mix-In Ideas
How to Make Mandelbrot
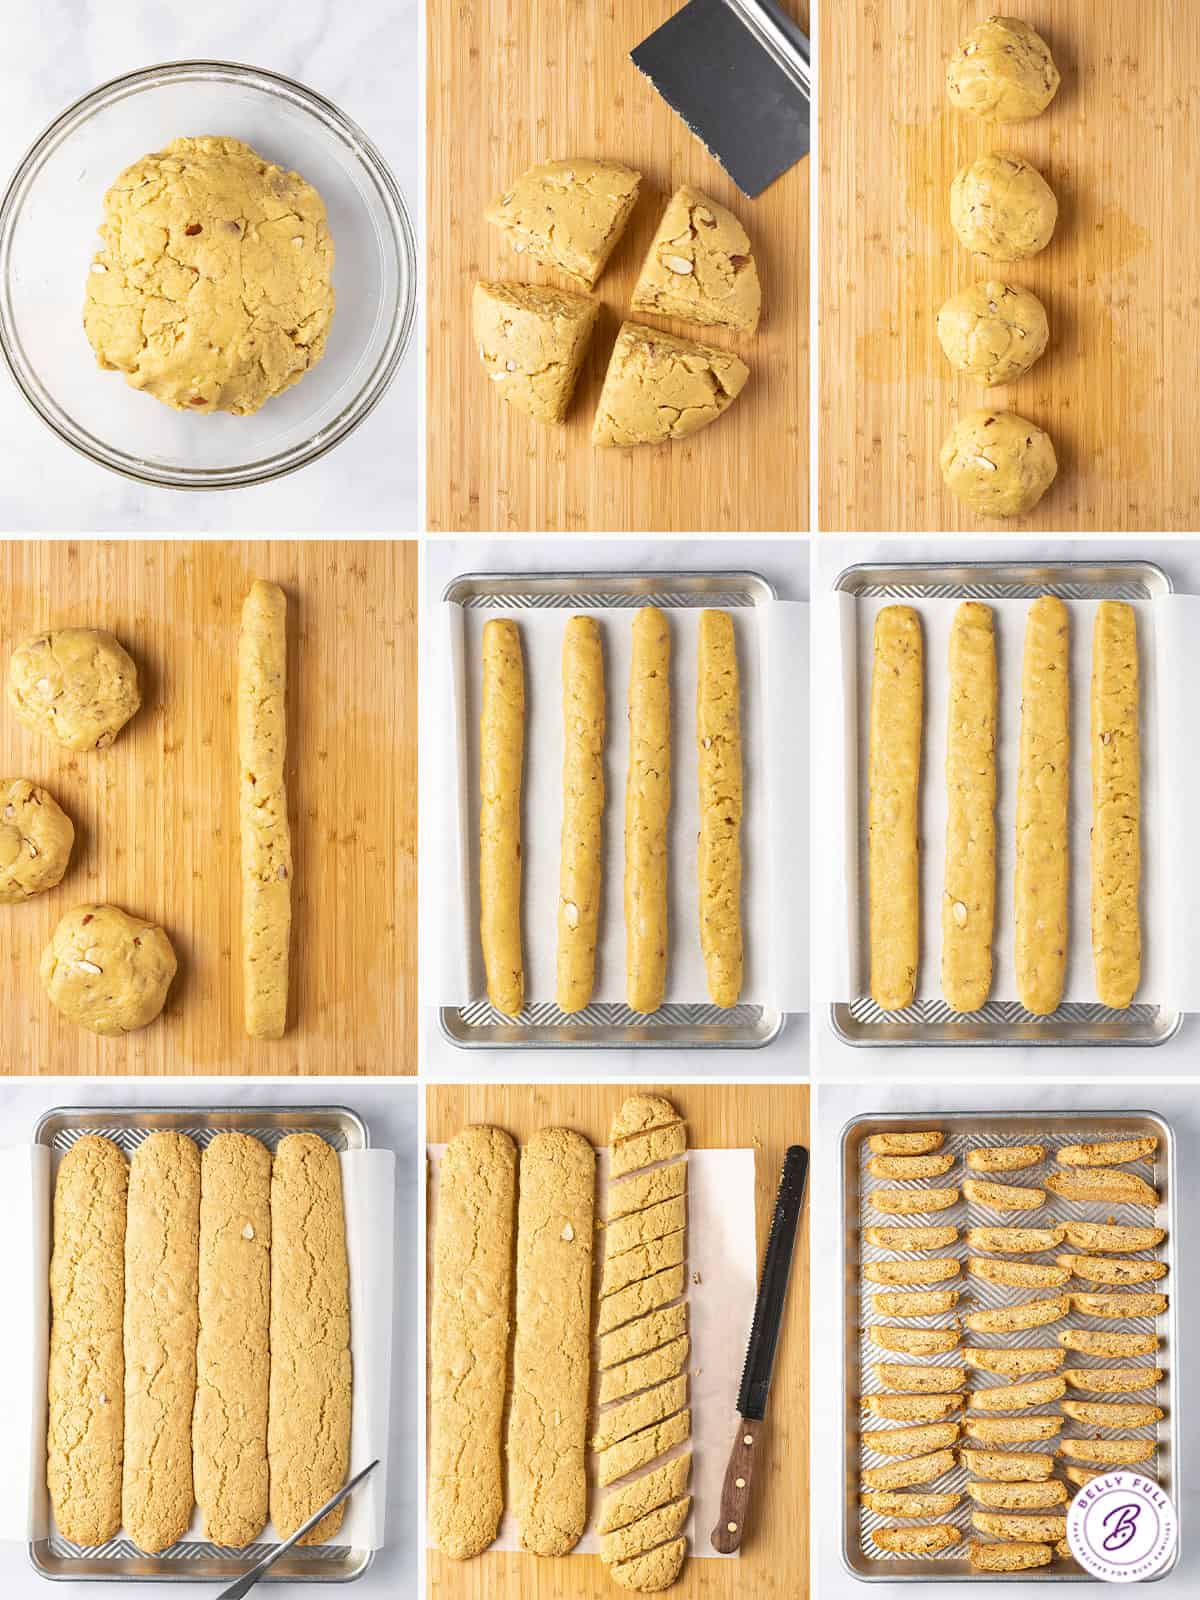
Mandelbrot has a similar process to biscotti, with dough divided into logs and then double-baked for the crunchy texture.
(Scroll down to the printable recipe card for details and measurements, and don’t miss the video below.)
- Make the cinnamon sugar. Combine some of the sugar with the cinnamon. Set aside.
- Make the dough. Whisk together the flour, sugar, baking powder, and almonds. In a separate bowl, combine the eggs, oil, juice, and vanilla. Add the wet mixture to the flour and blend on low speed until the dough is combined, smooth, and sticky.
- Shape the dough into logs. Divide the dough into 4 equal pieces. Roll each one into a log approximately 13 inches long. Place on the cookie sheet and flatten into a rectangle that’s 15 inches long by 2 inches wide.
- Bake. Bake at 350F for 25 minutes. Remove from the oven, let rest for 1-2 minutes, and separate any logs that are now touching. Transfer each log to a cutting board and cut diagonally into 1-inch pieces.
- Bake again. Transfer the cookies to the cookie sheet, cut side down, sprinkle with cinnamon sugar, and bake for 10 minutes. Flip the cookies, top with more cinnamon sugar, and bake for an additional 10 minutes. Allow to cool and enjoy!
Tips for Success
If this is your first time making mandel bread, these tips may be helpful in achieving the perfect cookies.
- Knead the dough if needed. Before rolling out the logs, the dough should be smooth but a bit sticky. If it’s forming crumbles instead, you can gently knead it with your hand until it comes together. (But don’t go too crazy as you don’t want gluten to form and create tough cookies.)
- Make sure the logs are even. I recommend weighing each piece of dough before rolling it into a log, so that each one cooks evenly. The dough is pretty forgiving if you need to add or remove a piece.
- Leave room on the cookie sheet. The dough does spread a bit as it bakes, so be sure to leave a few inches between the logs. If they do bake together a bit, you can use a knife to separate them later.
- How do I know when the cookies are done? The cookies should have a light golden brown color. They will not be hard when you first pull them out of the oven, so color is the best way to tell if they’re ready. After the second bake, they will turn crunchy when they cool.

Video: Mandelbrot Recipe
How to Store & Freeze
- Storing leftovers. Mandel bread cookies can be stored in an airtight container for 3 to 5 days. I recommend adding wax paper between layers, so the cinnamon sugar doesn’t cause them to stick together.
- To freeze baked cookies. To freeze the cookies, allow them to cool completely then store them in a freezer-safe container, with parchment paper between layers. They will keep frozen for up to 3 months. Thaw overnight in the fridge.
- To freeze the dough. You can also freeze the dough for up to 3 months. Just form the dough into the logs as instructed, wrap tightly in plastic wrap, and place in a freezer bag. Thaw the dough on the counter, then proceed with the recipe as usual.
More Jewish Recipes:
I hope you love this delicious and easy recipe – be sure to give it a review below! Also don’t forget to follow Belly Full on TikTok, Facebook, Instagram, Pinterest, and YouTube!
Mandelbrot Jewish Cookies
Ingredients
- 1/4 cup sugar
- 1/2 teaspoon cinnamon
- 4 cups all-purpose flour, , spooned and leveled
- 1 & 1/4 cups granulated sugar
- 4 teaspoons baking powder
- 3 ounces sliced almonds
- 3 large eggs
- 3/4 cup vegetable oil
- 1/4 cup orange juice, (from about 2 oranges)
- 1 teaspoon vanilla
Instructions
- Preheat oven to 350 degrees F. Prepare a rimmed 15 1/2 x 12 1/2 cookie sheet with parchment paper that hangs over a little on the two long sides (for easier removal later.)
- In a shallow bowl, combine the 1/4 cup sugar and 1/2 teaspoon cinnamon. Set aside.
- In a mixing bowl, whisk together the flour, sugar, baking powder, and sliced almonds.
- In a separate bowl, thoroughly mix eggs, vegetable oil, orange juice, and vanilla together.
- Pour wet mixture into flour mixture and blend on low speed using a stand mixer with the paddle attachment, or handheld electric mixer, until thoroughly combined. (Dough should be smooth but a bit sticky. If dough forms crumbles, gently knead with your hands until it comes together. )
- Divide the dough into 4 equal pieces. (Ideally you should weigh each piece, so they cook evenly. The dough is pretty forgiving if you need to take away from one piece to add to another.)
- Spray the palms of your hands with nonstick spray; roll and shape into logs, about 13 inches long.
- Transfer to the prepared cookie sheet. With your fingers, flatten each portion to 15 inches long x 2 inches wide. Dough will spread as it bakes, so leave some space between rows.
- Transfer to the preheated oven and bake for 25 minutes.
- Remove from oven and let rest for 1-2 minutes.
- Separate logs that have blended together by running a dull butter knife down the length of the logs where they touch.
- Using the parchment paper, transfer the sections to a large cutting board.
- Using a serrated knife, cut diagonally into 1-inch pieces.
- Return all the cookies to the cookie sheet (cut side down), sprinkle with a bit of cinnamon-sugar. Bake for 10 minutes.
- Turn each cookie over, sprinkle with a bit of cinnamon-sugar on the second cut side. Bake for another 10 minutes.
- Cookies should be a light golden brown color. They will be crunchy once completely cooled.
- Enjoy with coffee, tea, or milk!
Video
Notes
Nutrition
Nutritional information given is an automatic calculation and can vary based on the exact products you use and any changes you make to the recipe. If these numbers are very important to you, I would recommend calculating them yourself.


Hi Amy! made these and your Italian Christmas cookies. Taking them to a cookie Bake off this afternoon. They are delicious and so easy to make! The combinations are endless in my head of what to put in these next go round! Thanks for another lovely recipe. Hope you are enjoying the Season!
OMG! I’m so excited to have this recipe. This reminds me of my childhood, and these are fantastic with coffee (even dipped in coffee).