Maple Butter Syrup

Published
Published
This Maple Butter Syrup saves you from passing both butter and syrup around the table by combining them in one warm, velvety pour! I simmer real maple syrup with butter and heavy cream, then finish it with vanilla, baking soda, and a pinch of salt to bring out a deep maple flavor. It’s simple to make in one saucepan, ready in about 15 minutes, and thickens as it rests into the dreamiest syrup for pancakes, waffles, or French toast!
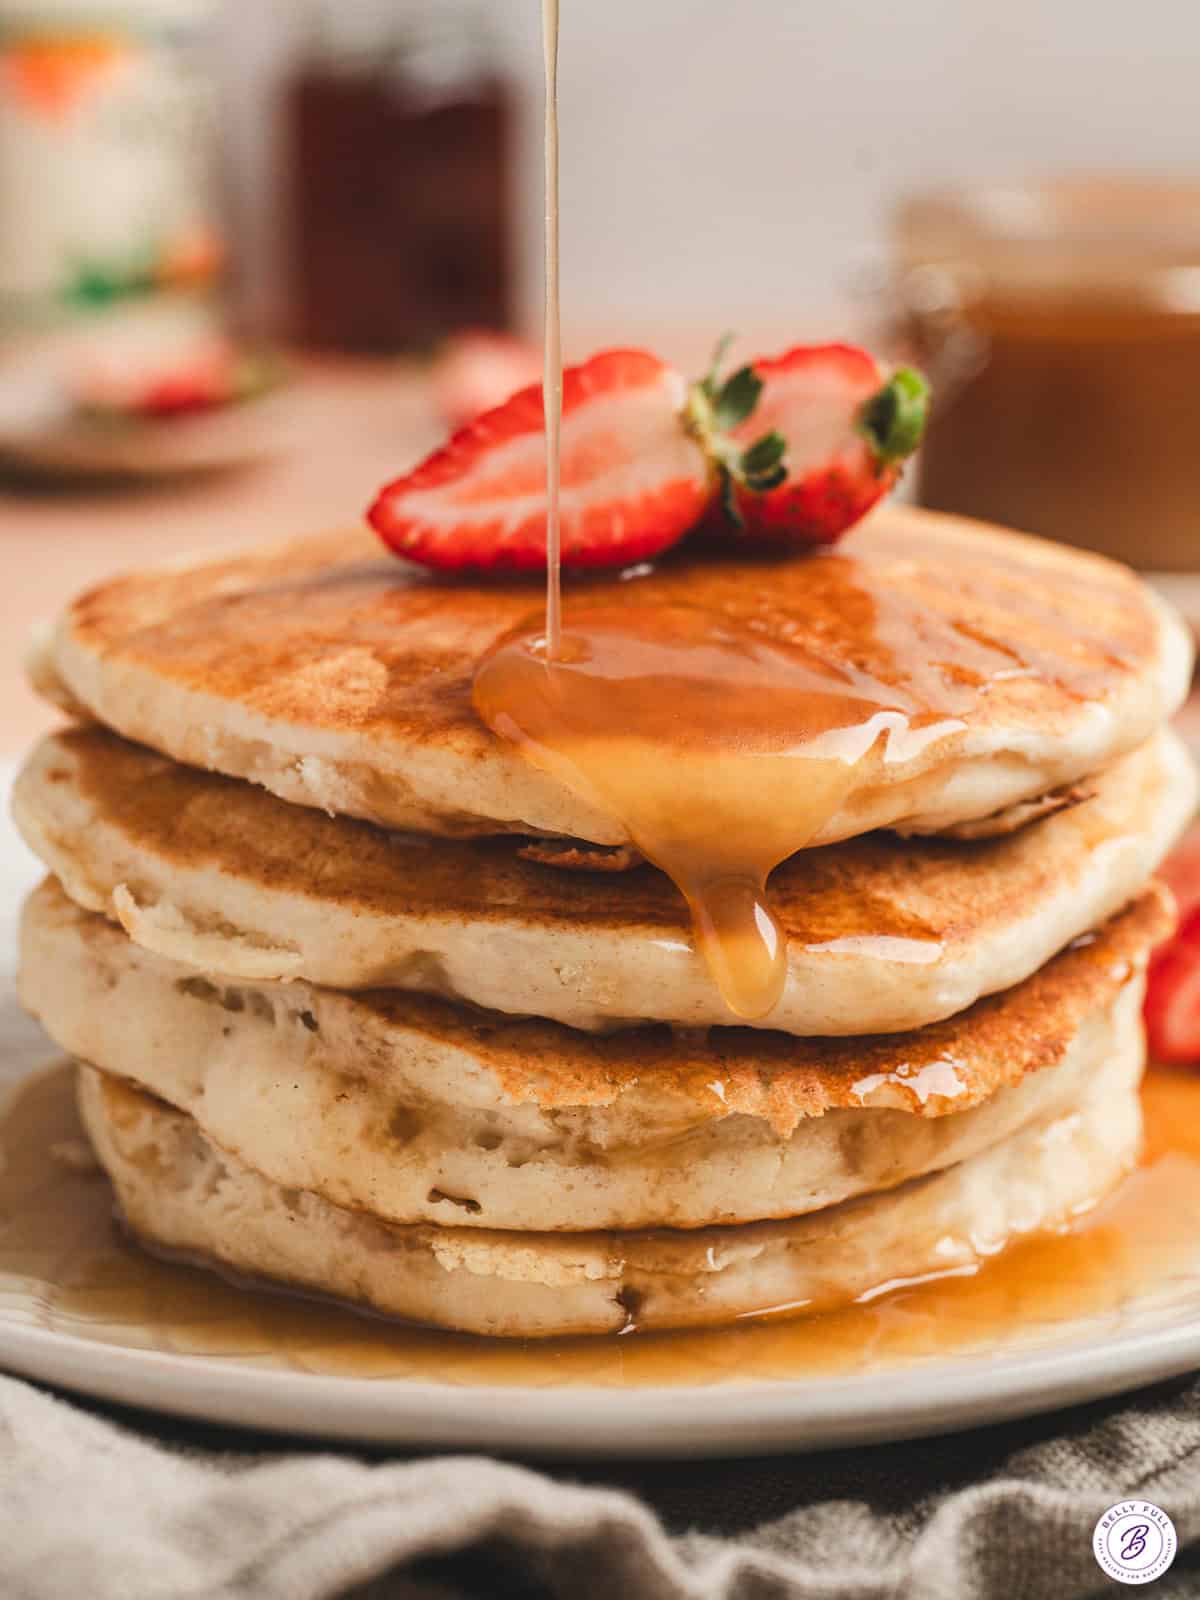
Pin this now to find it later
Pin ItButtery Homemade Pancake Syrup
I have a soft spot for those bottles of butter-flavored pancake syrup at the grocery store, and this homemade version takes that same idea and makes it even better. I use real maple syrup and real butter, so there’s no brown sugar or maple extract here. Just the real deal! The butter and maple syrup create a rich base, and a little heavy cream makes it extra smooth and luscious. Off the heat, I add vanilla and salt to highlight the delicious maple flavor, then whisk in a little baking soda. I know it sounds like a weird addition, but the baking soda reacts with the natural acids in the maple syrup, causing the mixture to foam before settling back down into a lighter, even silkier syrup.
Drizzle this maple butter syrup over these pumpkin pancakes or banana oatmeal pancakes for the BEST sweet breakfast treat. Serving muffins, biscuits, or quick breads instead? My whipped maple butter has those same maple-butter flavors but in a fluffy spread.
Helpful Tips
- Use a saucepan with plenty of room! The syrup foams and rises quickly when the baking soda reacts with the warm maple syrup, so use a high-sided saucepan with plenty of space above the mixture. Don’t try to squeeze it into a smaller pan, or it may bubble over.
- Slice the butter first. I cut the butter into slices (about 1 tablespoon a slice) because smaller pieces melt much faster and more evenly than one large chunk. This helps the butter blend smoothly with the maple syrup and cream so the whole mixture heats at the same rate instead of scorching.
- Keep the heat controlled. Once the mixture reaches a low boil, I reduce the heat and keep the syrup at a gentle simmer, looking for small, steady bubbles. If it starts bubbling too vigorously, lower the heat again. A hard boil can make the dairy separate or reduce the maple syrup too quickly, and if it scorches, the whole batch will taste burnt.
- Stir frequently. Use a heat-safe spatula to scrape along the bottom and into the corners of the saucepan. This helps the butter and cream stay evenly incorporated and prevents the maple syrup from catching or scorching.

Maple Butter Syrup
Equipment
- Saucepan
Ingredients
- ½ cup unsalted butter, sliced, (see notes)
- ¾ cup real maple syrup
- ⅓ cup heavy whipping cream
- 1 tsp vanilla
- ¼ tsp baking soda, (see notes)
- pinch of salt
- pancakes or waffles, for serving
Instructions
- Add butter, maple syrup, and heavy whipping cream to a saucepan. Bring to a low boil, stirring frequently for about 1 minute. It’ll start to rise. Then reduce heat to gentle simmer for 5 to 10 minutes, stirring frequently, until thickened.
- Remove from the heat and add in the vanilla, baking soda, and a pinch of salt. Stir to combine.
- It will continue to thicken as it sits.
- Pour over hot pancakes or waffles and enjoy!
Video
Notes
Nutrition
Nutritional information given is an automatic calculation and can vary based on the exact products you use and any changes you make to the recipe. If these numbers are very important to you, I would recommend calculating them yourself.
 Did you make this? Leave a rating below!
This post may contain affiliate links. If you click on one and make a purchase, we may earn a small commission at no extra cost to you. We only recommend products we genuinely love.”
How to Make Maple Butter Syrup Step by Step
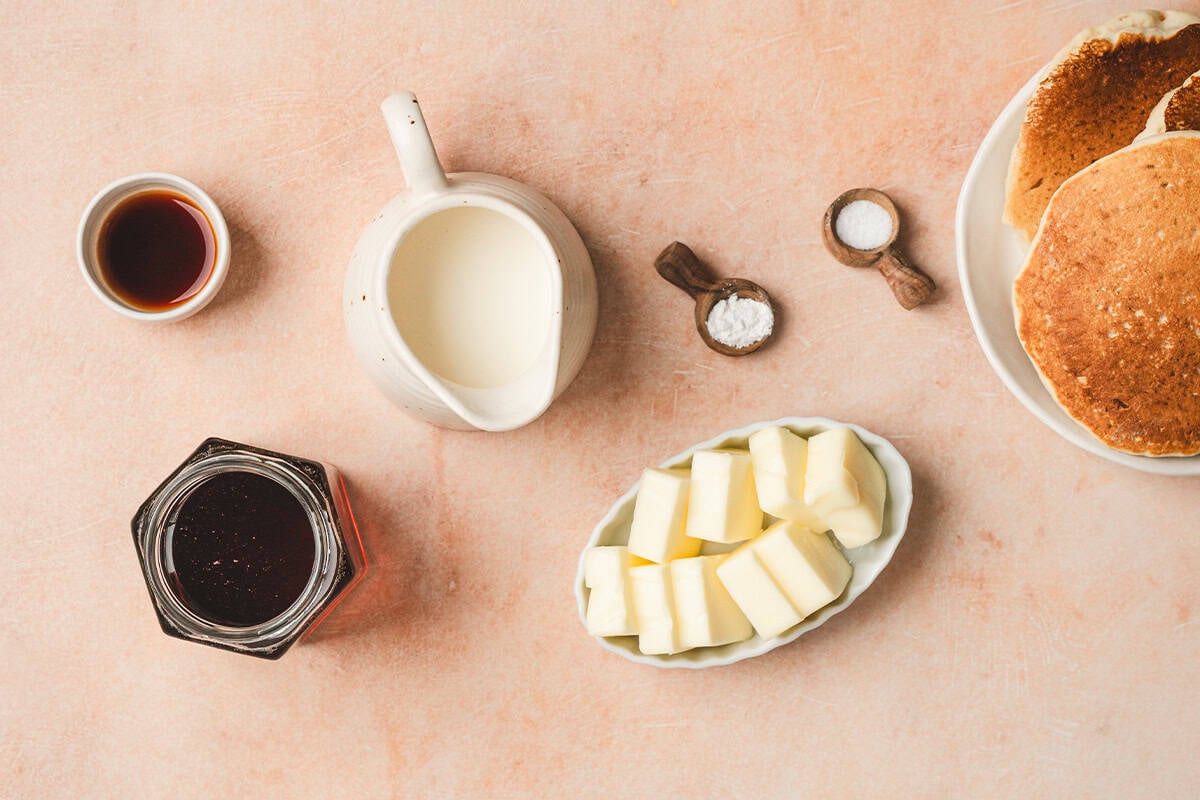
Gather all of your ingredients.
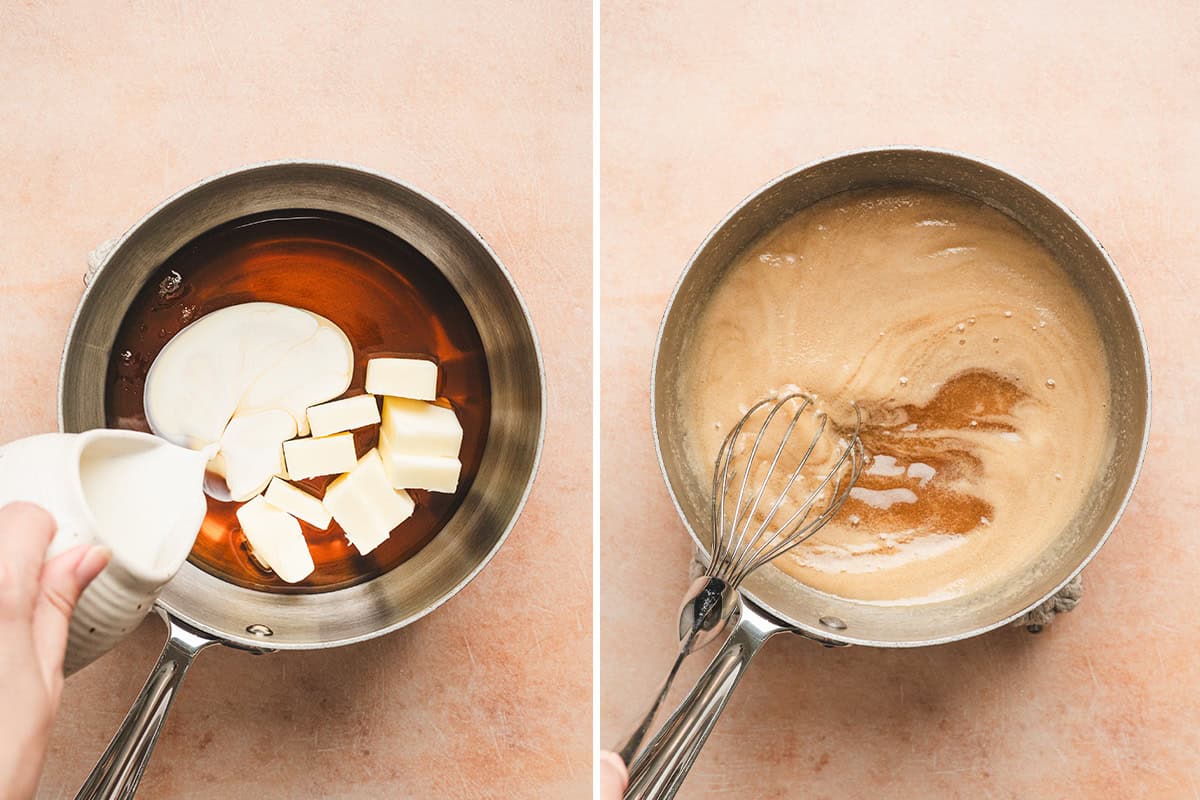
Make the maple-butter base: Add ½ cup unsalted butter (sliced), ¾ cup real maple syrup, and ⅓ cup heavy whipping cream to a large, high-sided saucepan. Bring the mixture to a low boil, stirring frequently and scraping along the bottom of the pan. Cook for 1 minute as small bubbles spread across the surface, and the syrup begins to rise.
Reduce the heat to a gentle simmer and cook for another 5-10 minutes, stirring frequently, until the syrup looks slightly thicker and lightly coats the spatula but still pours easily. It’ll thicken further as it rests.
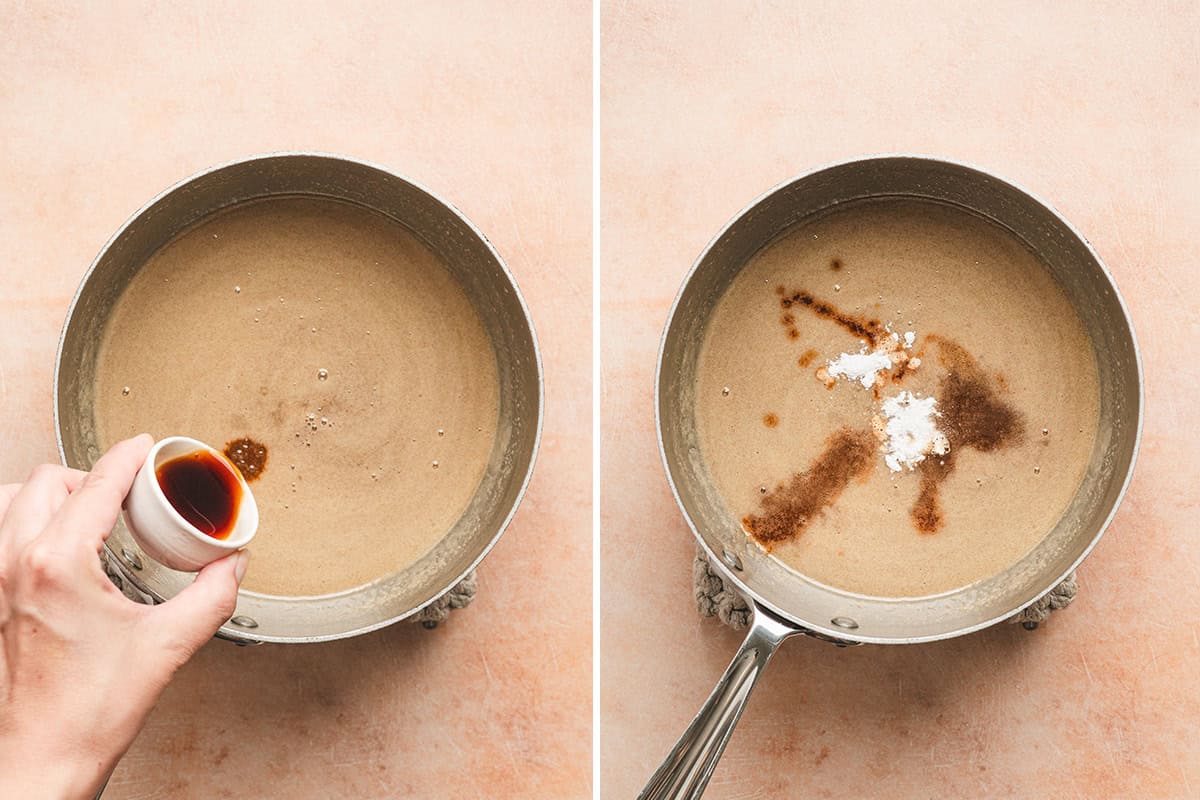
Add the finishing ingredients: Remove the saucepan from the heat and carefully stir in 1 tsp vanilla, ¼ tsp baking soda, and a pinch of salt.
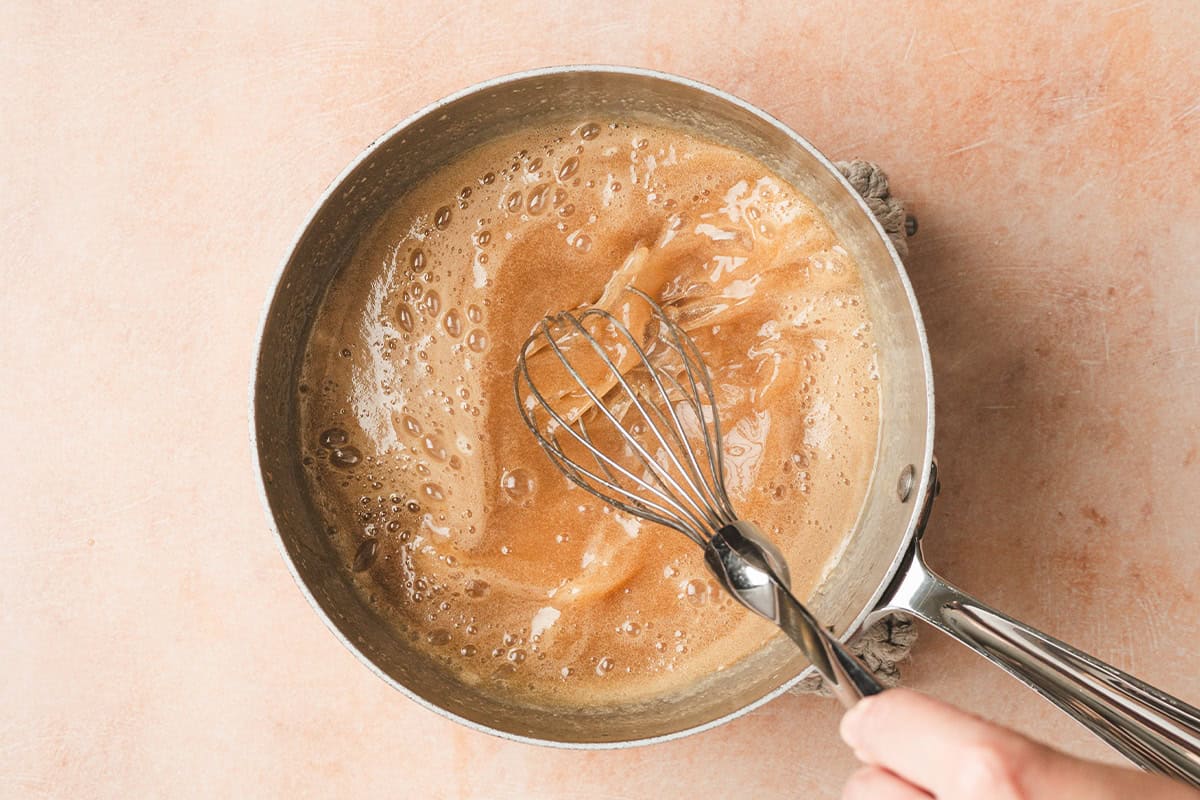
The mixture will quickly foam, rise, and look paler. This is the expected reaction from the baking soda. Continue stirring until everything is incorporated and the foam begins to settle.
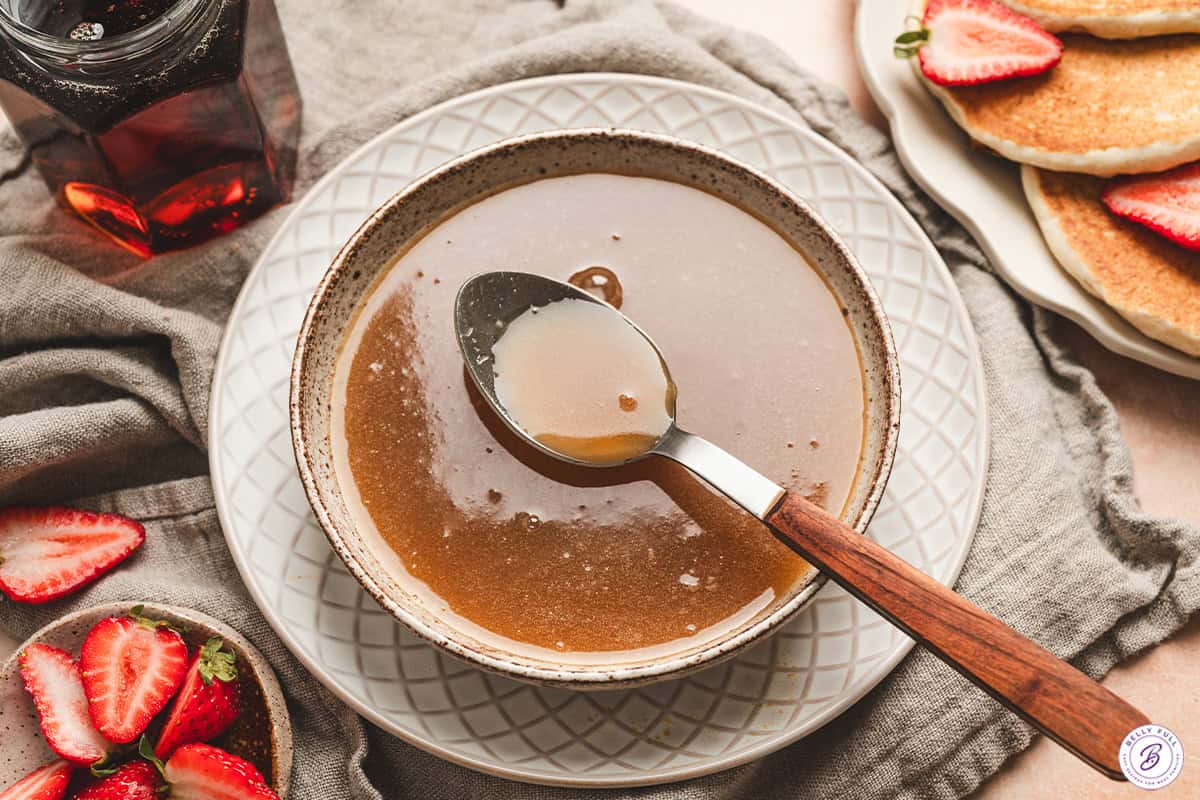
Let it rest, then serve: Allow the syrup to sit until the foam subsides and it thickens into a smooth, pourable consistency. Pour the warm maple butter syrup over pancakes and enjoy!
Serving Suggestions
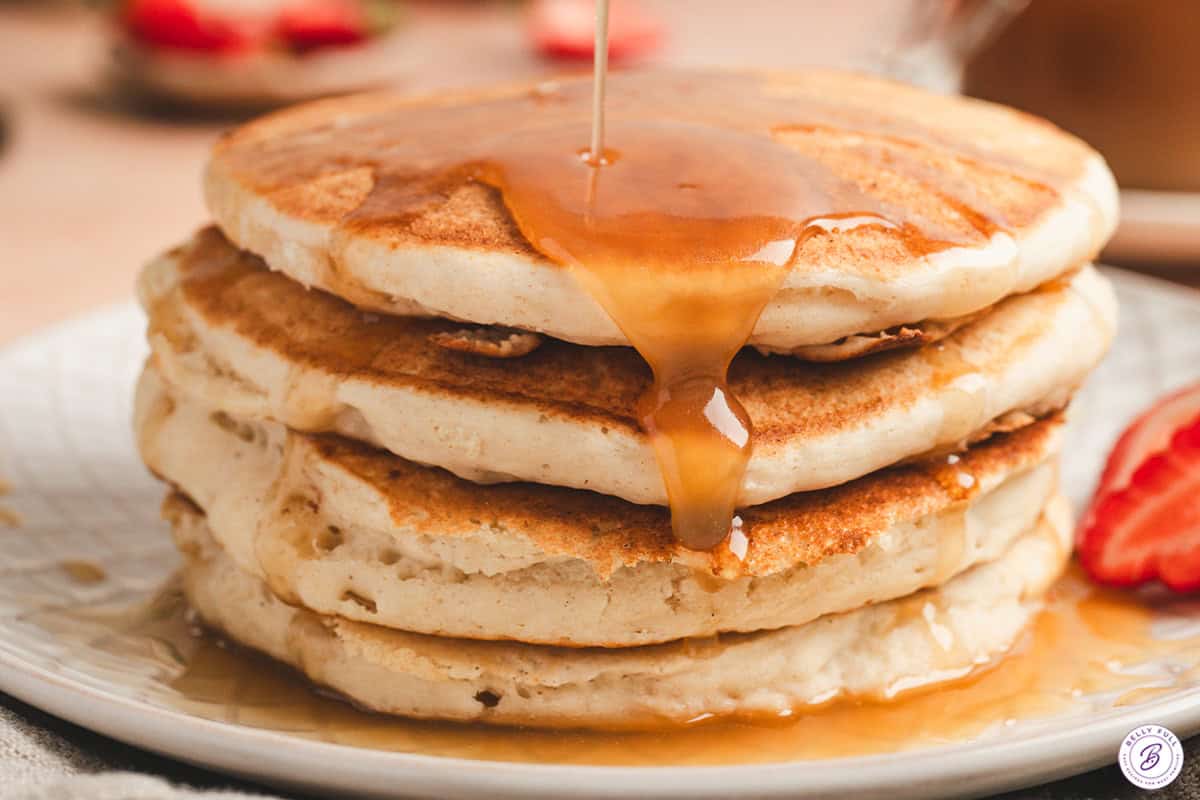
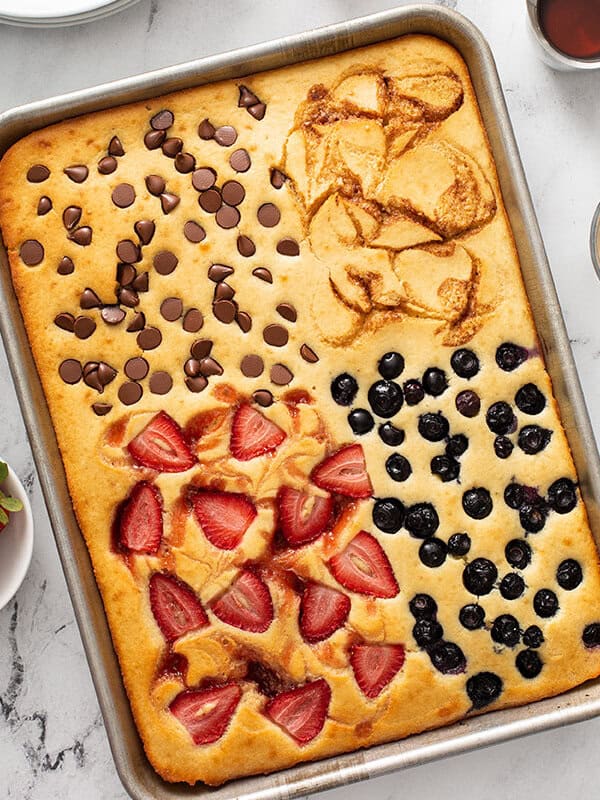
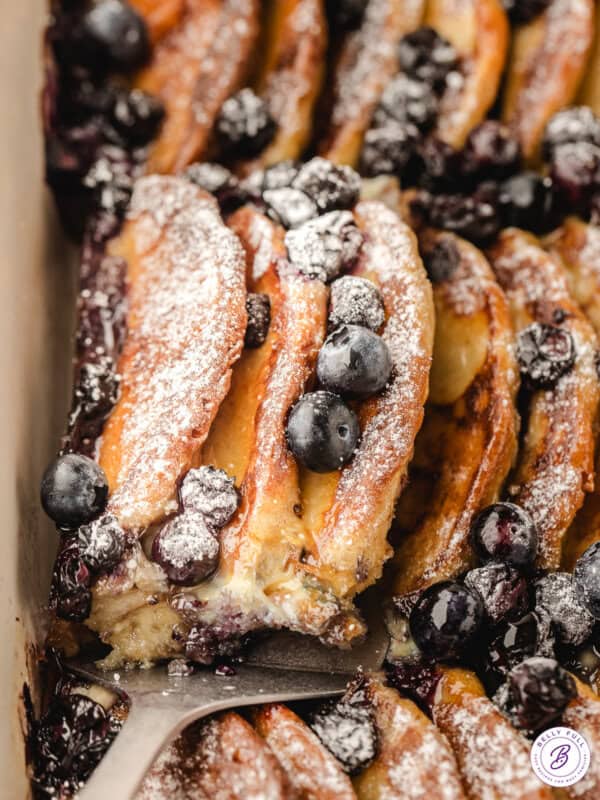
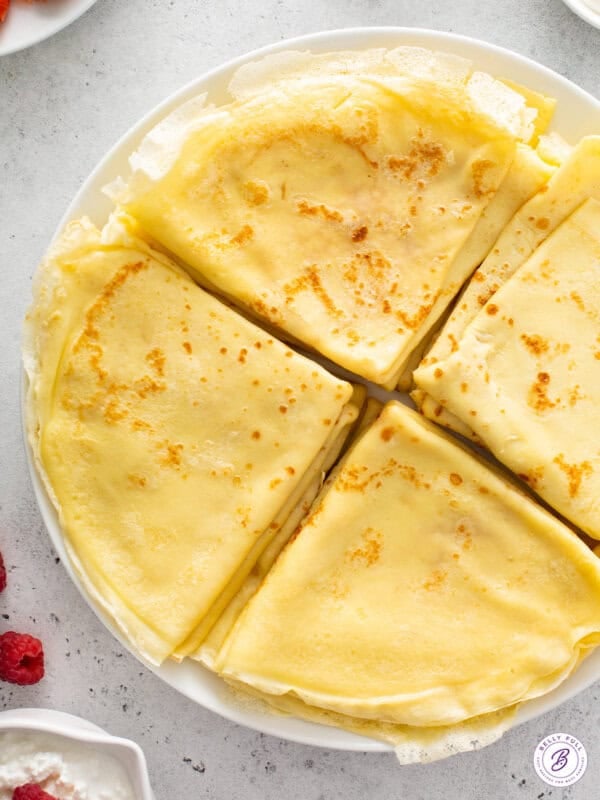
I recommend serving this syrup soon after making it, while it’s still warm and has the smoothest, most pourable consistency. My first choice is a generous drizzle over pancakes, and my sheet pan pancakes are the most hands-off option! For a holiday, birthday, or other special occasion breakfast, my pancake casserole would be perfect and feeds a crowd without much effort. Or if you’ve got some space on the stovetop and want something a little lighter, these basic crepes are the way to go. This recipe makes about 1¾ cups, and for pancakes, I’d plan on just under ¼ cup per serving, although you can certainly use more or less.
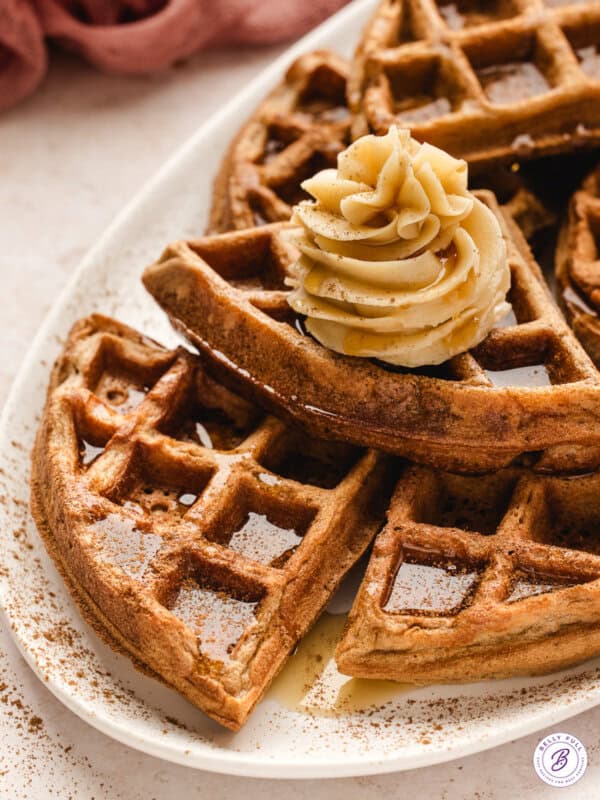
This maple butter syrup isn’t just for pancakes, though! Pour it over my cinnamon waffles, or serve it alongside French toast roll ups for dipping. It’s also delicious spooned over oatmeal or yogurt for breakfast, or poured warm over vanilla ice cream for an extra-special dessert.
Storing Leftovers
Once cooled, transfer the maple butter syrup to a clean, airtight glass jar and refrigerate. It may keep a little longer, but because it contains heavy cream, I prefer to use it within 3-4 days. The syrup may firm up or separate slightly as it chills, but gentle heat and stirring should help it become smooth again.
Reheating
Warm only what you need in a small saucepan over low heat, or microwave it in 10- to 15-second intervals, stirring each time, until smooth and pourable again. Avoid bringing it to a boil.
Freezing
I don’t recommend freezing this syrup because the butter and heavy cream may separate after thawing, leaving the texture grainy or oily instead of smooth.
More Easy Maple Syrup Recipes
- Maple syrup flavors both the tender apple cake and buttery pecan glaze in my Glazed Maple Apple Cake.
- These easy French Toast Muffins combine shortcut biscuit dough with butter, brown sugar, cinnamon, pecans, and maple syrup.
- I use pure maple syrup to sweeten the roasted nut filling in this rich Mixed-Nut Turtle Pie, and finish it with a drizzle of chocolate!
I hope you love this delicious and easy recipe – be sure to give it a review below! Also don’t forget to follow Belly Full on TikTok, Instagram, Facebook, Pinterest, and YouTube!